Turn A Garden Bed Into A Rock Pool
In this project we show you how to turn a dried out garden bed into a lush, spring-fed rock pool.
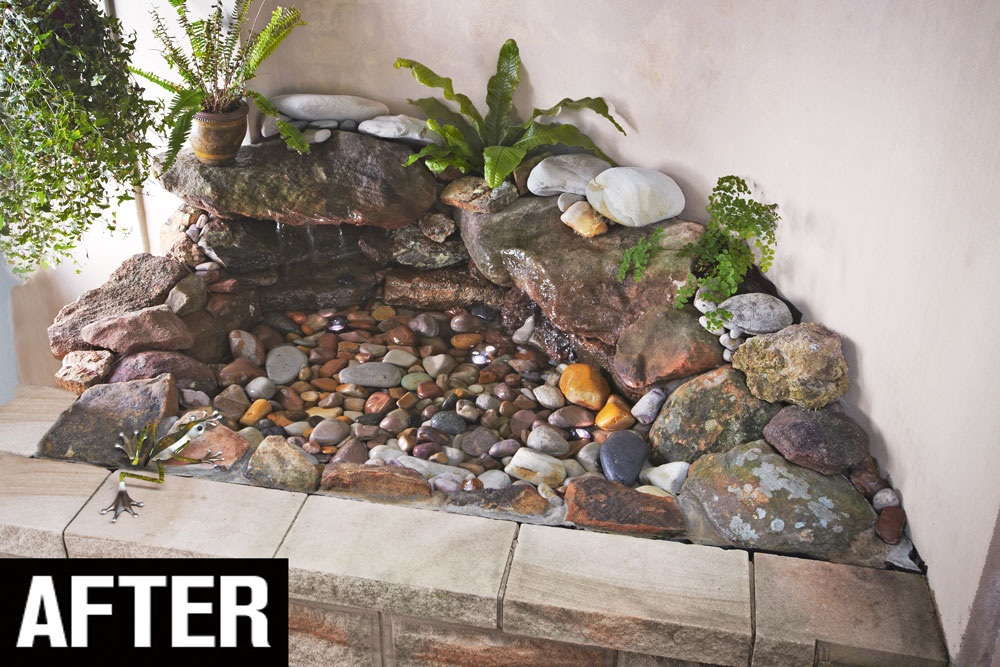
Build an eye-catching, yet serene, artesian-style water feature for your garden in just a weekend.
This pond was designed to mimic a small bush waterfall. It has two large feature stones with 16mm holes drilled right through them to allow water from the pump to spill through. The water then flows over the stones, trickling down to the pool below.
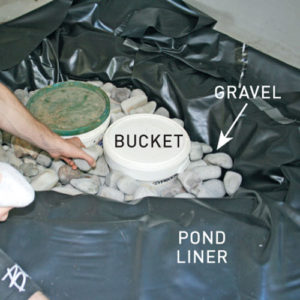
Two large lidded buckets and a pebble-filled reservoir collect the cascade of water for reticulation.
Since no sunlight can reach the reservoir and support the growth of algae, the water stays clear. Using buckets also reduces the amount of pebbles required to fill the reservoir.
For nighttime ambience, position underwater lights among the pond pebbles to illuminate the miniature waterfall from below. We used a pack of three Aquapro underwater lights, costing about $60.
Planning the pond
Select a shaded, protected location such as under a deck. Dig a water catchment hole deep enough to conceal the buckets you choose for the reservoir, and with an edge beam on which to place the perimeter stones.
Use buckets big enough to provide a reasonably large volume of water and a protected location for the pump. Elevate the pump bucket so the lid is just below the surface for easy access.
For the perimeter and fountain stones, visit your local landscape centre. We chose sandstone, a soft sedimentary rock that’s easy to shape and drill, because of its natural look.
Choose stone with a basin-like shape if your want the water to seem as though it is gurgling up from a spring in the ground.
Select stone that’s less than 200mm thick at the fountain hole position if you’re going to drill the holes yourself, otherwise you’ll have to buy extra-long drill bits.
The types of stone available will vary according to your location.
TIP Our hole was about 600mm deep and housed two 20 litre buckets.
Cutting and drilling stone
To achieve a natural look some shaping of the stones will be required so they fit together, and holes for the pump tubing need to be drilled.
TIP Don’t force the drill, just apply consistent pressure and let the percussive action do the work.
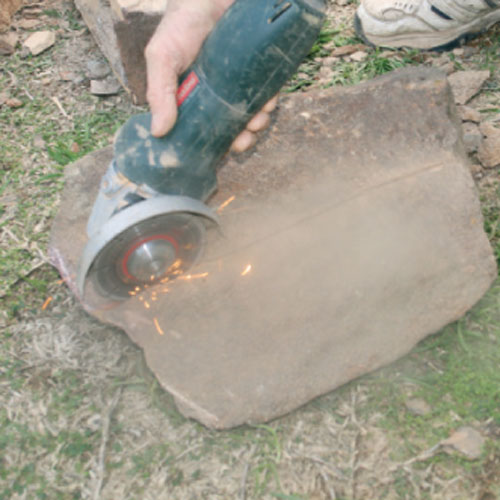
Step 1. Cut the stone
Cut the stone to size or shape using an angle grinder with a segmented diamond blade, continuing the cut around all sides of the stone if possible.
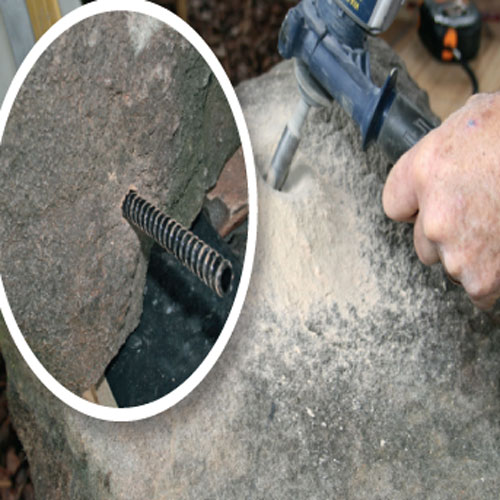
Step 2. Finish the cut
Finish the cut with a bolster and lump hammer. Move the bolster along the cut line, tapping with the hammer using increasing force until the stone breaks.

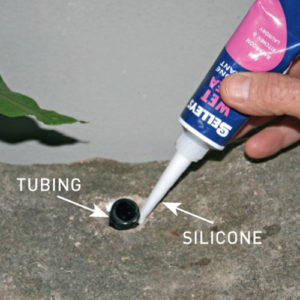
Step 3. Make a hole
Make a hole using the hammer function on an SDS rotary hammer drill and a 16mm masonry bit. Pull the bit out regularly to clear the hole of waste and check the tubing fits.
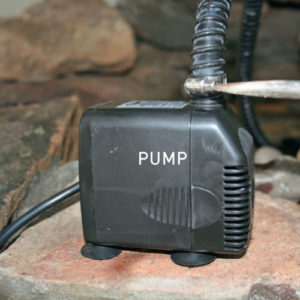
Connect the pump
This spring uses a mains-powered Aquapro pump, $40, with a flow rate of 1050 litres per hour and head operating height of 1200mm.
It’s connected to 12mm anti-kink tubing, $10 for 3m, that is run through the holes drilled in the stones, with a T connector directing the stream two ways.
Have a weatherproof power point installed for the pump. The power supply must be connected to a residual-current device (RCD) and properly grounded.
Diagram

Use this diagram to build your own easy-install waterfall
How to install a waterfall