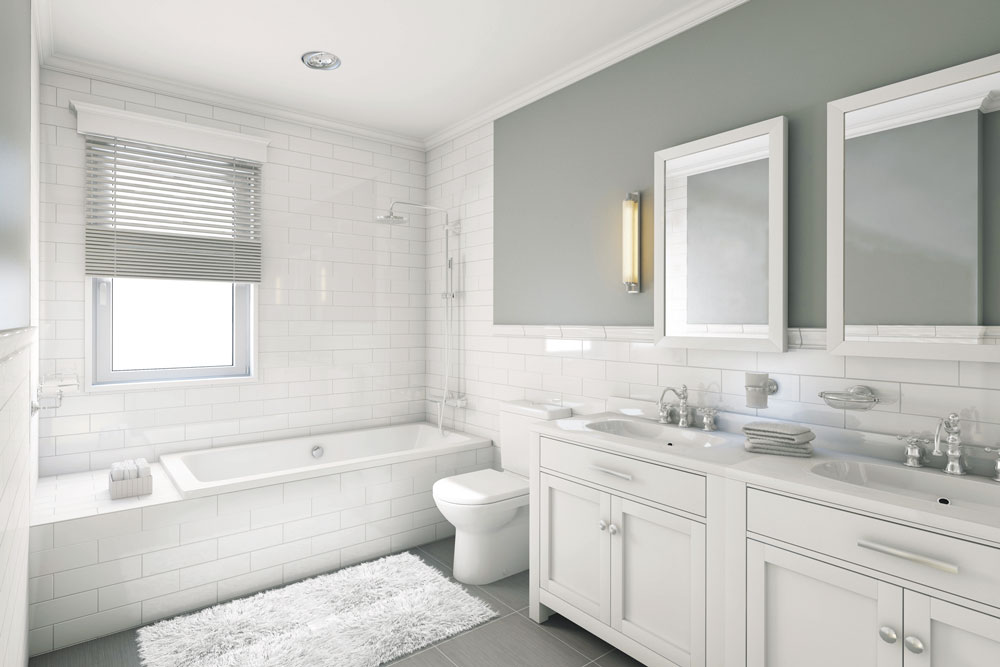
Regrout Tiles In 3 Easy Steps

Bumps and knocks to tiled surfaces loosen grout over time, allowing water to seep in. This can cause mould behind tiles and eventually compromise waterproofing.
Regrouting is simpler and less expensive than replacing tiles, and it gives old tiles a clean finish.
All old grout needs removing before new grout is applied, and new grout should be sealed to ensure longevity.
Coloured grout can be used to give a bathroom a new look. Matching the grout and tile colours makes the edges of the tile less obvious, while contrasting colours draw attention to the pattern of the tile layout.
TIP Avoid using acidic bathroom cleaners, as they can damage grout.

Step 1. Remove the old grout
Use a carbide grit grout saw to remove the old, loose grout. The angled offset handle lets you apply heavy pressure as the blade is scraped over the gaps. Vacuum out the dust, then wash the surface with a solution of water and white vinegar until clean.

Step 2. Regrout the tiles
Mix the new grout to the consistency of toothpaste. Move a rubber float or squeegee diagonally across the tiles to push grout into the gaps. Leave it to set for 30 minutes, then use a damp sponge and clean water to wipe away the excess.

Step 3. Seal the new grout
Leave the grout to cure for two days. Apply grout sealer with a small paintbrush, using a cloth to wipe the edges of the tiles clean as you go.
TIP The sealer protects the grout and prevents water, dirt and mould from penetrating and leaving stains.
Vote It Up:

Points: 20

