Low-line Bookshelf
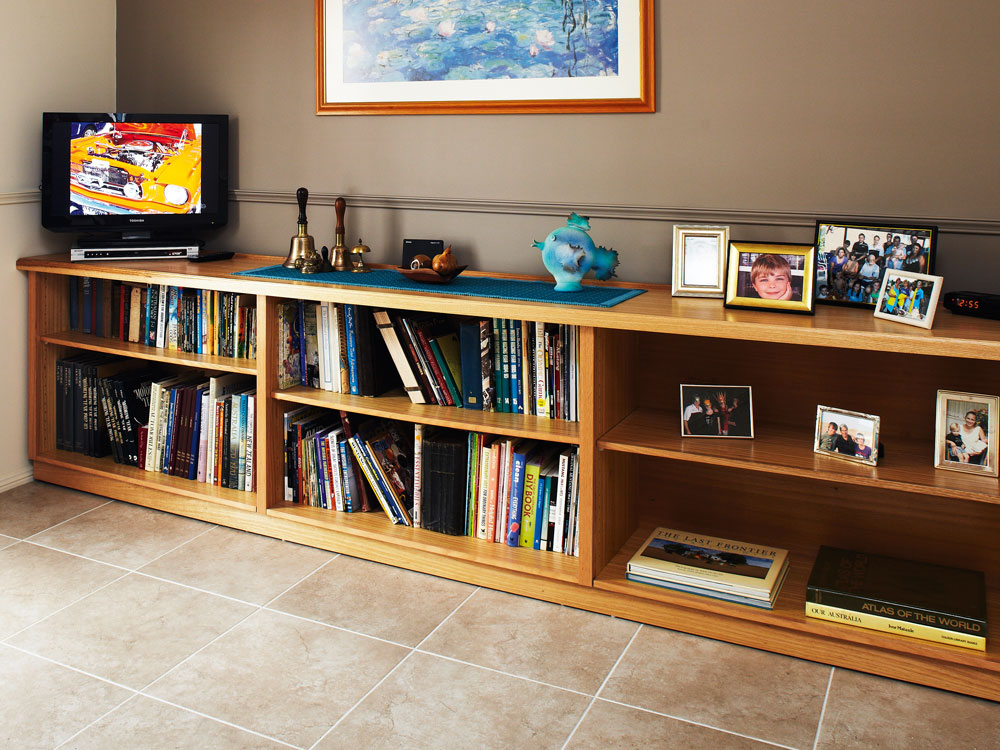
Make a unit designed to span an entire wall for storage and display.
Readymade bookcases are great for storage but sometimes a room needs a custom-made unit to fill an available space.
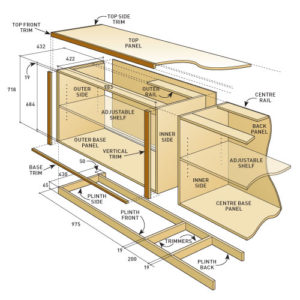
This 3000mm long x 800mm high bookshelf is designed to sit between two walls and comprises three 1000mm long modular units.
The units are easy to assemble and simply butt together, with the joints hidden by vertical trim pieces.
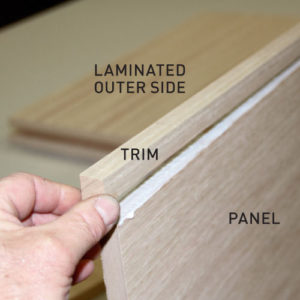
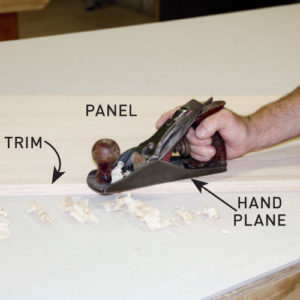
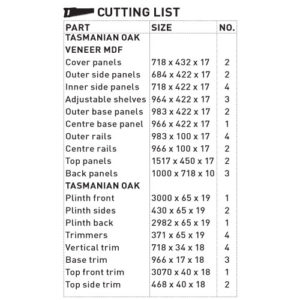
It’s made from Tasmanian oak veneer MDF board and trimmed with solid Tassie oak timber, while the adjustable shelves and rails are edged with iron-on veneer.
Use a router to add a decorative profile around the edge of the top trim, then apply clear polyurethane to finish the bookcase.
Make the sides
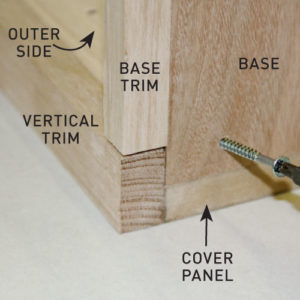
A cover panel is attached to one side of each outer unit to make them the same double thickness as the joint between the centre and outer units.
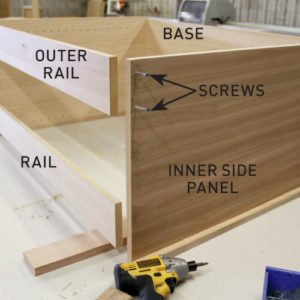
The outer sides are 34mm shorter than the inner sides so the rails and base can be secured above and below.
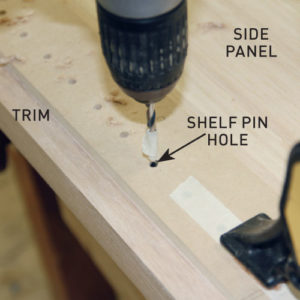
Cut a 17mm strip off the base of the shelf pin hole template before drilling into the outer sides to correct for this difference.
TIP The MDF boards can be cut using a circular saw and straightedge guide or have them cut by the supplier.
Fasteners
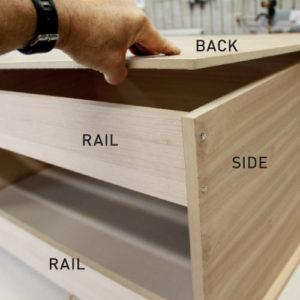
Use PVA adhesive on all joints and assemble each unit using 40mm x 8g particleboard screws.
Attach the back panels to each modular unit and join the three of them together using 25mm x 8g screws.
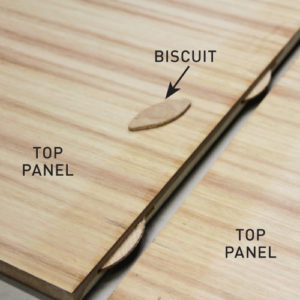
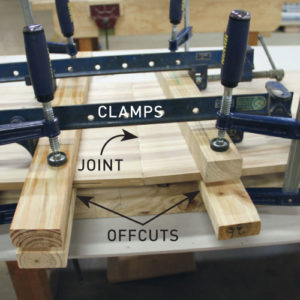
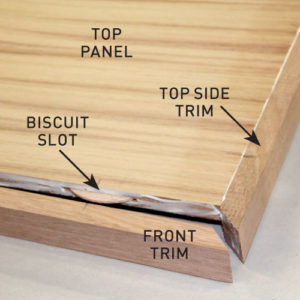
Build the plinth with adhesive and 40 x 2mm bullethead nails, securing the top edging and centre joint with size 20 biscuits.
Veneer edging
The adjustable shelves and rails are trimmed with veneer edge strip that has a hot-melt adhesive backing. Hold each board upright in a vice to cut a length of veneer edging slightly longer than the edge.
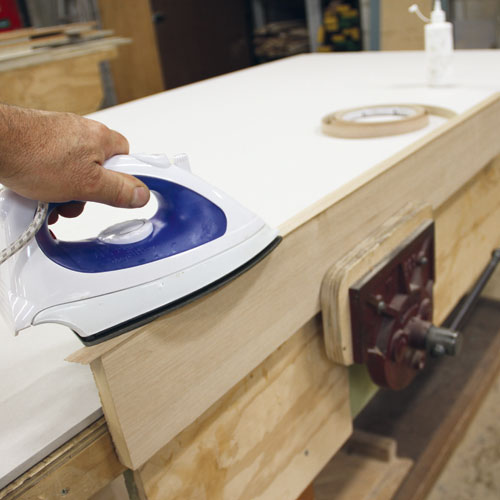
Step 1. Position the veneer
Position the veneer over the edge of the board and use a hot iron to melt the adhesive, moving it continually back and forth.
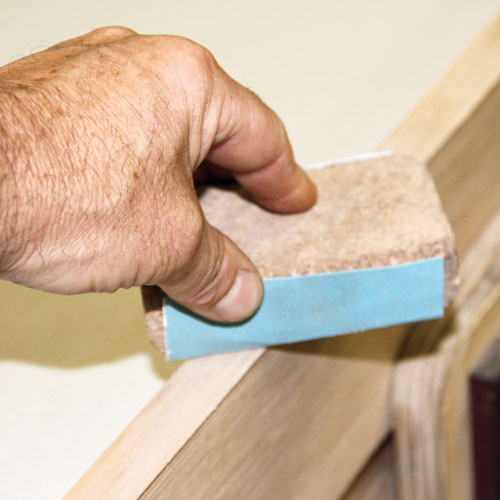
Step 2. Secure the strip
Secure the strip by pressing down on it firmly using a cork block immediately after removing the iron to ensure a good bond.
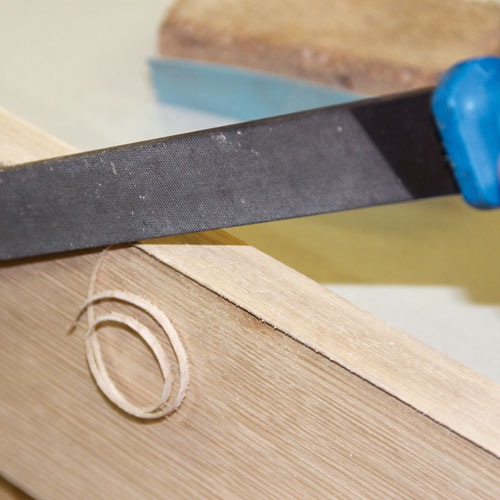
Step 3. Trim the overhang
Trim the overhang by working a fine-toothed file along the edge at a steep downward angle. Use 120 grit abrasive paper to tidy the edges
Make a low-line shelf


