Make A Mosaic Splashback

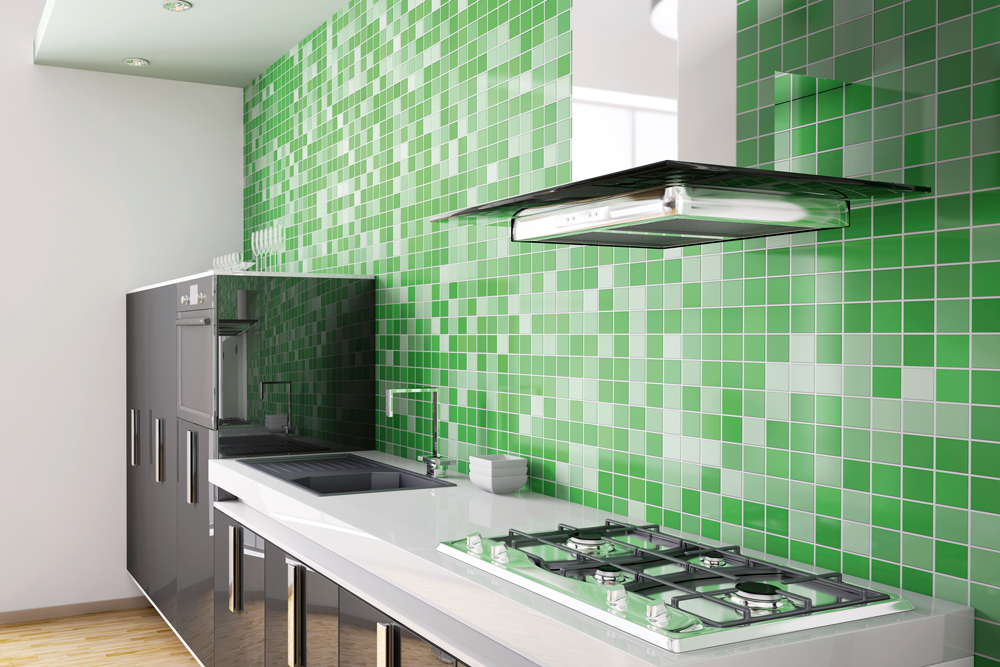
A new splashback is a fast and effective way to revive your kitchen. Tiles are a popular DIY surface treatment, as they’re durable, wipe clean and easy to installFor maximum colour and texture, go for a mosaic wall. And to create one quickly, use tile sheets. Buy mosaic tiles in 300mm square sheets, from about $10 each,in a range of finishes, including glass, ceramic, natural stone and metallic.
The tiles are attached to a paperor mesh backing, so it’s easy to trim and position the sheets to fit around appliances and switch plates.
Get it right
NOTCHED TROWELS have edges that leave ridges in the mortar, which collapse to create a uniform bondon the back of each tile.For small mosaics, use a 6mm V notch trowel.
Cutting tiles
Few kitchens are built to a strict 300mm square grid, and most have electrical outlets, light switches and other wall fixtures that require trimming tile sheets.
The beauty of mosaic sheets is you can cut the mesh backing between tiles to customise the shape and size of sheets.
If you do need to cut the actual tiles, use an angle grinder or mosaic cutter for glass, terrazzo and ceramic tiles.
Large-format slate tiles can be cut with a wet saw, which costs about $60 to hire for a day.

Mask off benchtops and cabinets, leaving a 6mm gap between the wall and tape. Secure a batten to the wall at the height of the burner plates of a freestanding stove. Mark a plumb line on the wall, positioned to avoid small tile cuts in the corners.

Use a 6mm notched trowel held at 45º to apply adhesive over an area about one sheet wide from the plumb line. Run the trowel over the adhesive again to ensure even distribution. TIP To stop adhesive hardening on the trowel, clean it with a wet sponge.

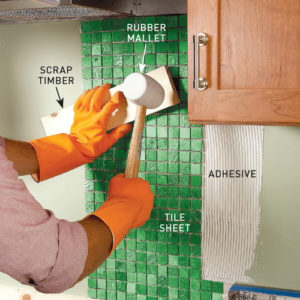
Position the first tile sheet above the batten and aligned with the plumb line then the next sheet with a 2mm gap between, tapping with scrap timber and a rubber mallet. Continue attaching tile sheets, cutting to fit and checking alignment as you go.

Let the adhesive cure for 24 hours. Apply the grout with a sponge float, pressing it into the joints. To remove excess grout, hold the float at a 60º angle and move it diagonally across the tiles. Wait 10 minutes, then clean the excess grout using a damp sponge.

Scrape grout out of the movement joints at inside corners and along the base of the tiles using a utility knife, then sponge the tiles again. Leave for a day then buff the tiles with a soft cloth, wait two days and apply silicone sealant in the movement joints.


