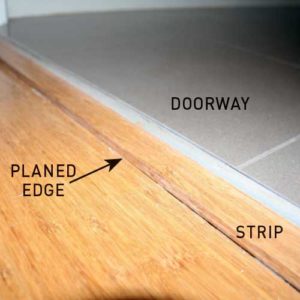
How to install floating floorboards

An easy way to transform your home and add warmth without doing a major reno is to put down a floating floor.
The boards come in a range of colours and materials such as natural timber glued to plywood and laminated melamine.
Bamboo boards are a popular choice, as they’re eco-friendly, durable and harder than oak.
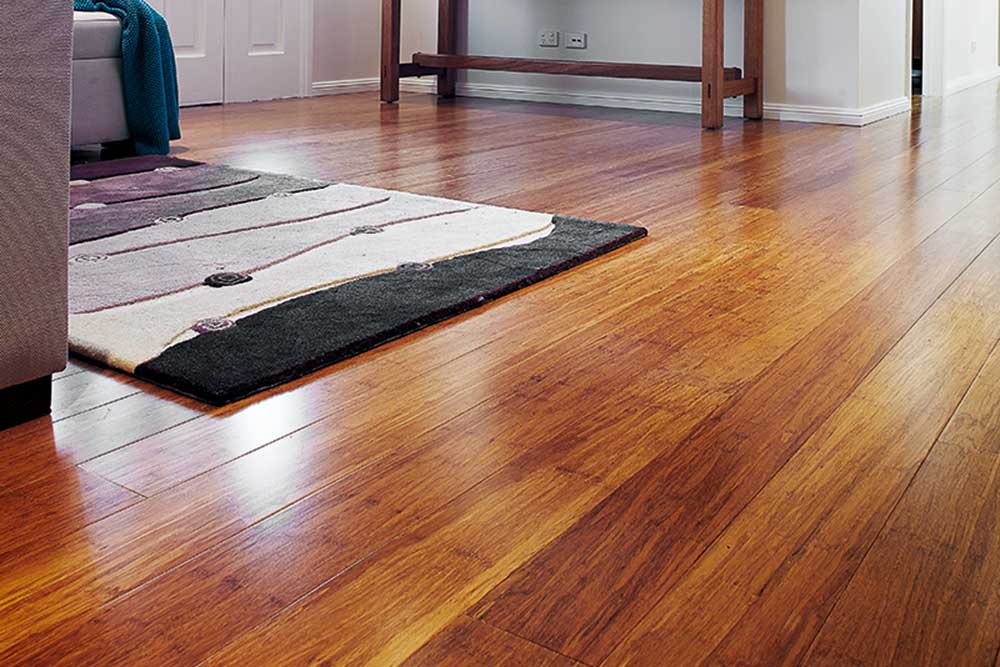
The old worn cypress floor of this 28sqm lounge and dining area was replaced with Tarkett 10mm Woven Bamboo Flooring in Coffee, $68 for a 1.41sqm box from Tarkett.
DESIGN TIP Lay boards lengthways using the longest wall, as laying them crossways can make a room appear narrower.
Tips to keep in mind
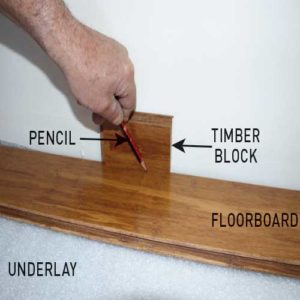
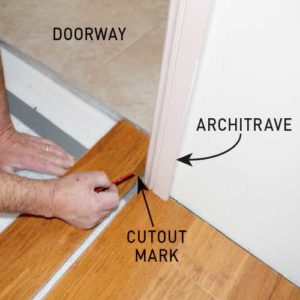
- Before laying the floor, check the clearance under the doors. Use a block and a pencil to scribe at least an 8mm clearance, then remove and trim the door.
- Floating floors expand and contract after installation, so leave a 12-15mm gap around the perimeter of the room at all walls and fixed vertical obstructions.
- The boards respond to temperature and moisture changes, so leave them in the room where they’ll be laid for at least 48 hours before installing them.
- These pre-finished boards simply click together to cover almost any existing floor and provide good insulation when combined with an underlay.
Join the boards
Floating floorboards click into each other, eliminating the need for fasteners.
Lay the first row square to a side wall, then in a staggered pattern with overlaps of at least 250mm, checking every 5-6 rows that the boards are still square.
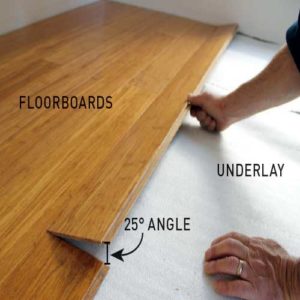
Position each board to be laid at an angle of 20-30° to the boards that are already installed. Insert the tongue into the groove then move the board gently up and down while pushing forward and it will click into place. To tighten the joint, gently tap the board along the side and ends.
Minimise gaps at the end joints by positioning end-to-end boards as close together as possible.
Cover the gap
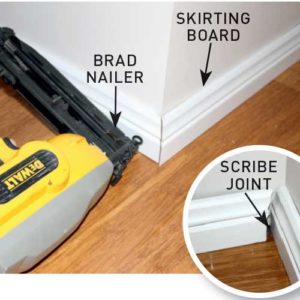
REMOVE all the skirting boards and replace them using 50mm brads when the floorboards have been laid, but never secure the skirting to the floor itself.
USE toe beading to cover the expansion gap around the walls and give the floor a neat, even look.
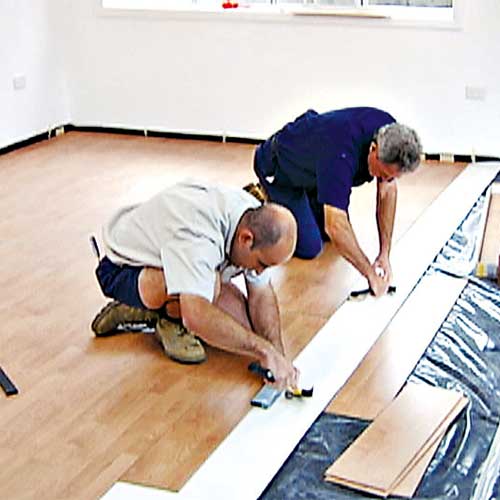
Use a hammer and block to tap gently along the board
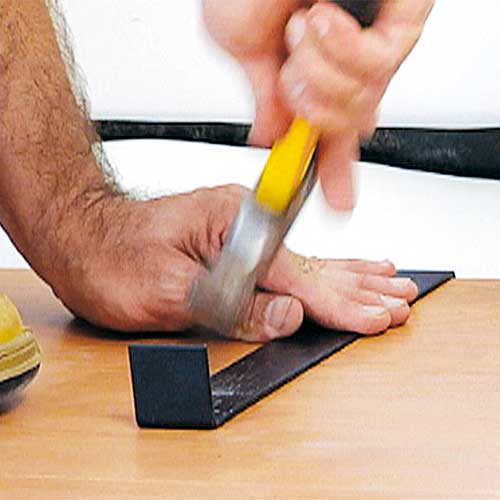
Use a pull bar to tap the board ends and last row tightly in place
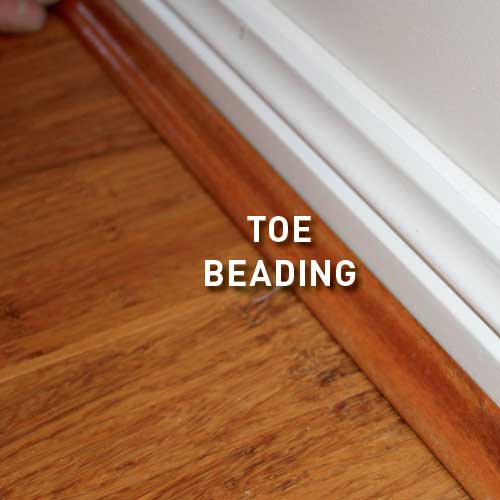
Use toe beading to cover the expansion gap around the walls and give the floor a neat, even look
How to install floating floorboards


