How To Build A Retaining Wall In The Backyard
As well as stopping your uphill becoming the downhill, retaining walls can also be an excellent design addition and problem solver.
Use them to add terraces or levels, make paths and create more planting opportunities if your soil is shallow.
By reducing the slope, they also slow water flow, giving it more chance to soak in and making your garden more self-watering and sustainable.
The range of materials for retaining walls varies from natural stone and purpose-designed masonry blocks to bricks and treated pine sleepers.
DESIGN TIP Add a series of small walls instead of a tall one to create more planting opportunities and avoid the need for an engineer.
What you need
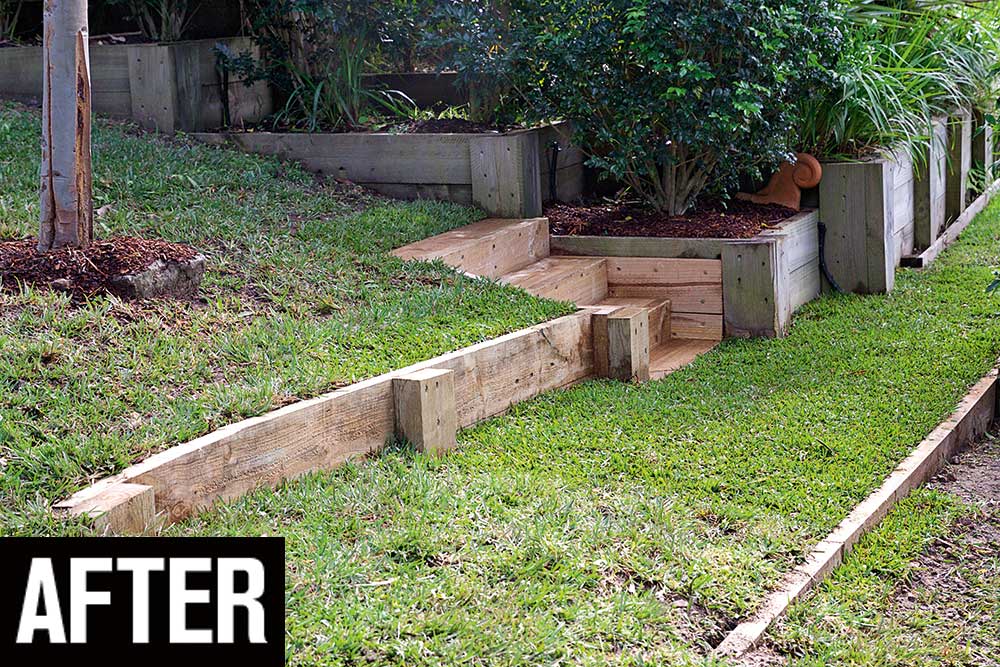
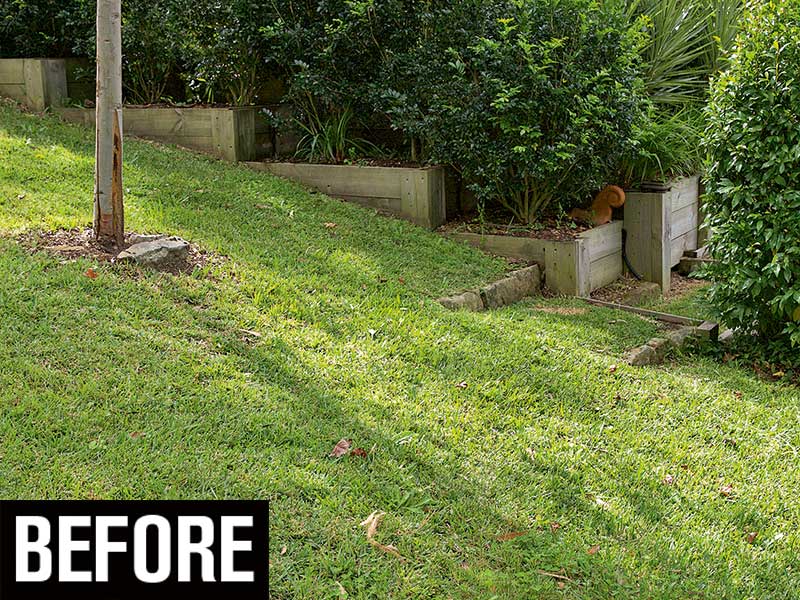
This sloping garden had no proper entry, so two low walls were built to level off the area and form a walkway, and steps were added.
Treated pine sleepers are the easy and economical option to build a non-structural retaining wall.
To make one section of wall that is 3m long x 400mm high, you’ll need two 200 x 50mm x 3m sleepers and at least one 200 x 75mm x 2.4m sleeper.Use 50mm thick sleepers for the wall rails and 75mm sleepers for the posts.
Dig down with care
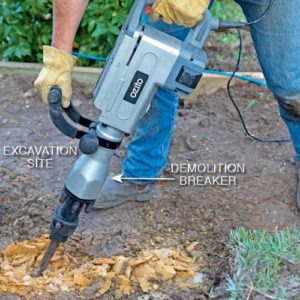
Before excavating for walls and posts, it’s important that you have a clear picture of what’s underground.
Contact Dial Before You Dig, a free service that provides diagrams for all utilities.
But still always dig with care as, despite having utility reports, we still encountered a pipe, which was most likely a redundant water pipe, through the middle of our area of excavation.
We could have had a pipe survey company come and check it for us, but it was easier, and cheaper as well, to just adjust our levels
and work around it.
Check the height
A non-structural low wall can be easily designed and constructed by the average DIYer.
But if the height exceeds 400mm, it’s close to a boundary, or it will be carrying a heavy load or a ‘live’ load like a driveway, then you may need to seek professional advice on its design.
Install drainage
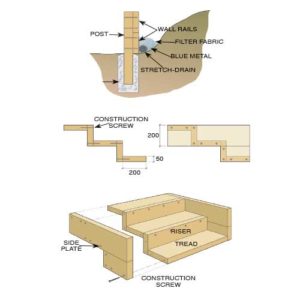
Lay slotted Reln Stretch-Drain behind a retaining wall and pull it out to the required length. Make sure it falls slightly in the desired direction.
Cap the starting end and connect the output end to unslotted pipe, then run to stormwater or another section of slotted drain shallowly buried in the garden as a watering pipe.
Cover to 50mm deep with blue metal aggregate, add filter or drainage fabric, then backfill behind the wall with soil.
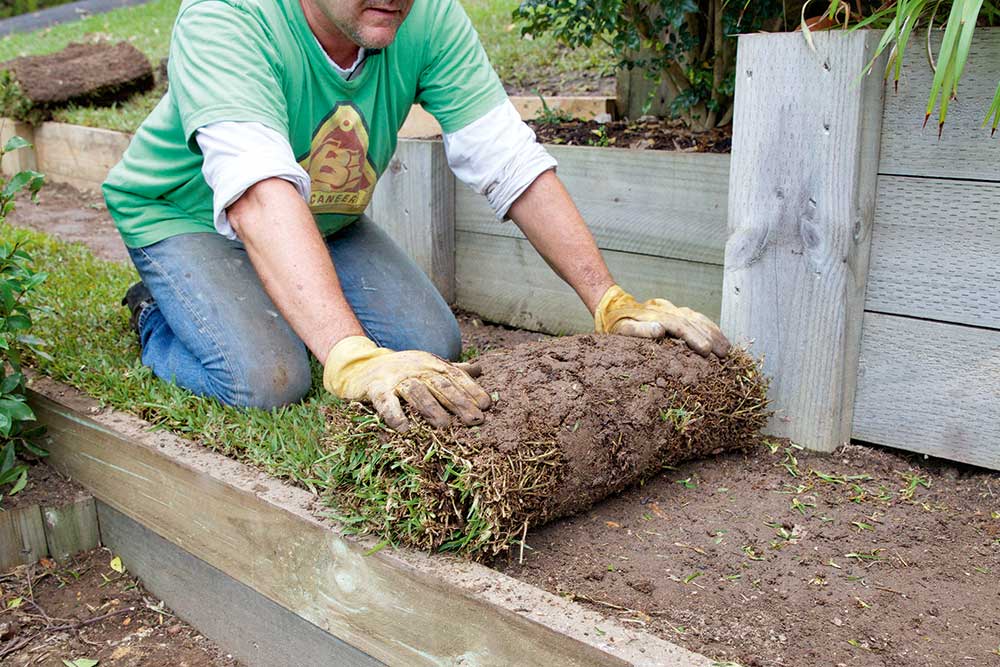
Finish with a layer of turf to prevent soil erosion

Don’t drain towards adjoining properties
Adding steps
For steps, we built a 1m wide box construction, with 250mm treads and 150mm risers.
Adjust the plan to fit with posts and any existing structures, adding the top step once the main structure is secured in position.
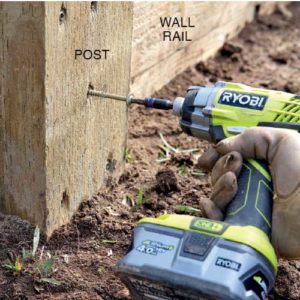
Use timber construction screws if you’re securing to an existing structure. Attach one side to the structure and the other side to the wall post.

Don’t make the steps too large or it will be hard to position them
Treated pine basics
Traditionally, pine is preserved with chromated copper arsenate (CCA). As arsenic can leach, this type shouldn’t be used for handrails, decks or vegie patches.
ACQ pine uses mainly copper, and while it won’t leach toxins it’s five times more corrosive, so you must secure with ACQ-safe screws.
Micronised treatments use copper microparticles in sleepers called Microshades. A safe option, these also need ACQ-safe screws.

ACQ pine uses mainly copper, and while it won’t leach toxins it’s five times more corrosive
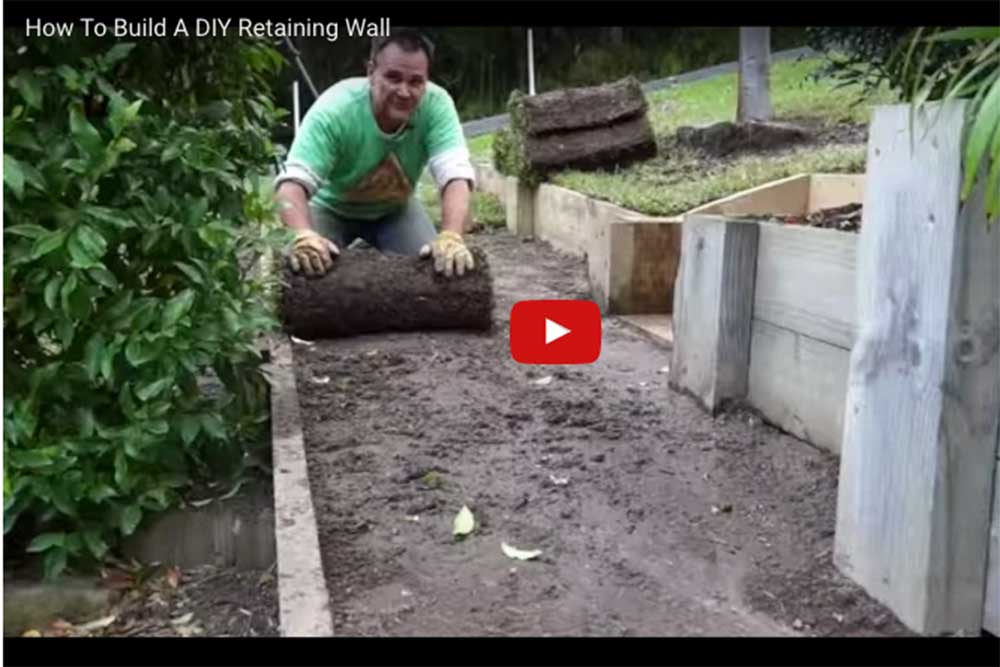
Click here to watch Adam build this retaining wall
Build the retaining wall
