How To Build A DIY Carport
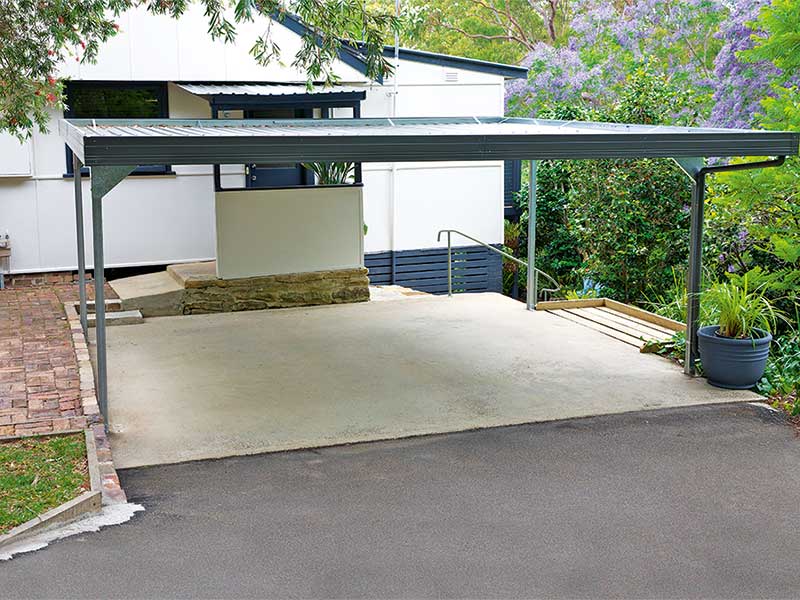
When you read the real-estate ads, one thing that always grabs attention and gives a property an advantage is covered off-street parking.
Having a carport for your vehicles doesn’t just improve property value, it helps prevent storm damage and keeps cars cleaner for longer, as well as keeping you dry on rainy days.
Building a garage is a bit beyond most people’s DIY skills, so what’s the quick, easy and budget-friendly alternative? The best solution is a classic skillion roof carport in a kit.
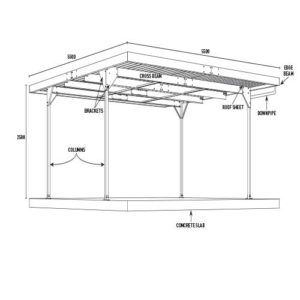
For this project, we installed a 5.5 x 5.5m Non-Cyclonic Double Skillion Carport, costing $1650, from Absco.
DESIGN TIP If you are in a high wind or high storm-risk area, you may need to buy a carport that has a cyclonic rating.
What you need
To build a carport from a kit, you’ll need basic equipment, power tools and appropriate safety gear.
- Heavy-duty work gloves, and ear and eye protection
- Angle grinder with metal cutting blades
- Sawhorses and stepladder
- Rivet gun
- Hammer drill and drill driver
- Masonry bit for Ramset bolts
- 10mm metal drill bit and metal rivet bit
- Phillips bit for Tek screws
- Silicone roof and gutter sealant
- Retractable tape measure
- Long spirit level
- Spanners and clamps
Plan ahead
Building a structure this size may require approval, so check with your local council before you DIY.
When replacing an existing carport of the same size or larger, approval is generally not needed. But if you’re in doubt, check with the council.
New structures such as carports can be covered by Exempt and Complying Development guidelines, but again, check with the council.
Our kit came with engineering plans ready for submission to the council, so ask your supplier whether yours has these as well.
If your carport is to be installed underneath powerlines, then the power cable may need temporary sheathing with tiger tails. Call the electricity provider for advice.
Consider how you will dispose of runoff water. Either fit it to your stormwater system, or run it through an ag pipe and use it as a soaker hose for garden areas.
Working with kits
If you’ve assembled any large items such as steel shelving or a flatpack kitchen, you’ll find this DIY project quite straightforward.
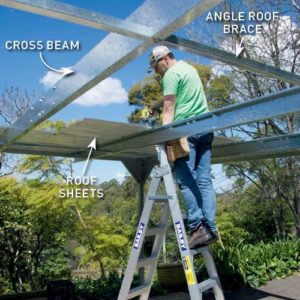
The difficulty comes from the heavy lifting required to get the roof off the ground, so make sure you have a few pairs of hands at that stage.
Before you start, open the kit and check carefully that all the parts are present to avoid any future problems.
After you finish building, paint the downpipe the same colour as the roof and fascia. Our carport features Colorbond trim and roof sheets in the colour Woodland Grey.
BUILDING TIP The best way to mount your new carport is to bolt it to a slab. Without a slab, use 650mm square x 550mm deep steel-reinforced footings for each column.
SAFETY TIP Ask for help when handling heavy materials and lifting the carport roof off the ground.
Adam’s Toolkit
PROTECT yourself when handling roof sheets by always using heavy-duty gloves, and when cutting or drilling metal by wearing safety glasses.
PLUG in the Ryobi One+ 18V charger and radio, $199, to recharge Ryobi One+ batteries and play music while you’re hard at work.
PAINT the downpipe using White Knight Grip-Lock Primer, $18, then finish with Dulux Weathershield, tinted to match the Colorbond roof and fascia colour.
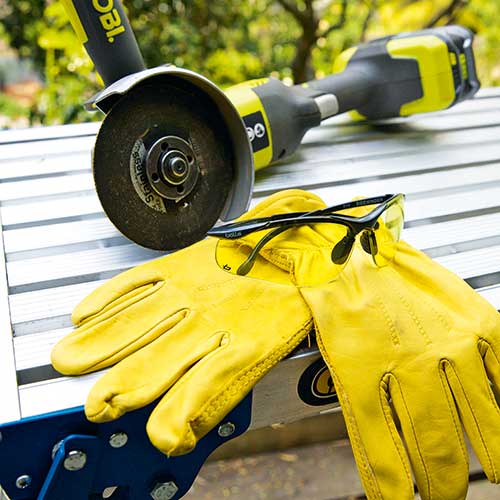
Protect yourself when handling roof sheets by always using heavy-duty gloves
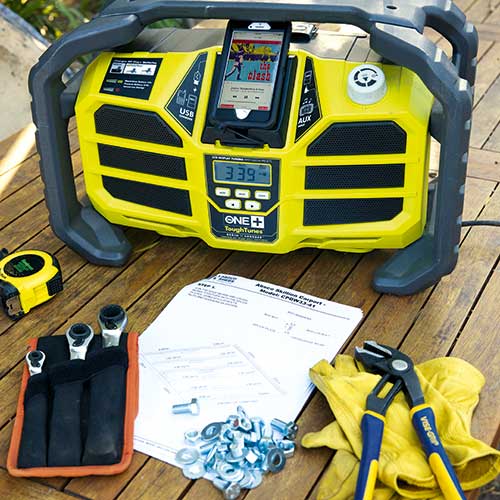
Recharge Ryobi One+ batteries and play music while you’re hard at work
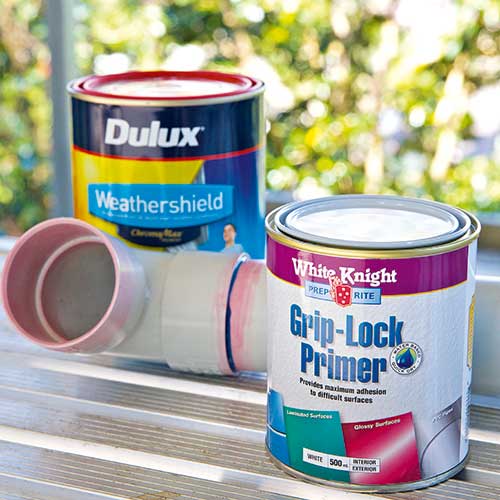
Paint the downpipe using White Knight Grip-Lock Primer
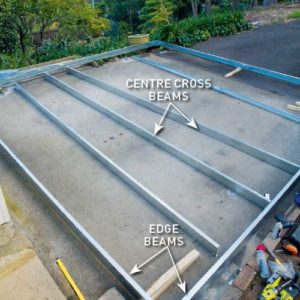
Install the carport

