DIY Floating Corner Shelves
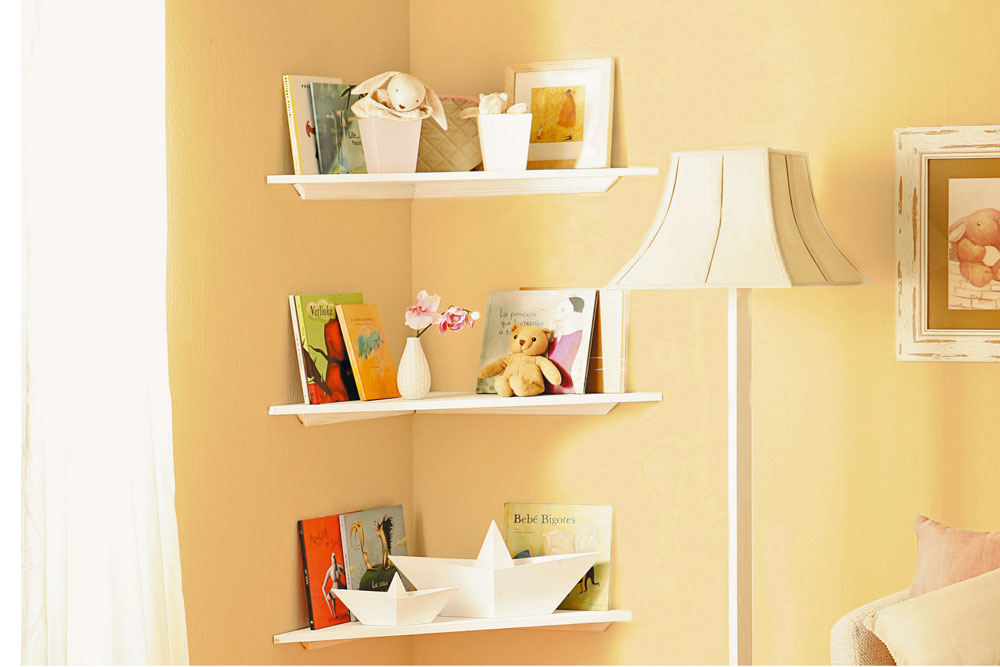
Remember Grandma’s corner cabinet filled with a lifetime of treasures? Here’s a modern take on that old-fashioned display method.
Floating shelves like these are simple, cheap, quick to make and free up valuable floorspace.
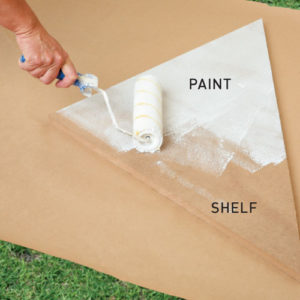
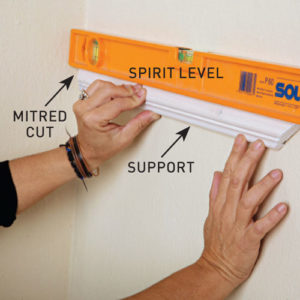
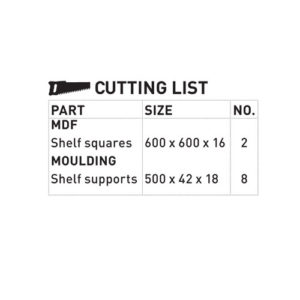
Installed in a corner they also have the bonus of using wasted space and can be put up in any room, as the size and number are easily adjusted.These shelves are just triangles cut from 16mm thick MDF using a jigsaw. They sit on supports with mitred ends to fit in the corners, cut from pine moulding using a handsaw.
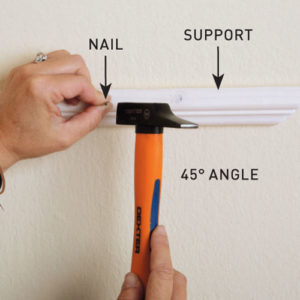
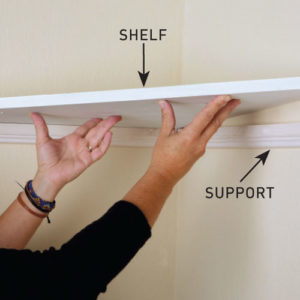
The shelf supports are secured into the wall studs while the shelves are attached with adhesive and nails.
Secure to the wall
We used a stud finder to locate the wall studs then installed four shelves, starting 600mm from the floor with a spacing of 400mm in between to maintain an open, uncluttered look.
For extra storage, five shelves positioned at 300mm spacings can also be installed.
For a neat flush fit it’s important to check the adjacent walls are square to one another using a builder’s square before cutting out the shelves.
If the walls are out of square, mark and cut out a cardboard template for the shelves, then check the fit is correct. To cut out the shelves transfer the template to the MDF.
Finding wall studs
Corner studs are easy to find so attaching at that point will be easy, but the next stud may be a little too far away to suit the supports. If that’s the case, secure the shelf support at the outer end using a plasterboard gravity toggle.
Drill a 10mm hole through the plasterboard then pass the machine screw through the batten and wind it into the toggle head. Insert the toggle through the plasterboard, pull back and tighten the screw with a screwdriver.


