How To Build A Chook House
Keeping chooks in the backyard has become popular again in recent years as more and more of us have rediscovered the benefits of owning these feathered friends.
Chickens are great fun to have at home and they are fantastically sustainable. Not only do they lay eggs and produce manure, which can be used for composting, they also gobble up pests and snails in the garden.
Every chook needs a place they can call home, so we called up sustainability expert Charlie Bacon from Ecolicious to help us build a chicken house.
Building the house
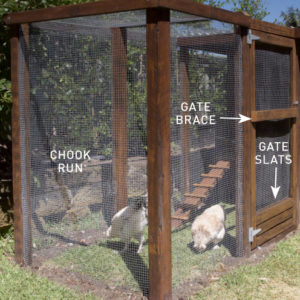
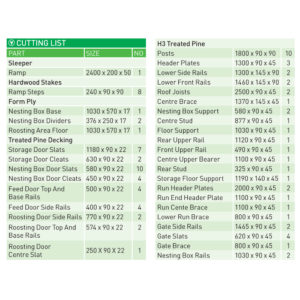
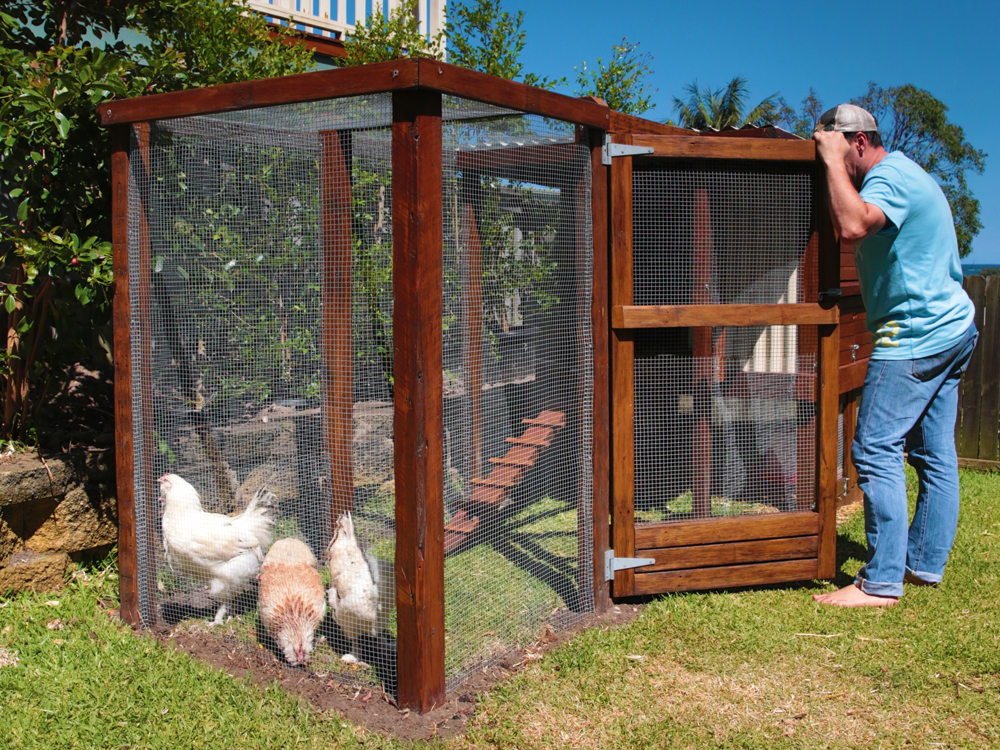
We built a coop and a run for up to six chooks from reclaimed hardwood. Both parts can be adjusted for size.
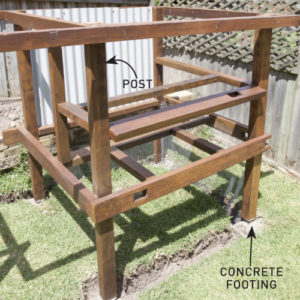
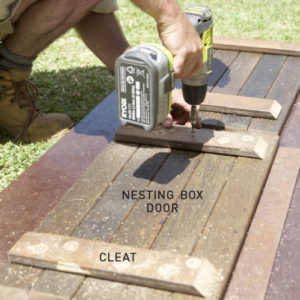
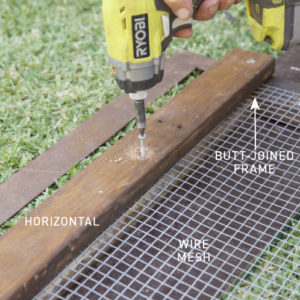
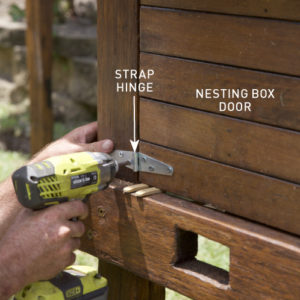
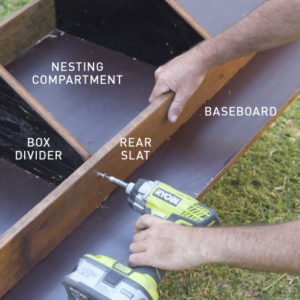
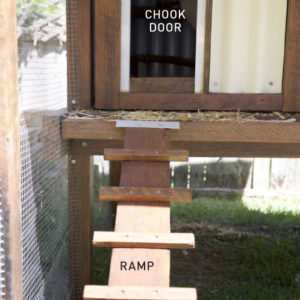
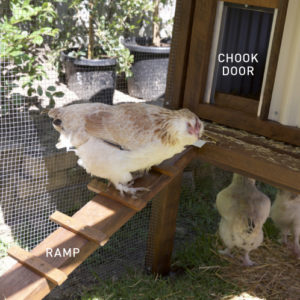
The structure has a large sheltered roosting area, nesting and laying box, and storage space. It’s important to use wire at the back of the storage area to keep the chooks out.
Its elevated design creates a shady cool zone underneath. The flooring and the nesting box can be pulled out for cleaning.
Click here for essential tips for raising chickens, plus how to choose the right breed