Cassette Table Templates and Instructions
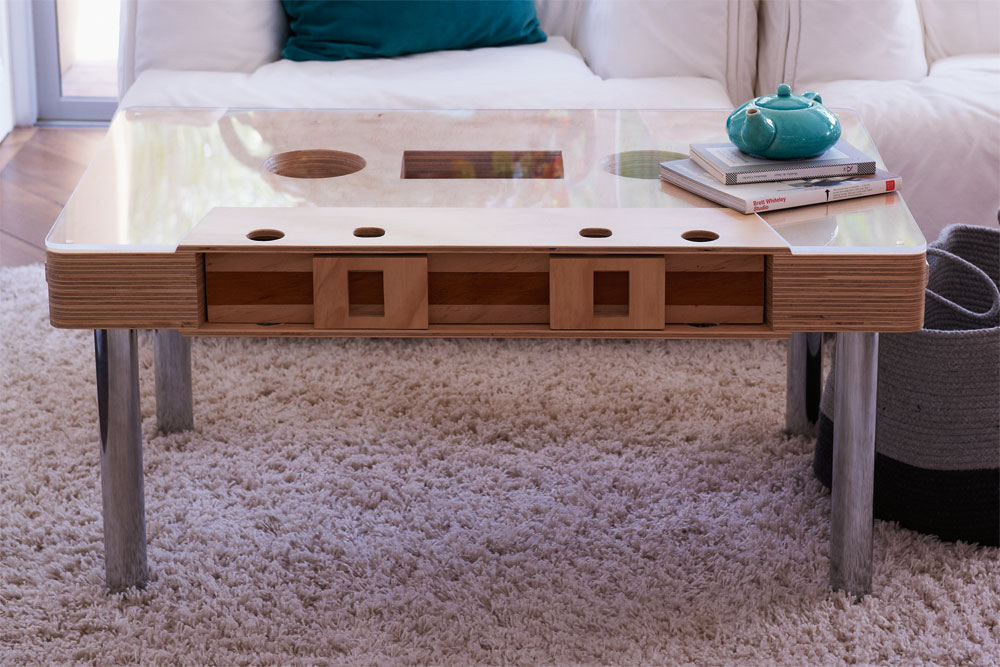
The proportions of this cassette table are almost identical to those of the original Philips cassette tape and it even has spools. It features a drawer for storage and a 6mm acrylic top.
In the February 2016 issue of Handyman, we explain how to build this fun coffee table using plywood. Click here to get this issue of the magazine online.
We have included templates for the parts below, as well as additional instructions to make assembly easy.

Cutting enclosed shapes
Drill a 10mm starter hole to facilitate cutting out enclosed shapes, and leave a buffer of about 1mm outside the cut line of the top and base sheets. This will give you a small margin for sanding back to match the inner layers.

Secure the drawer runners
Mount the drawer on self-closing 300mm runners, which will extend about 50mm behind the drawer itself and allow it to slide out almost fully, overcoming the main limitation of a single-extension design. Secure the drawer-side runners using the supplied screws, then mark the position of the wall-side runners and attach them before gluing the core into position.

Write-protect the table
Compact cassettes had an ingenious mechanical feature that prevented the recorded contents from being accidentally overwritten. This system comprised a pair of recesses in the back edge of the cassette, which were covered by removable tabs on blank cassettes. A sensing lever would engage with the recesses and prevent the record head from writing to the magnetic tape if they were uncovered.
If you’d like a write-protected table, cut the recess profiles out of the inner two layers, and use a high-speed rotary tool with a mini router attachment to cut a 5mm deep housing in the corresponding face of the adjacent layers. Alternatively, use a 25mm chisel and rounded wood-carving chisel to cut away the waste.
TIP The recesses will not protect your table from children armed with permanent markers.

Top Base

Top Base

Tape plate

Short side

Short railed side

Long side

Long railed side

Master side

Master side

Outer core

Inner core

Handles

Interface

Interface

Back spool

Front spool

Long back

Long back
Vote It Up:

Points: 11