Build An Open-Air Shower

Standing under an alfresco shower is the ideal way to rinse off salt, sand or chlorine after a dip on a hot summer’s day.
Made from merbau decking with screens on three sides, this simple, attractive design is a desirable addition to any pool or garden area.
Position the shower either on the lawn or a hard surface, preferably with a drain nearby.
Merbau is durable, readily available and finishes well after a light sand. It’s also heavy enough to make the structure stable.
Finish the timber with decking oil to seal it from moisture.
TIP Merbau, like most hardwoods, can stain light-coloured paving or concrete as tannins leach out in the first few months.
Connect the plumbing
The shower plumbing consists of two lengths of half-inch copper water pipe joined with brass compression fittings that feature an outer nut and inner ring of copper or nylon called an olive.
Measure and mark the finished timber frame to calculate the lengths of pipe required.
Cut the pipe to size with a hacksaw and smooth the cut edges with a file.
Attach an elbow to one end of each length of pipe with the olive and the nut, taking care not to over-tighten.
Connect the tap between the two pipes using straight joiners. Add the showerhead by securing it to the top elbow using an adjustable wrench.
Secure the shower assembly to the centre of the framework using copper pipe brackets and 15mm x 8g stainless steel screws. Connect the shower to a snap-on garden hose.
TIP When showering, take care if the hose has been in the sun as the initial flow of water may be very hot.
Preparing the timber
The base platform and posts are cut from 90 x 19mm timber.
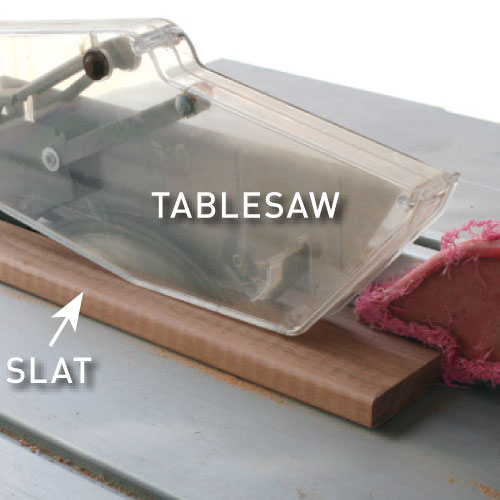
The back and side slats are the same merbau decking boards used for the rest of the framing cut along the grain on a tablesaw. A circular saw can also be used.
Adjust the width of the tablesaw fence to cut exactly on the centre of the boards, using a push stick to guide the boards through the blade and protect fingers.
Use a router and a 6mm roundover bit to finish the square cut edges so that they all look the same, then sand them with 180 grit paper.