Build a Classic Timber Step Stool

A sturdy stool is useful around the house for reaching high shelves or cupboards and can also do duty as a footrest or kid’s seat.
This walnut stool stands just over 300mm high with a 255 x 355mm top made from two 115 x 19mm boards.
The top is secured to a base of curved intersecting legs made from 140 x 19mm timber boards.
TIP The leg pieces don’t intersect at 90º so the notches are slanted at 15º off square and cut with a pull saw.
Choosing the material
The rich grain of the walnut, from specialist timber suppliers, gives this stool a classic look. Rock maple is used for the trim and to make 10mm plugs to hide the screw holes on the top.
To keep the budget down, use meranti or maple for the stool and a strip of pine for the trim and plugs.
When edge-gluing the top boards, select grain patterns that work well together to help hide the joint.
Using a plug cutter
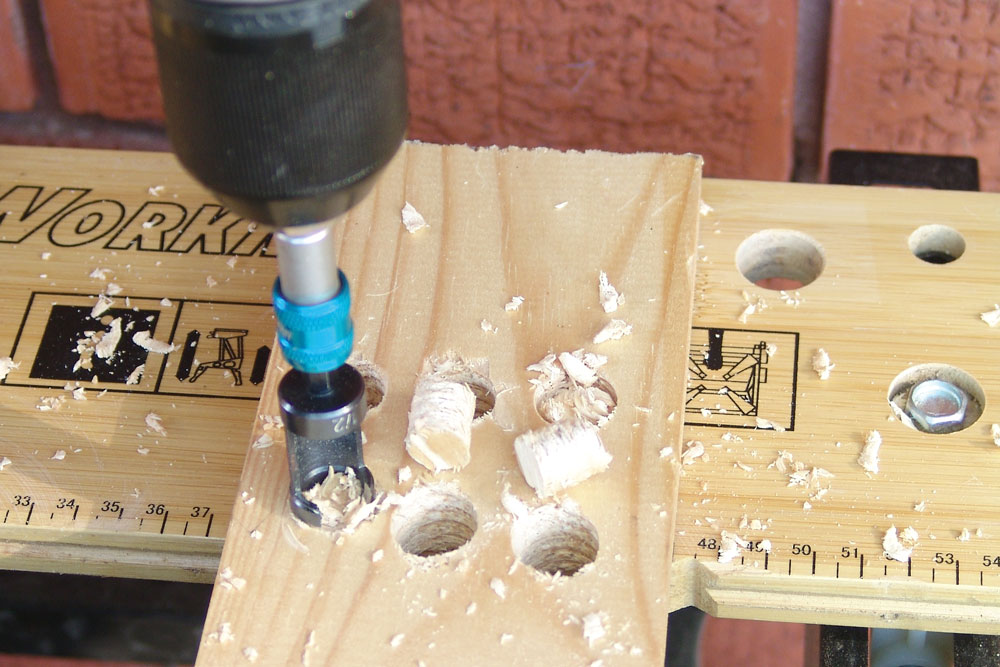
To conceal the screw heads in the stool top, use a plug cutter to make four 10mm diameter plugs from an offcut of contrasting maple or pine.
A plug cutter is a barrel-shaped drill bit with a sharp leading edge that cuts a ring shape into timber, leaving the central core intact.
Make the plugs using a low speed and holding the drill firmly as the lack of a centring point gives the bita tendency to kick away from the intended drilling location.

A plug cutter is a barrel-shaped drill bit with a sharp leading edge that cuts a ring shape into timber, leaving the central core intact
Assembling the stool
Once all the pieces have been made it’s time to assemble the stool. To make a trammel, drill a pencil hole in a 300mm timber strip, positioning a screw 202mm from the centre of the pencil hole to act as a pivot. Position the screw point on an offcut to draw the leg arcs.
After cutting the notches, clean out the waste with a chisel then turn over the stool top to test-fit the leg assembly, marking around it.
Drill 2mm pilot holes 20mm from the leg ends and four in the stool top enlarging the first 10mm with a 10mm drill bit. Secure the top to the legs with PVA adhesive and 50mm x 8g screws.
Cover the screw heads with plugs, sand all over with 180 grit abrasive paper then spray with a clear lacquer.
Make a timber stool


