Build a child’s ottoman

This ottoman is built from repurposed pine crates, but since they’re bought new, you don’t have to compromise on the looks or finish.
With castors for mobility and a comfy seat pad on top, the ottoman can be wheeled out for a play date or used solo for reading and colouring. Plus, it offers plenty of storage for when it’s time to pack up the toys.
Cut the seat and ottoman base from 9mm MDF, and make the cushion using upholstery foam and wadding covered in poly cotton fabric.
Finish the timber and MDF with semi gloss white acrylic.
Attach the padded top from underneath using 20mm x 8g screws that go far enough into the MDF without poking through the foam.
Use shorter or longer screws if the slats of the crates you use are thinner or thicker than 12mm.
You can adapt the design by making a hinged top, allowing the centre void to also be utilised for storage.
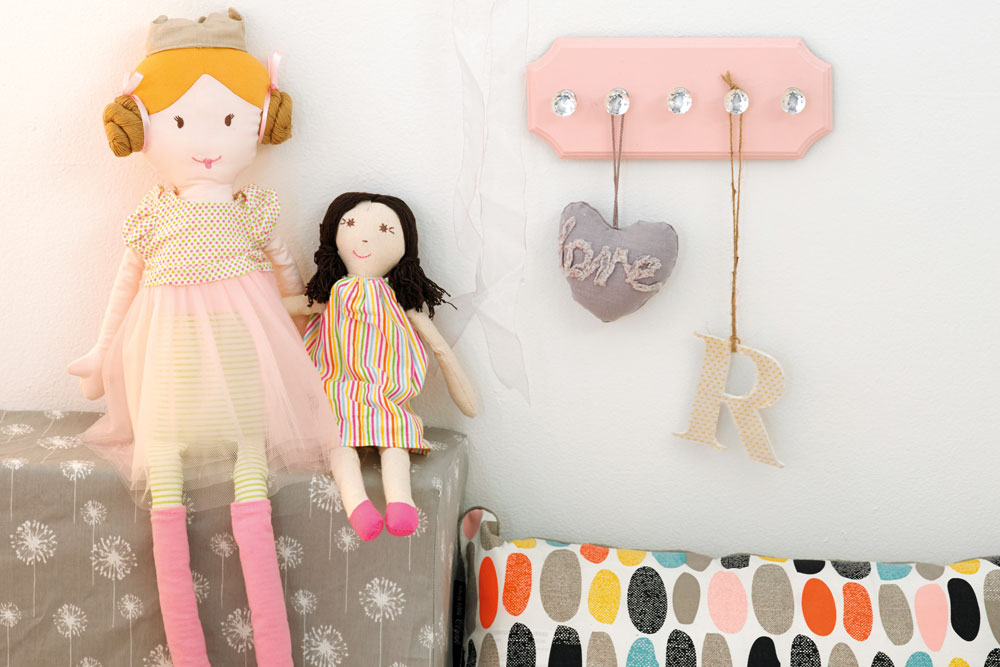
Hanging a plaque
Create customised hanging for lightweight decorative items using an MDF plaque and leftover paint.
This project used a Boyle French Corner Key Plaque, about $6, and five small crystal drawer knobs, $5 each, from That Vintage Shop (thatvintageshop.com.au).
Apply a primer and two coats of acrylic with a brush, sanding lightly between coats with 220 grit paper.
Mark the knob positions on the back and drill five clearance holes, attaching with screws.
 It’s easy to create a wall plaque to hang fun, decorative items
Upholstering the seat pad
Position the fabric right-side down then top with the wadding and foam.
Apply adhesive to the MDF base and position on the foam.


