Build a Bathroom Cabinet
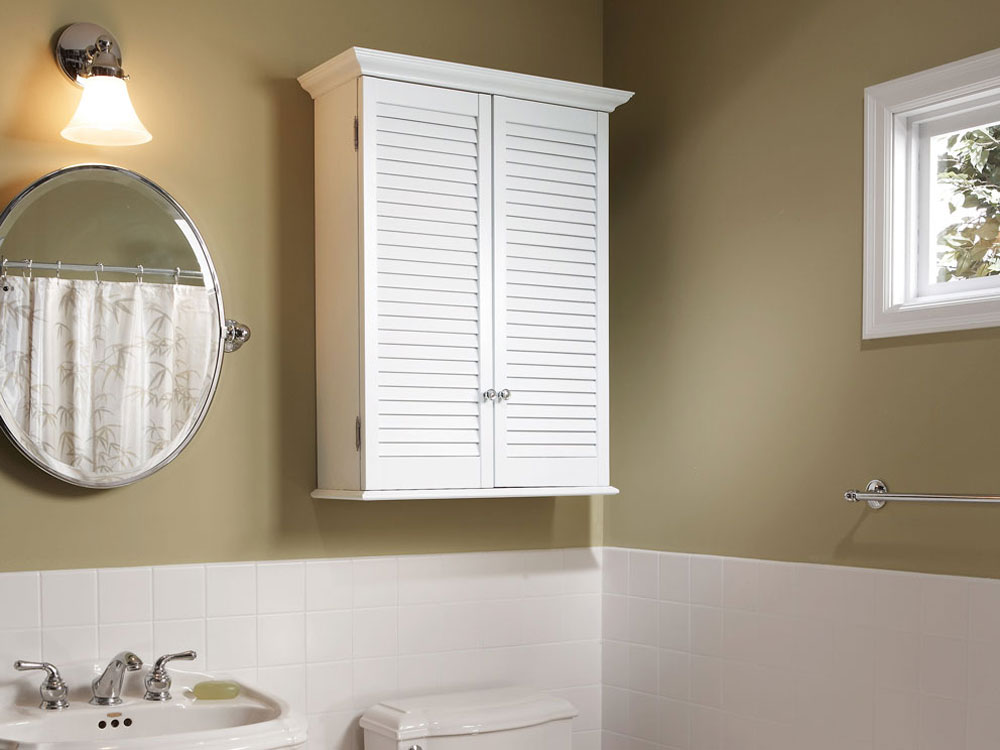
This cabinet has about three times as much storage as a typical medicine cabinet.
It’s also a great project for a woodworking novice, thanks to simple joinery and a readymade door.
Assembling the top and base are the trickiest bits. A single louvre door is cut in half to form two. Recycle a wardrobe door or buy one for about $25.
You may need to adjust the height and width of the cabinet to suit your door (this one measured 1650 x 300 x 19mm). So buy the door first then alter the carcass and shelves as necessary.

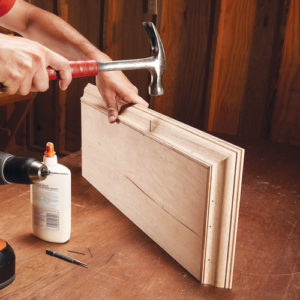
Step 1. Assemble the carcass
Cut all parts to size (refer to Cutting List above). Assemble the carcass with glue, screws and dowels. Drill 3mm pilot and countersink holes for screws (see Diagram above) and use a 10mm brad point bit for the dowels. TIP Ensure the box is square before drilling dowel holes.

Step 2. Drill shelf pin holes
Using a scrap of pegboard for positioning, drill shelf support holes. Wrap masking tape around the drill bit to prevent drilling right through. Set the 5mm or 6.5mm holes, depending on the support, 40mm in from the front and back edges of the sides.

Step 3. Cut the louvre door
Lay the door face down (so any splintering happens on the back) and cut in half using scrap timber as a saw guide. To finish, sand the cut edges with 120-grit abrasive paper.

Step 4. Attach the hinges
Position the hinges 75mm from the top and base of the doors. Use a self-centring drill bit to position the screw holes then fasten the hinges.
TIP Use a non-mortice type hinge for easy fitting.

Step 5. Attach cabinet doors
Position the doors and clamp to the carcass. Fasten the hinges from the inside for an exact fit, ensuring the gap at the top, sides and between doors is 3mm.
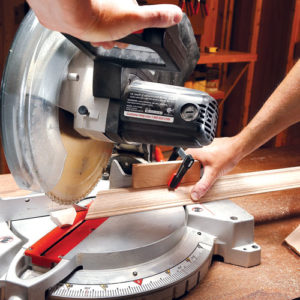
Step 6. Cut the moulding
Measure the top of the cabinet (including doors) to cut the top and base frames. Set a mitre saw to 45o and position the moulding upside down, against the fence. Clamp a block to the fence to secure the moulding while cutting.
Step 7. Attach moulding to the top
Pre-drill nail holes to avoid splitting. With the sides in place, add the front top moulding. Cut slightly long and shave one end with a mitre saw for a tight fit. Add the moulding to the base frame the same way.

Step 8. Finishing touches
Fasten top with screws from the inside and attach base the same way. Cover dowels, screws and nail heads with filler then sand. Apply primer and two coats of acrylic enamel. To hang, use 65mm x 10g screws through the top and base cleats into wall studs.

Click on the diagram
Follow the labelled diagram to build the bathroom cabinet. It has the name of all the parts to help you with assembly.
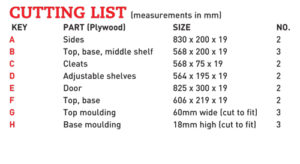
Click on the cutting list
Follow the cutting list to build the bathroom cabinet. It has the name of all the parts and the measurements to help you cut the components and assemble the cabinet.
Vote It Up:

Points: 0