Budget Built-In Shelving
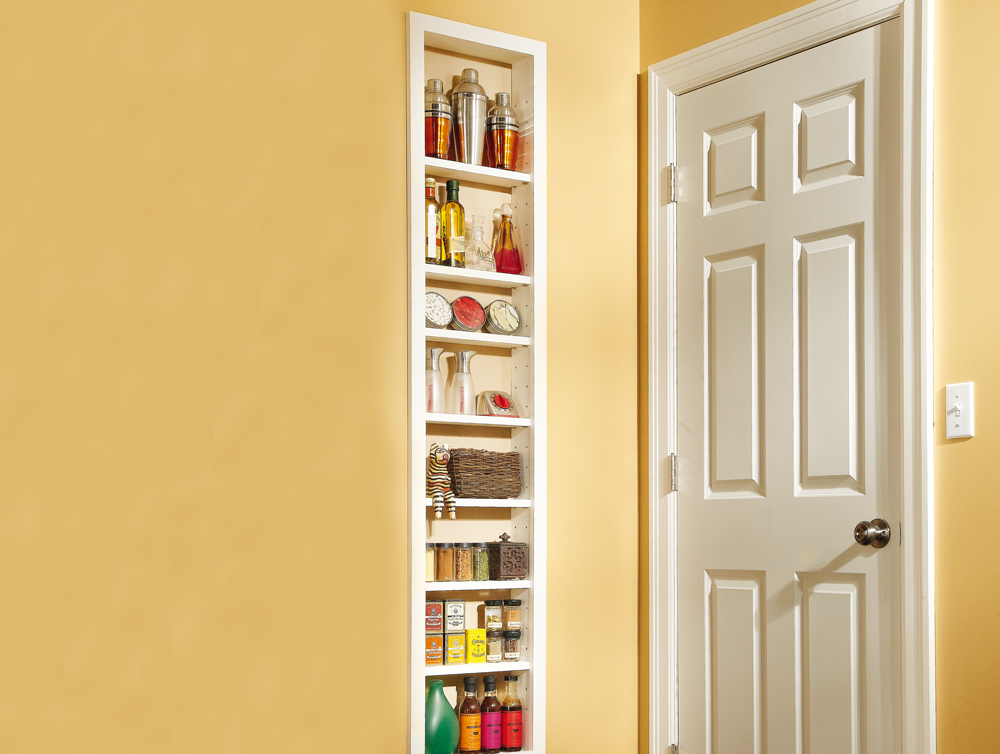
Cut out a piece of plasterboard and install a timber frame for recessed shelving you can build in a day for just $105.
Storage in a small home can be hard to come by but in a room with plasterboard walls, you have extra space at your disposal.
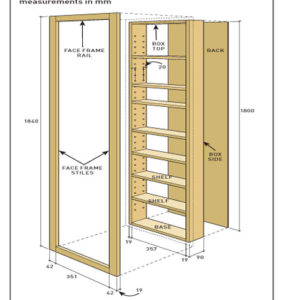
Easy to build, this shelving is a box measuring 1800mm high and 395mm wide that fits between wall studs spaced 405mm apart. If your studs are at 600mm, simply adjust the dimensions of the box.
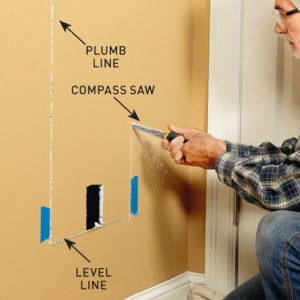
Before you buy the materials, choose the position, locate the wall studs and cut a hole in the plasterboard using a compass saw.
To get the box width, measure between the studs at the top and base of the opening, checking for plumb with a spirit level, and subtract 10mm.
For the depth, measure from the wall surface to the back of the hole and subtract 6mm, cutting the shelves to fit with a 1.5mm gap either side.
TIP Walls contain pipes, wires and more, so you need to find a clear spot.
Cut the components
For standard 90 x 45mm wall studs and 10mm plasterboard, build the box using raw or primed pine.
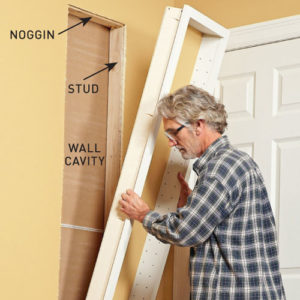
Cut two noggins from 90 x 45mm timber to fit between the studs at the top and base of the box, securing with screws skewed through the ends into the studs.
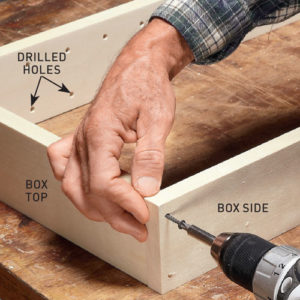
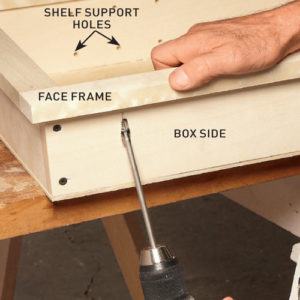
The box sides, top and base are cut from 90 x 19mm pine with two rows of 5mm holes drilled on the sides for the shelf support pins.
Secure a strip of pegboard with 5mm holes to an offcut of 42 x 19mm timber with adhesive, using the template to drill the shelf pin holes 20mm from the edges of the sides.
TIP Paint the box after the face frame is attached, let it dry then secure it in the wall cavity, adding the shelves.
Cavity inspection
To check the space between studs is usable, cut a 75 x 50mm hole in the wall with a compass saw.
Use the mirror of a compact and a torch to look inside. Inspect the space for pipes, wires and other obstructions.
If the cavity is clear then cut the hole but if not, repair the plasterboard.
TIP Switch plates and outlets indicate wiring in that stud space.
