It probably doesn’t come as any surprise to learn that wood burns. But some beginning woodworkers are surprised to learn that burn marks caused by their saws and router bits are not a necessary byproduct of woodworking.
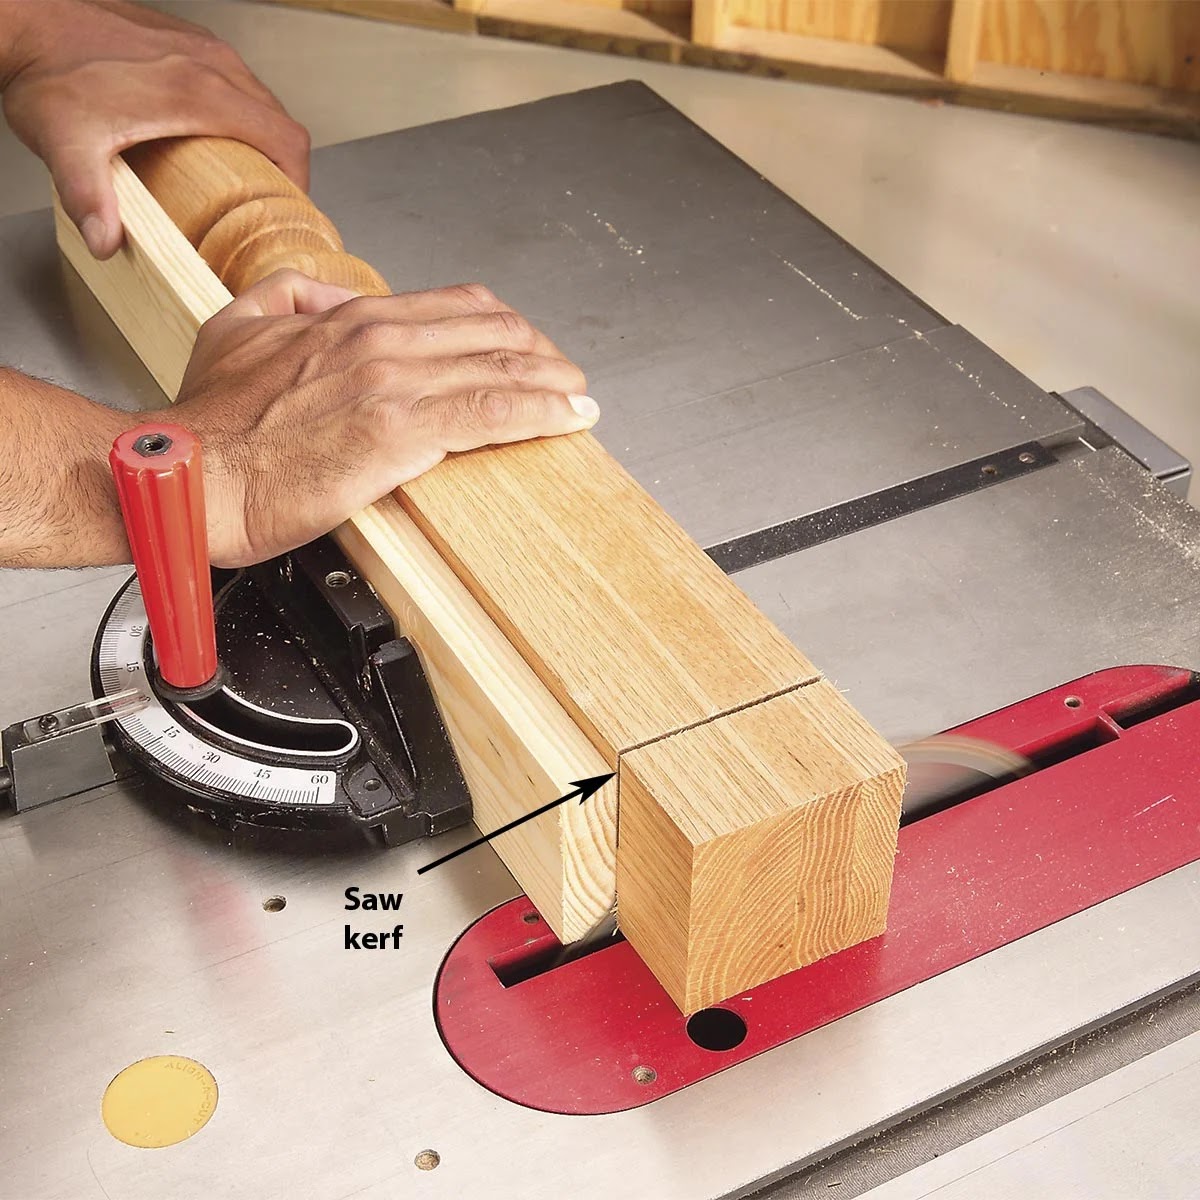
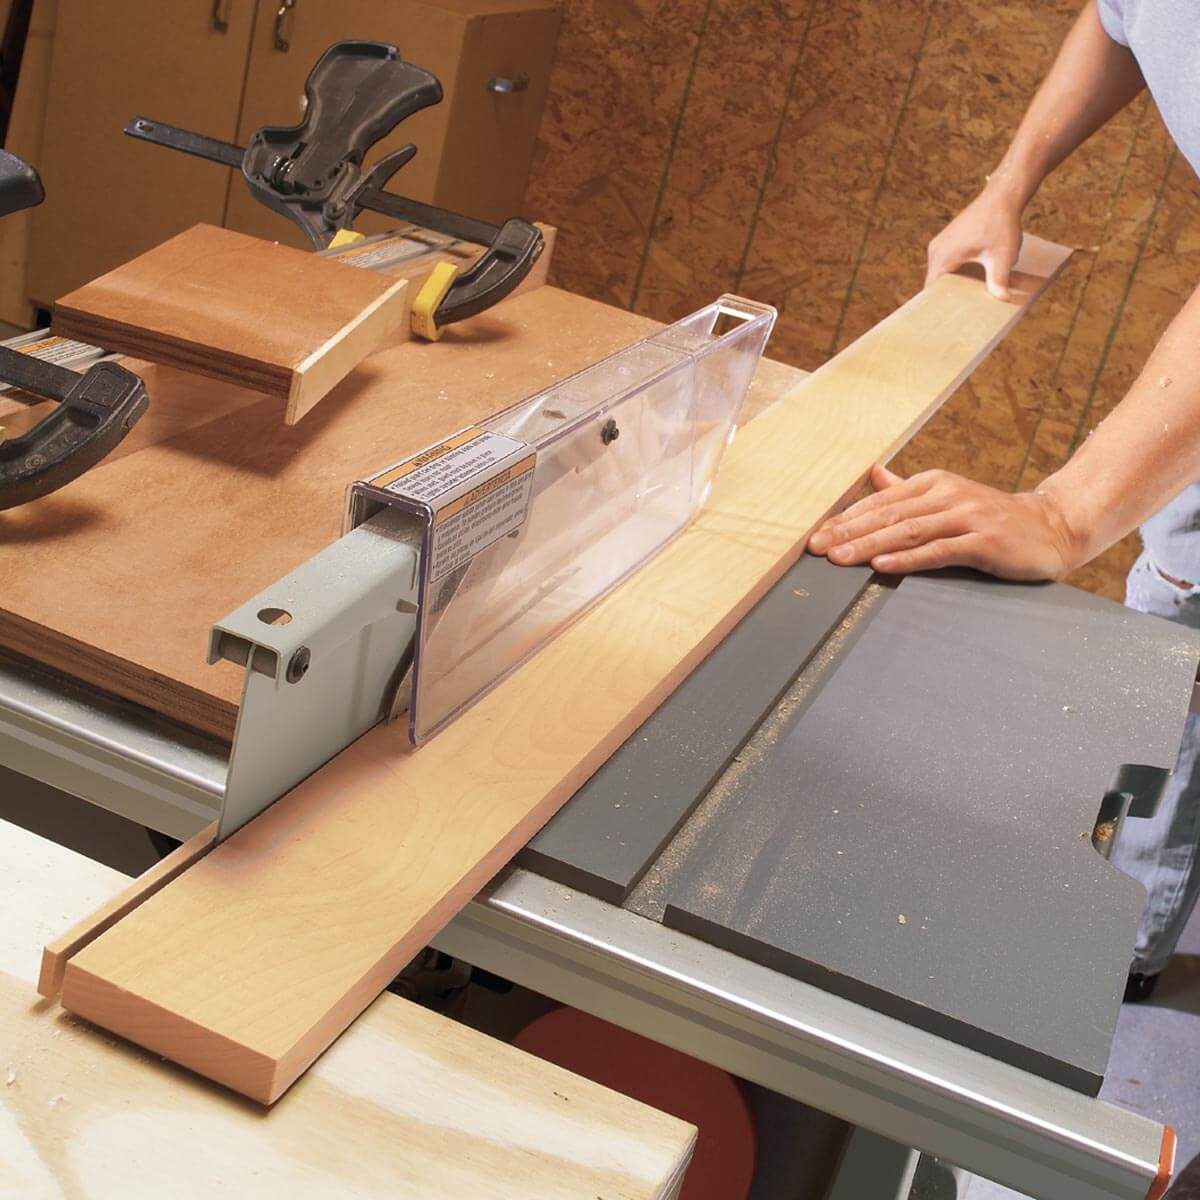
Burn marks from flat blades are relatively easy to eliminate. The burn marks can be planed or sanded off. Or better yet, avoid them completely by using a sharp, clean blade.
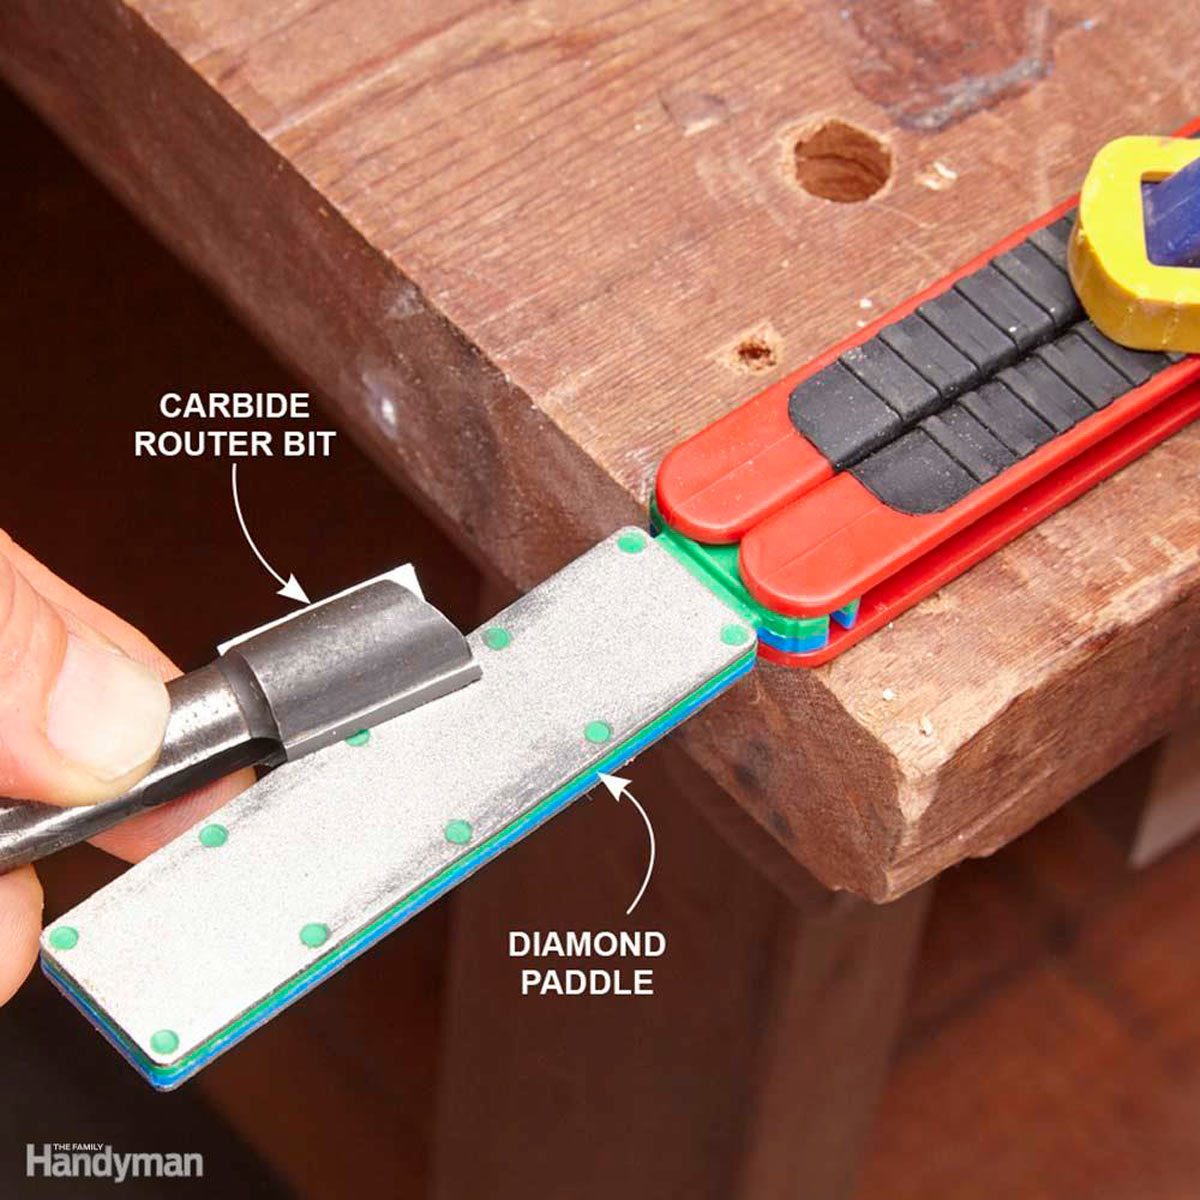
Router burn however, can be more difficult to remove, due to the complexity of the bit profile. To avoid router burn, make sure you are cleaning your router bits after each project. Resins and dust can build up on a bit’s surface, and cause the metal face to heat up faster. This in turn increases the chance of burning your next project. And, the higher heat dulls bits faster. So clean your bits and you’ll be saving money as well!
Also, be willing to take the time to do multiple passes when removing large amounts of material. If you are routing off more than 2.5-3mm, make several shallower passes, and you’ll reduce the chance of burn marks.
Here are 19 practical woodworking projects for beginners.