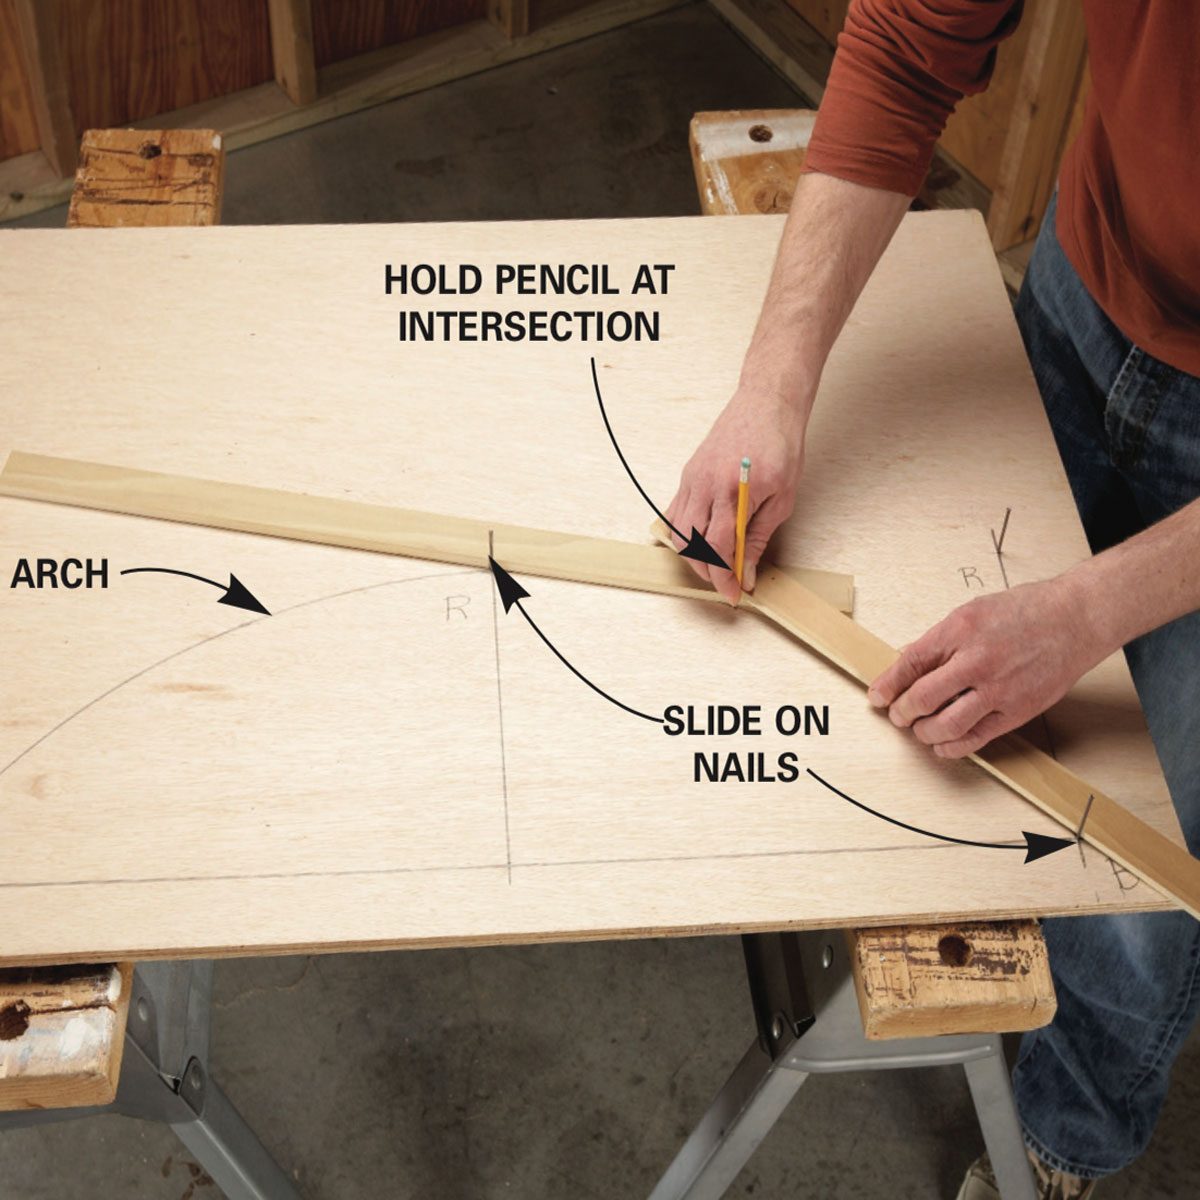
Learn and master the basics
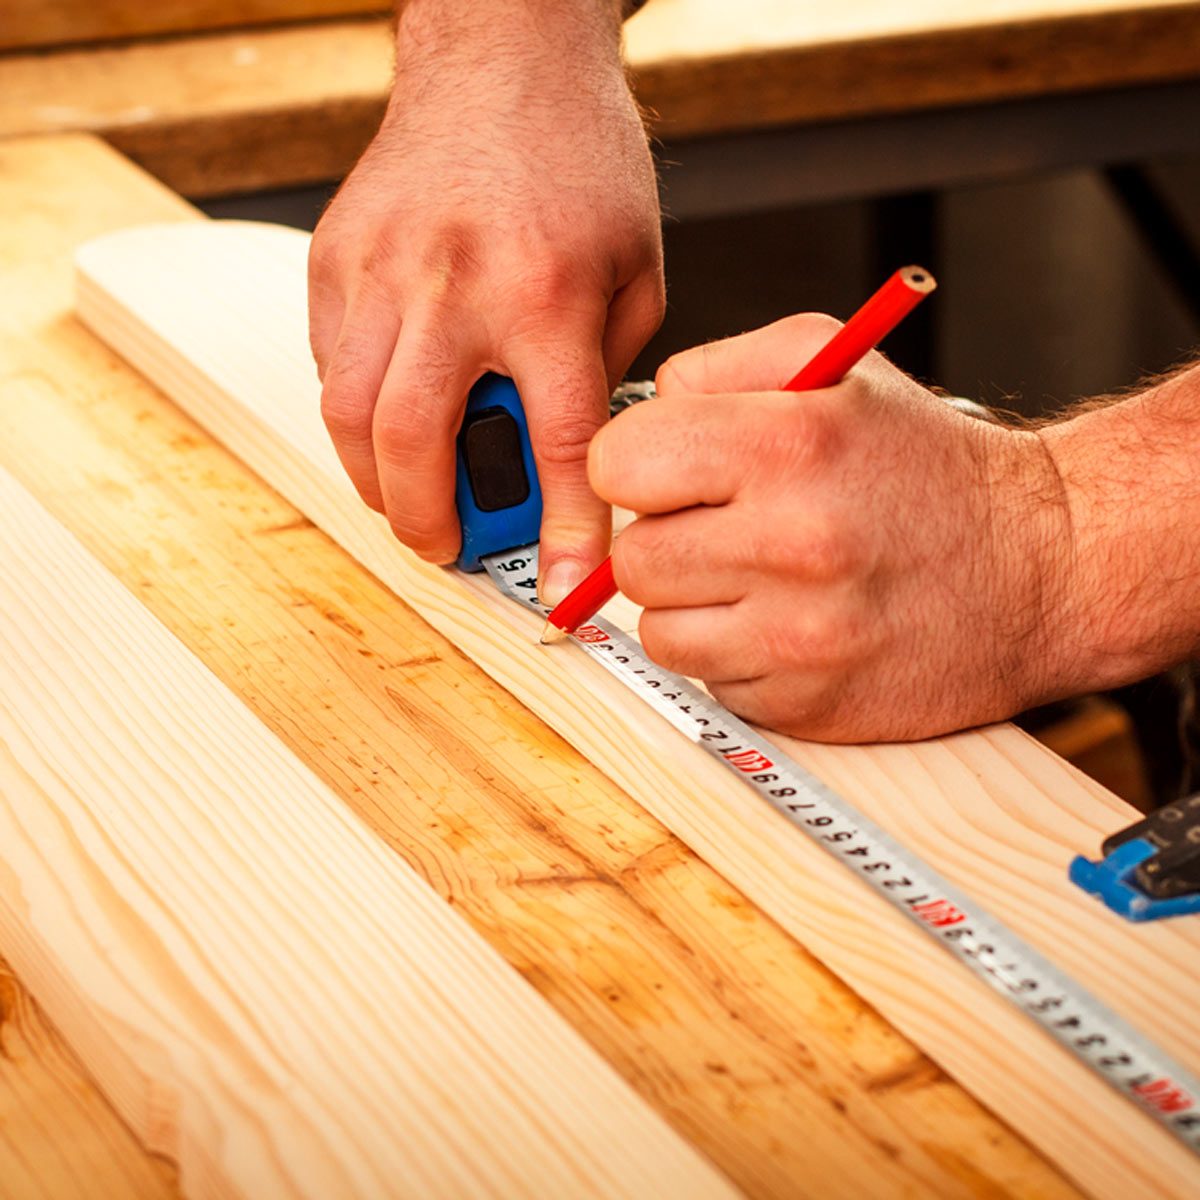
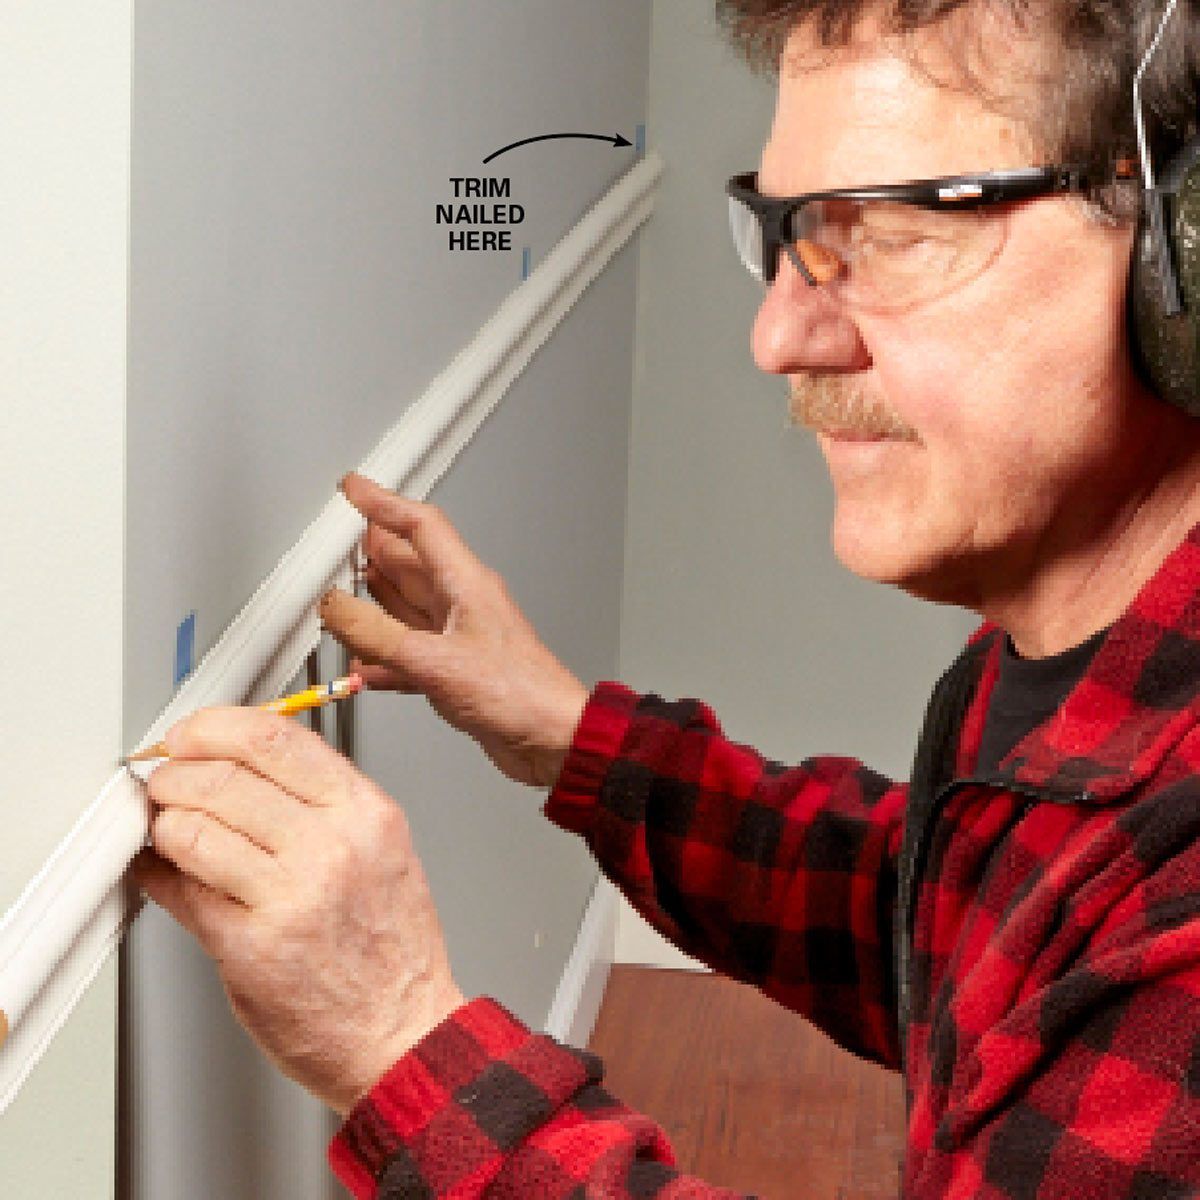
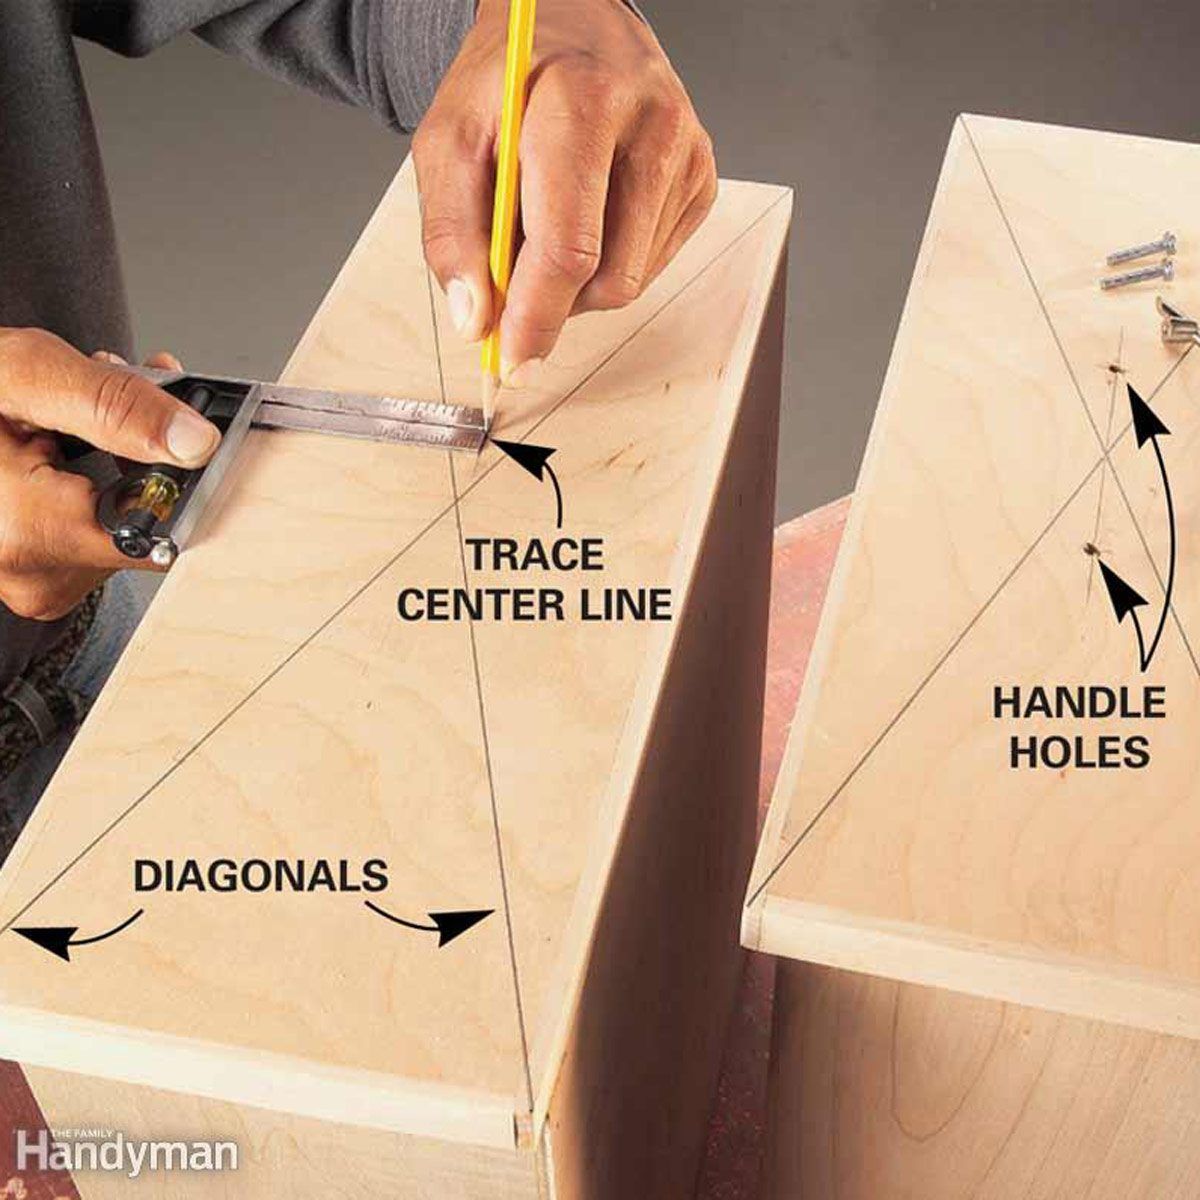
Before we get too far into the hacks and tricks, let’s pause a moment to make sure we all understand the basics of marking for a cut. It’s always best practice to mark the board where the saw will make its first contact. For a circular saw, that’s usually at the edge of the board, while a mitre saw cut should be marked in the middle of the board. When possible, mark with a ‘V’ to reduce the chances of favouring one side of the line or the other.
You’ll also benefit from reading up on our essential guide to measuring and marking tools.
Simple way to mark cylinders
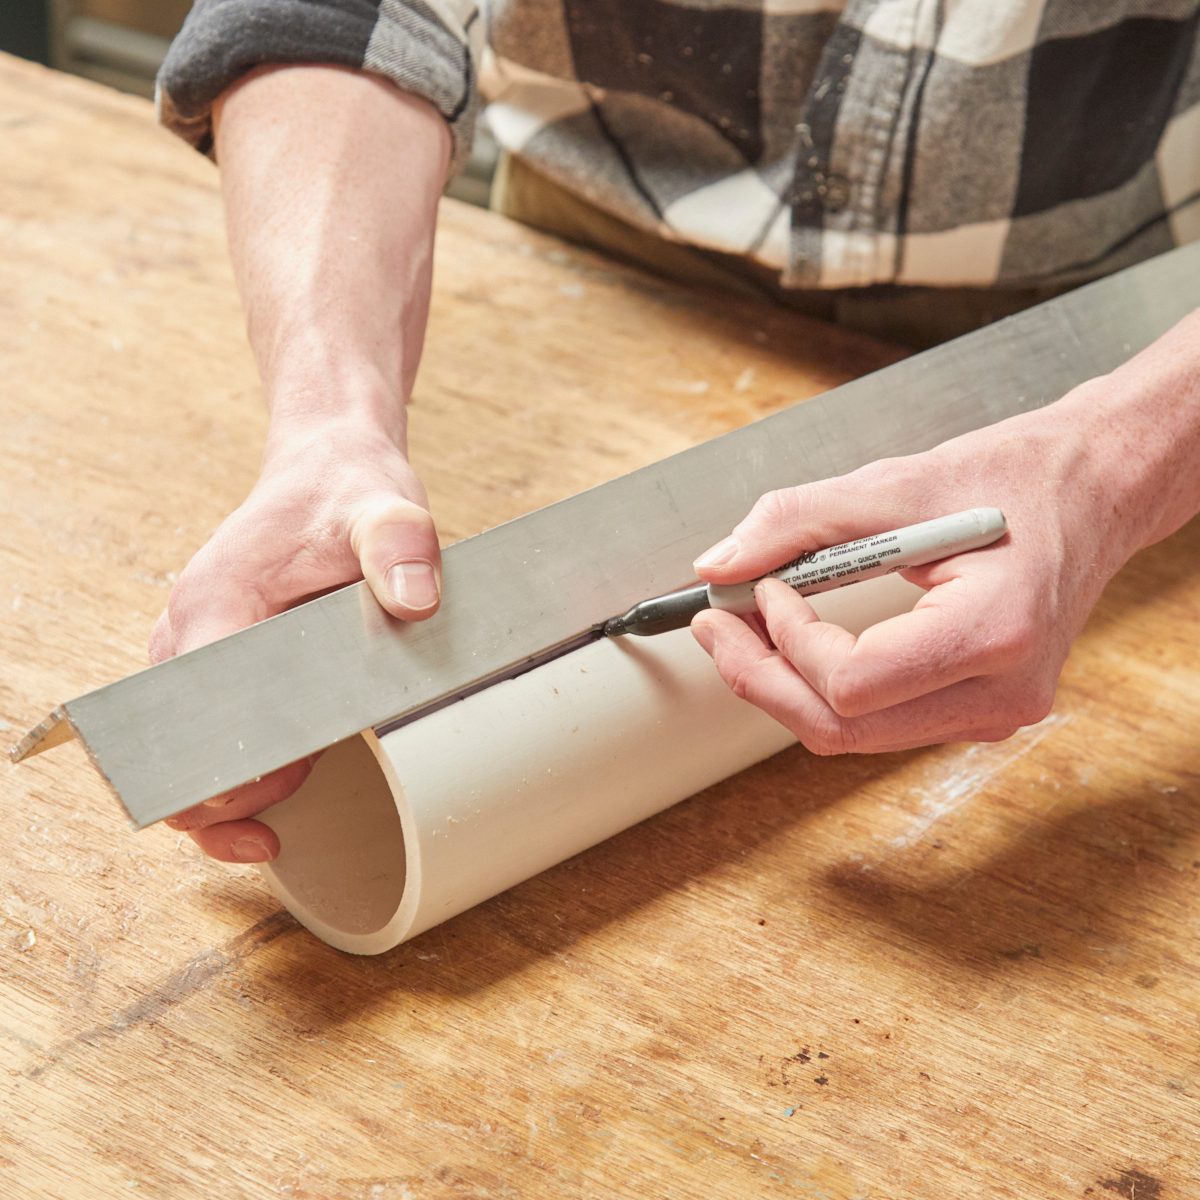
It’s notoriously difficult to mark cuts on curved surfaces. Dropping a straight edge or a measuring tape on a length of tubing or PVC will give you a line to mark against, but it’s very simple to roll or shift your edge when trying to pull a mark. Instead, try this hack: use a length of angle iron to create multiple touch points on the cylinder, stabilising the line and making it easy to draw a mark with a pencil or marker. If you need to pull a measurement on the surface, just put a tape measure or ruler on the flat surface of the angle iron. It’s a great way to make a tricky job simple!
Don’t be afraid to hack that tool!
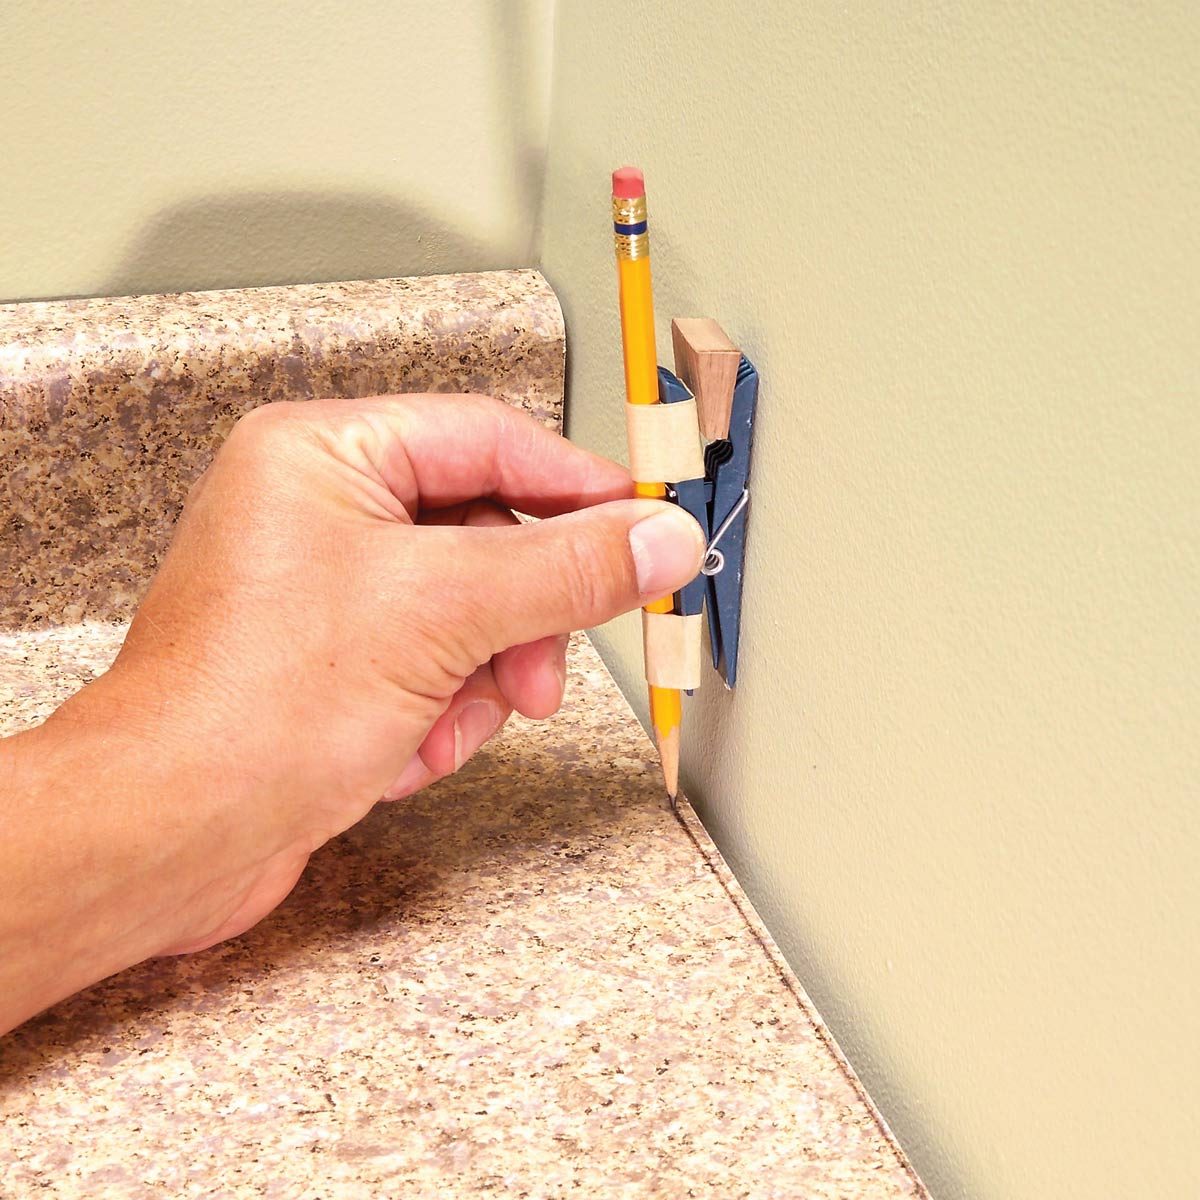
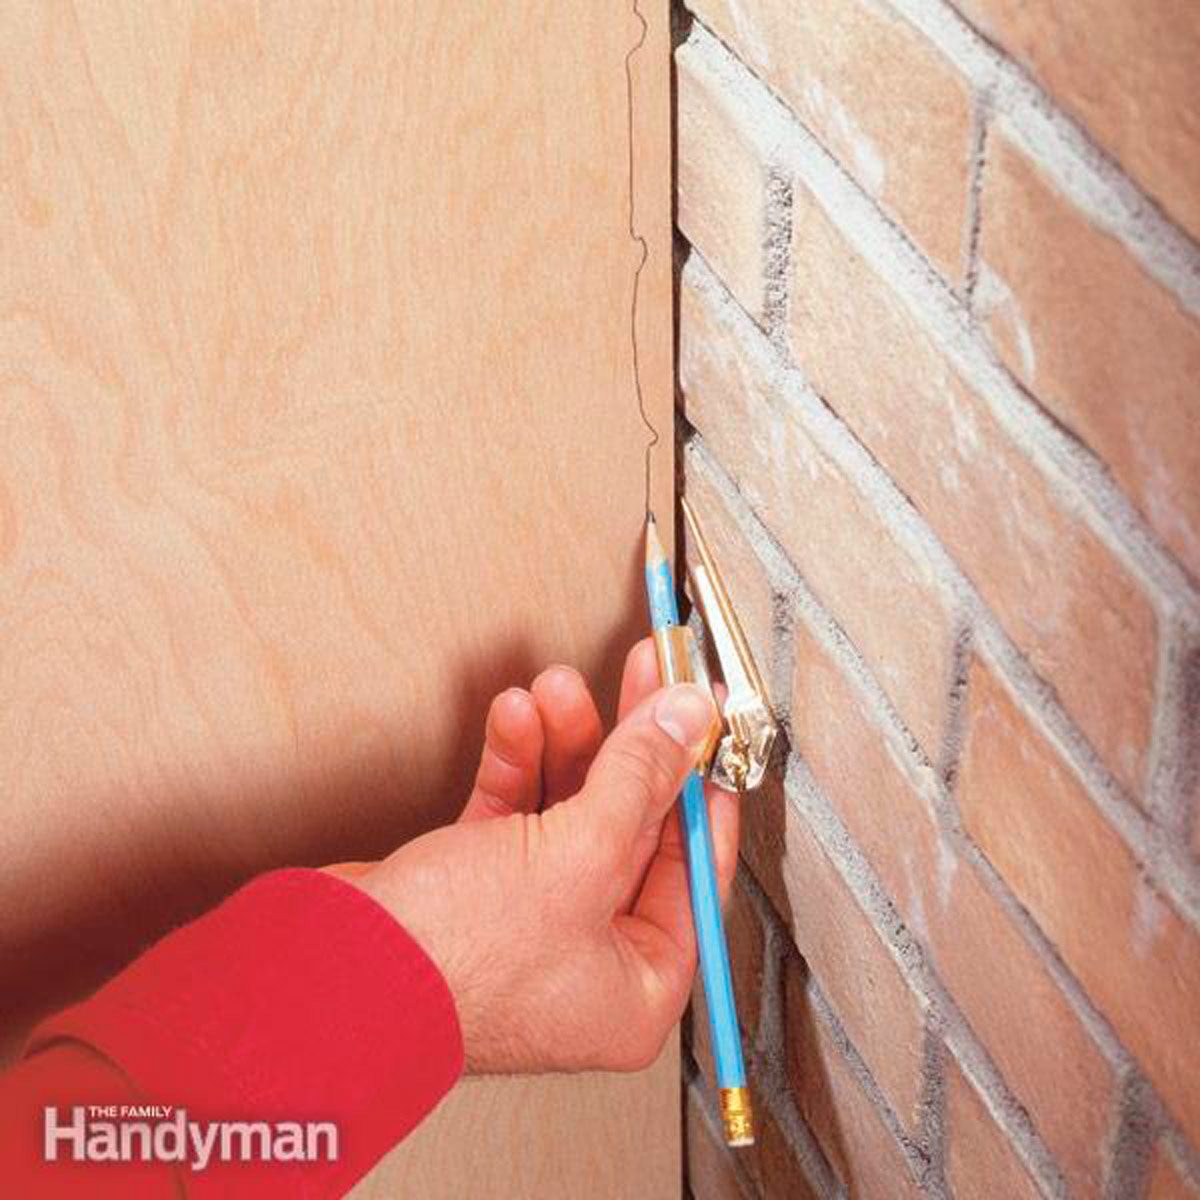
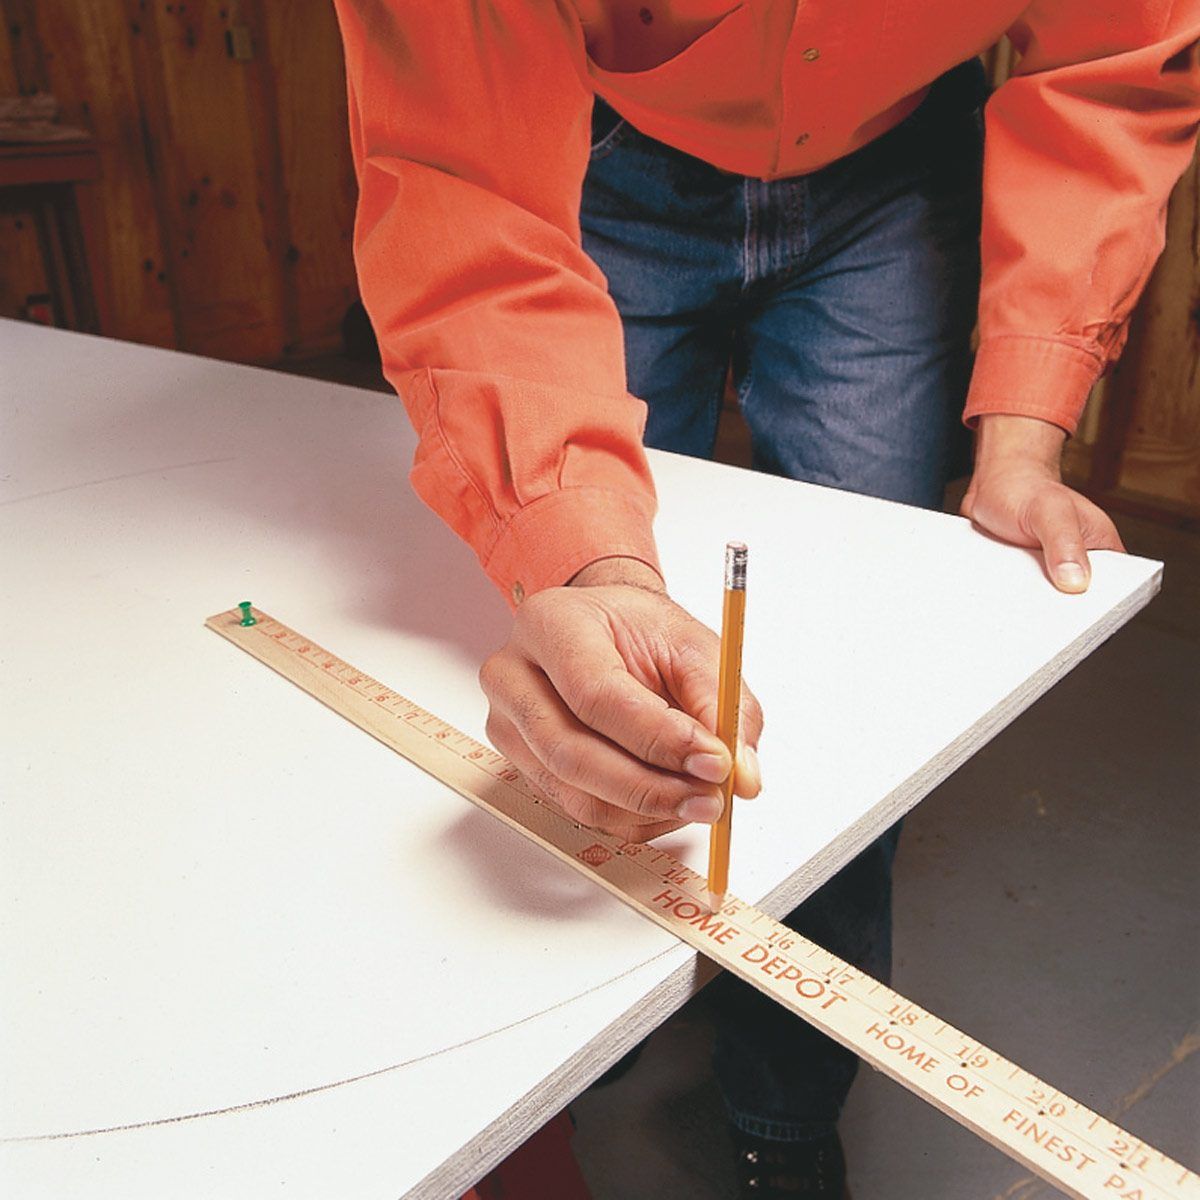
There’s no shortage of specialised tools on the market, and many of them make marking quick and easy. But that doesn’t change the fact that it always seems like the right tool for your specific job is back home or still sitting on the shelf at the hardware store. That’s why it’s important to learn to not fear adapting your tools on hand to complete your project. A perfect example is this clothespin scribing tool sent in by reader Bruce Kieffer.


