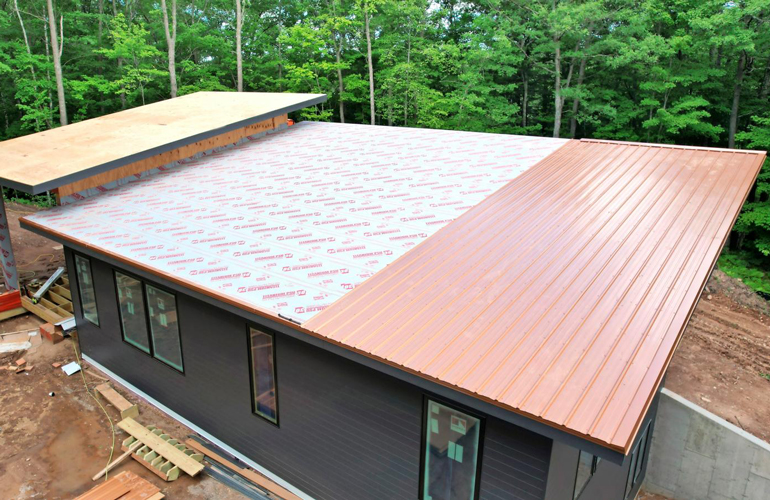
Install a metal roof

With its sleek, modern look, metal panel roofing was our first choice for our cabin roof. It has no visible seams and is maintenance free — even a light rain will wash leaves and sticks off the roof. Even better, it won’t grow moss and algae in its shady, wooded area.
A metal roof will reduce cooling costs by reflecting heat and last 50 to 70 years. Armed with a basic understanding of the anatomy of a metal roof, along with a few tips, you can install one yourself in just a few days.
Pro tip: It’s all about the layers. When it rains, a roof sheds water from one layer to the next until it runs off the roof. Build roof layers the right way and your home will stay dry inside for its entire life.
Apply the underlayment

The first layer on top of the plywood or OSB roof deck is underlayment. For this, we chose a self-healing ice-and-water membrane to protect the shallow-pitched roof deck.
The tricky part in laying the underlayment is keeping it flat and wrinkle-free. Unroll the underlayment across the roof while removing the bottom half of the adhesive backing. Overlap the previous layer by 15-20cm. Once the underlayment is rolled out, cut it flush and pull the rest of the adhesive backing out from underneath.
Here’s everything you need to know about choosing a new roof.
Order panels to fit

If possible, avoid seams in your roof. They don’t look great, and it could lead to water getting underneath the panels.
I had our metal roofing panels cut to fit the length of our roof. They were nearly 10m long and had to be delivered on a flatbed trailer. Of course, you’ll need a large lift to hoist the panels on top of the roof. If you don’t have one, you’ll have to order more manageable lengths.


