Banish those bumps!

Popcorn ceilings were all the rage back in the ’60s and ’70s. Applying the texture to drywall and plaster ceilings was a quick and easy way to hide imperfections and didn’t require any painting afterward. But the rough texture catches lots of dust and cobwebs and it can be difficult to know how to remove popcorn ceiling. It can be a real pain to match if you have cracks or holes in need of patching. Figuring out how to remove a popcorn ceiling texture from a ceiling is a messy chore but worth the effort if the substrate underneath is in good shape. Here are some tips to take some of the pain out of popcorn ceiling removal.
Do a scrape test

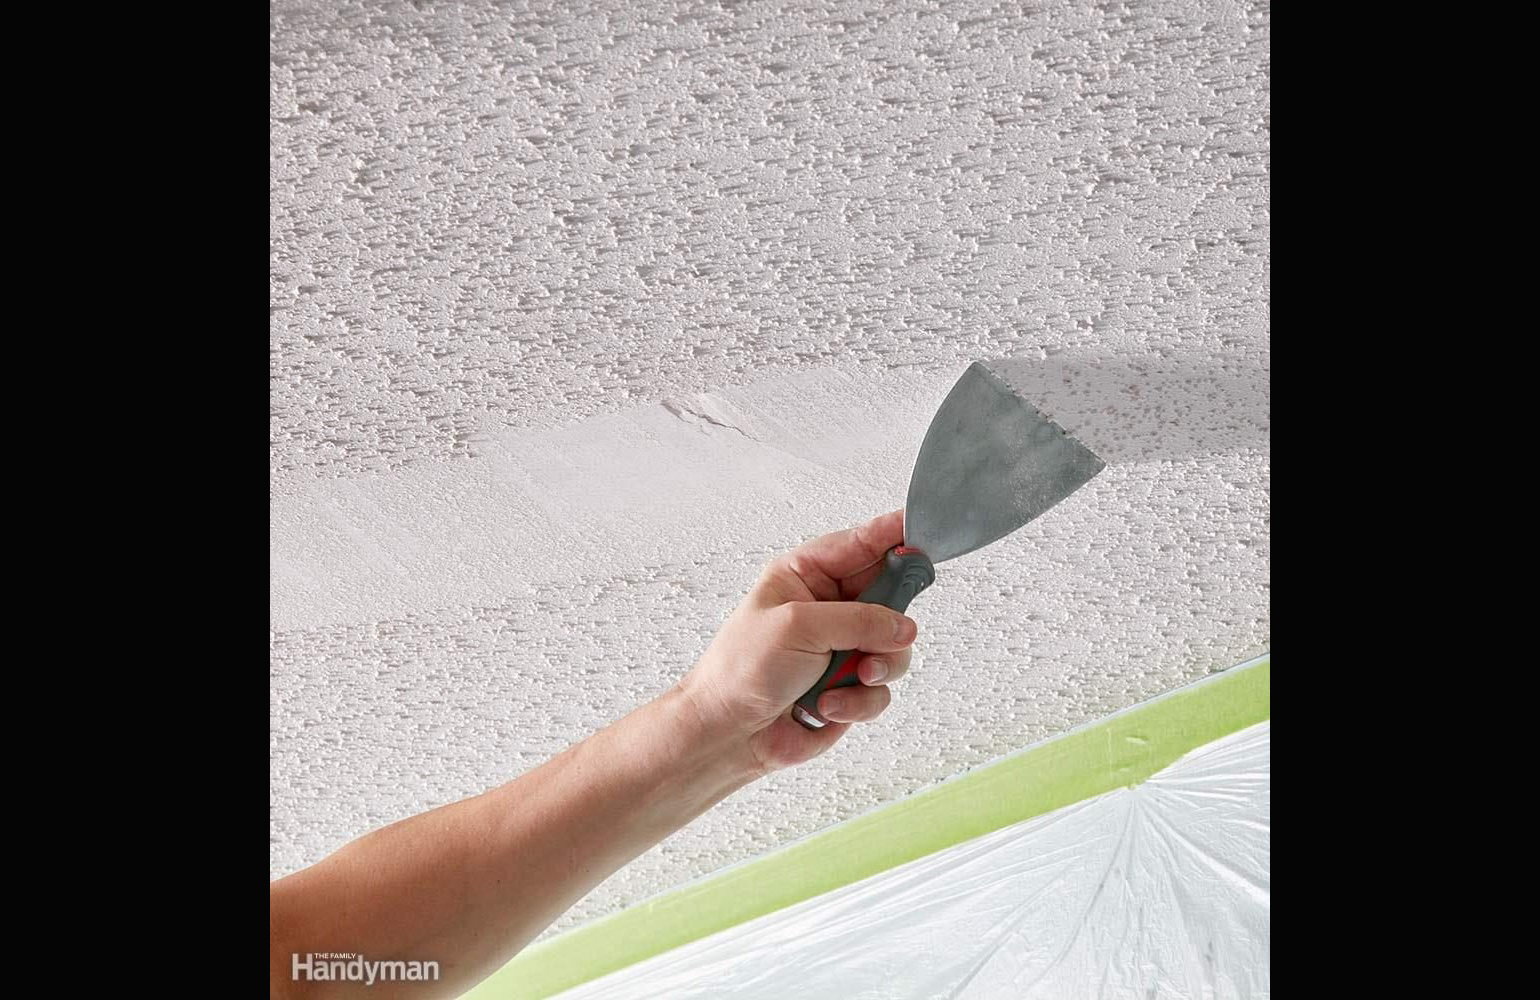
Before you go to all the trouble of prepping the room, try scraping a small area of your popcorn ceiling. Try it dry first, then dampen the texture with water and try again. Some texture comes off easily without water, but in most cases wetting is best. If the water doesn’t soak in and soften the texture, the ceiling has probably been painted or paint was added to the texture mix. In that case, wetting the ceiling may not help, and you’ll have to decide whether you want to tackle a really tough scraping job or choose another way to hide your popcorn ceiling.
Test for asbestos!

Any popcorn ceiling installed before 1980 might contain asbestos – a known cause of lung cancer. Before getting started, contact your local health department and ask about getting a sample tested. So you’re wondering how to remove a popcorn ceiling with asbestos? If the test comes back positive, cover the popcorn with new drywall or tongue-and-groove planks, or hire an asbestos abatement contractor for help.
Asbestos is one of the three killer hazards for the unwary renovator.


