All-In-One Workstation
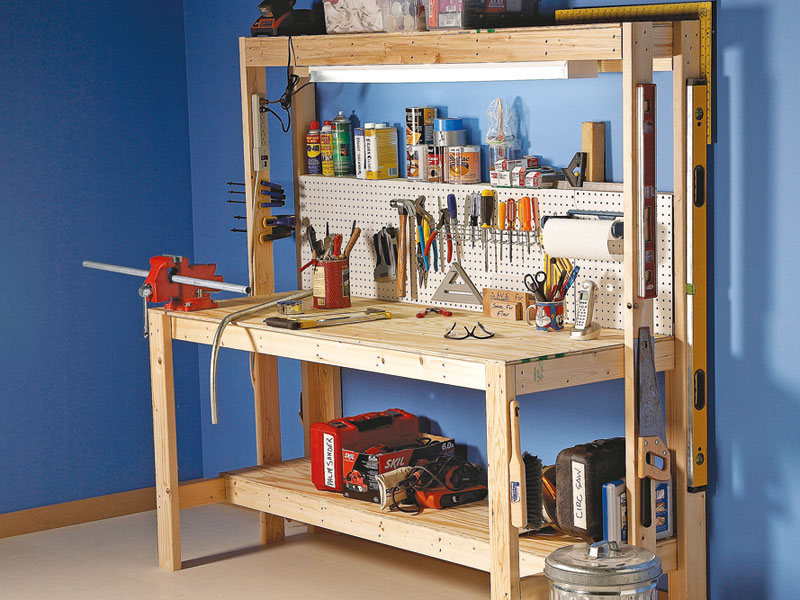
Build a multifunctional space for working on DIY projects and storing all your hand a power tools and materials.
A good workbench is a valuable asset for DIY, especially if you’re just starting out. Even more useful is a bench with space to store a growing tool collection.
This sturdy 1800 x 750mm workstation includes pegboard backing for hanging tools, and storage on shelves above and below the bench.
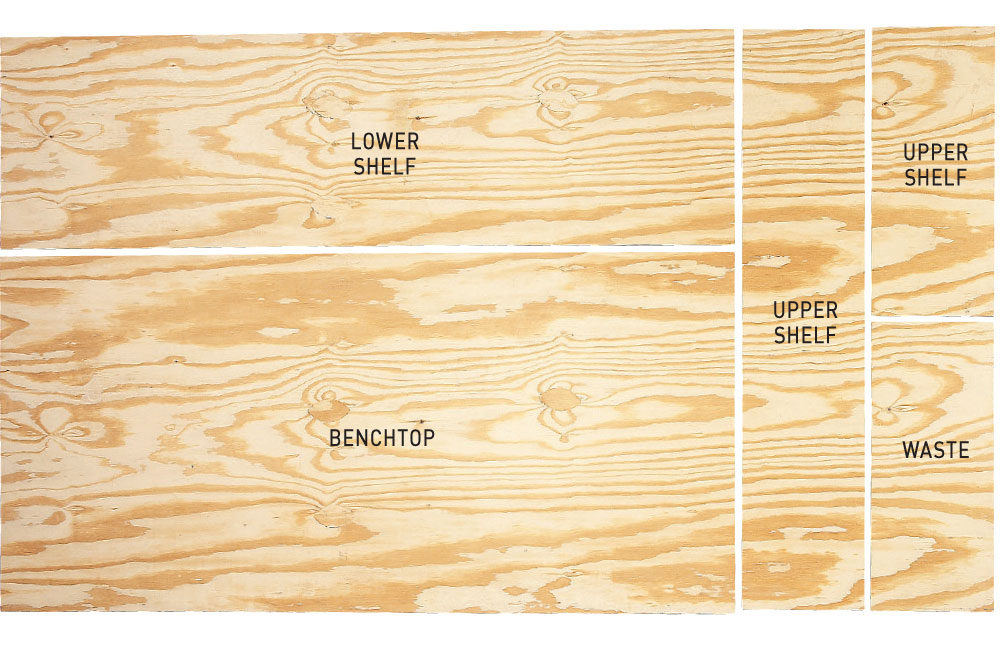
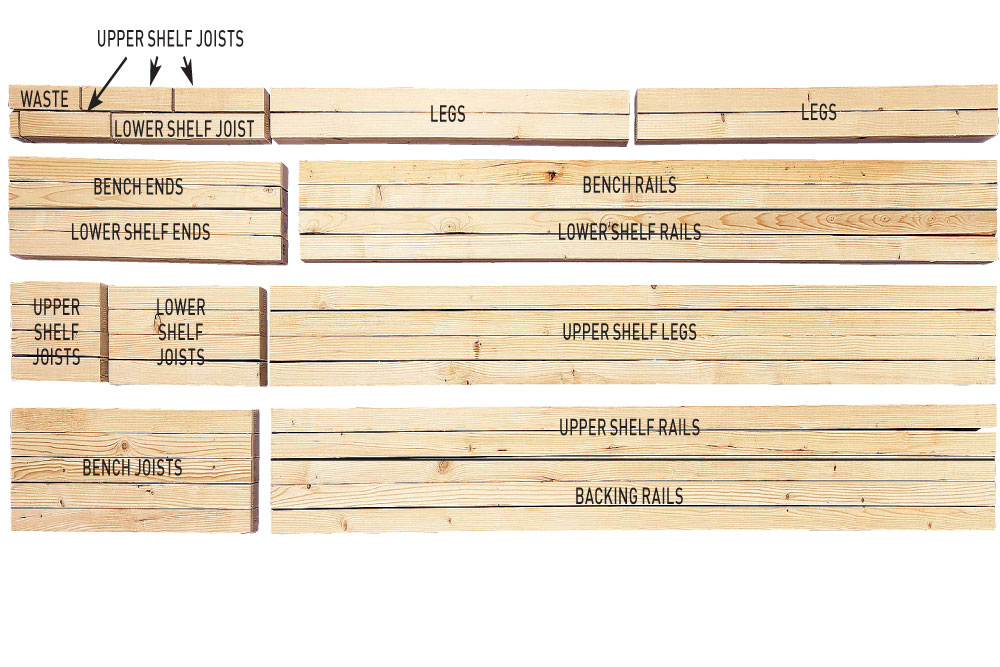
Build the frame from 90 x 45mm radiata pine, cut with a mitresaw. Cut the benchtop and shelves from 12mm CD plywood with a circular saw and straightedge guide. Follow the cutting setout to minimise waste.
Plywood cutting setout
Pine cutting setout
Build the bench
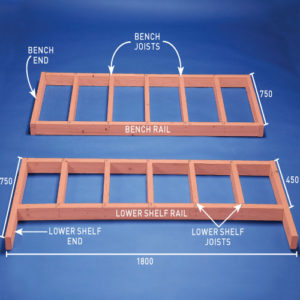
Step 1. Assemble the frames
Lay out the bench and lower shelf components, butting the bench rails and lower shelf rails against the ends and positioning the joists between them. Check the frames are square by measuring the diagonals, then secure the ends and joists to the rails with screws.

Step 2. Secure the legs
Position front & back legs against bench, securing with 2 offset screws in each & using a spirit level to check they're plumb. Turn bench upright to attach lower shelf frame to legs, 300mm up from base. Use 150 grit abrasive paper to round over benchtop & lower shelf top edges, secure to joists with screws.
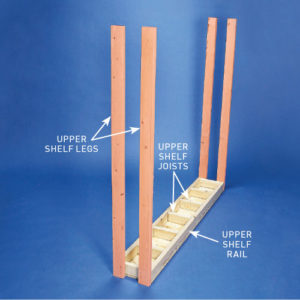
Step 3. Build upper shelf
Make upper shelf assembly, clamping all joists between upper shelf rails, then securing with screws. Position upper shelf top, marking centrelines of joists to secure with two screws into each. Secure legs and temporarily attach a brace across base to keep them parallel for attaching them to bench.
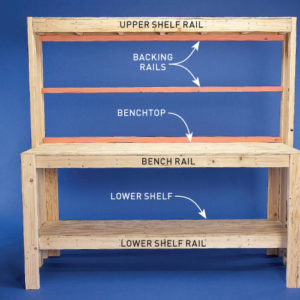
Step 4. Complete workbench
Position the upper shelf assembly at the back of the bench, secure it to the lower shelf and bench with two screws at each joint, then remove the temporary braces and secure the backing rails with screws. Cut a sheet of pegboard to the desired size and shape, then attach it to the backing rails using screws.
Vote It Up:

Points: 25