DIY Basics: Essential Guide To Sanders
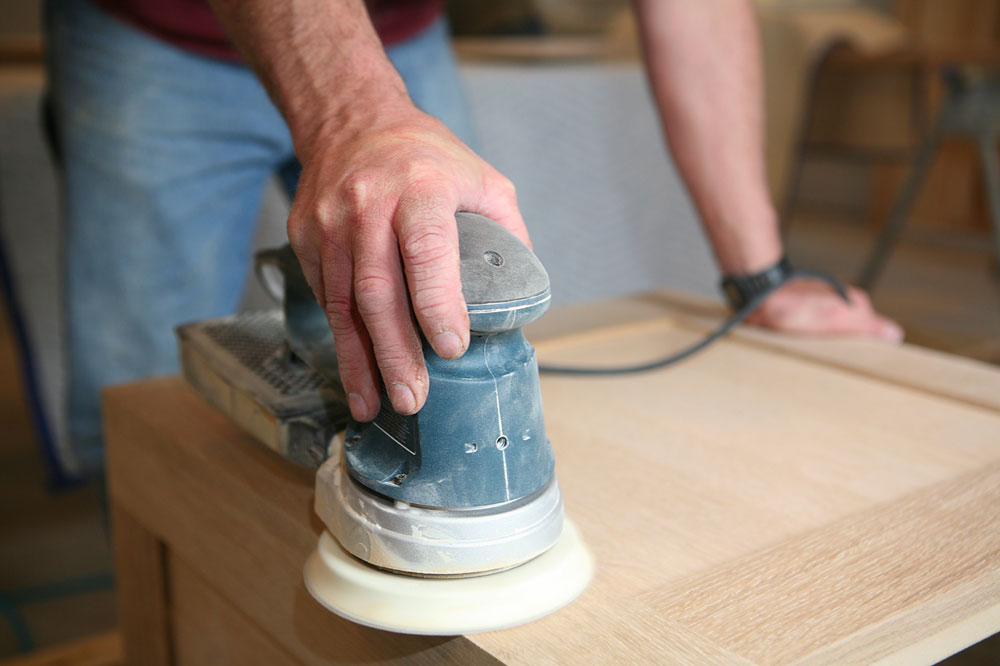
These handy, simple-to-operate tools make the tedious job of surface preparation an easy task.
Often the only difference between a good finish and a bad one is the method of sanding.
Using abrasive paper with a cork block will give satisfactory results but selecting an appropriate sander will provide a uniform surface and a far superior finish.
There are many types of sanders, each with specific functions, ranging from the heavyweight belt sanders to the smaller, lighter detail sanders for getting into tight spots.
Choosing the correct sander for the job goes hand in hand with selecting the right grade of abrasive paper. We show you how to match both to get the desired finish and the best possible results.
Orbital sanders
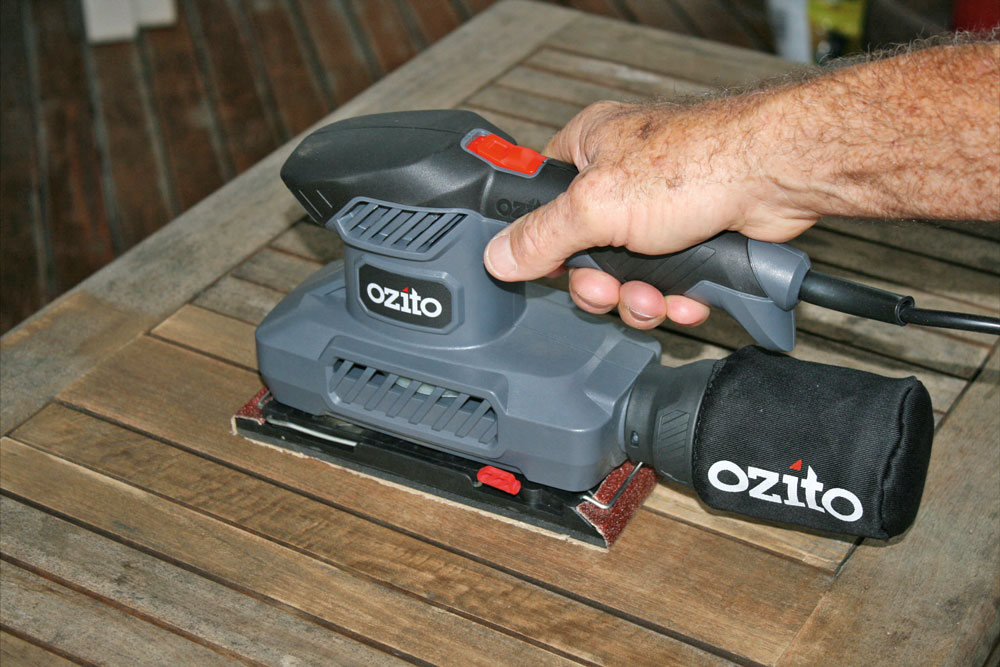
An orbital sander is used for general sanding jobs and between coats of paint or other finishes.
It features a flat base, called a platen, which operates with a circular or orbital action. It’s light and easy to use on plaster, timber or previously painted surfaces.
Most are driven by a 115 to 280W motor, with the size of the sander base pad corresponding to a half or third of the area of a standard abrasive paper sheet. A one-third sheet orbital sander is ideal for DIY.
How to load abrasive paper on an orbital sander
Cut a full sheet of abrasive paper into halves or thirds, or cut lengths off rolls of standard widths, and secure to the base of the sander using the integrated clamping brackets.
TIP Some sanders also have a hook-and-loop base to make it easier to attach sanding sheets.
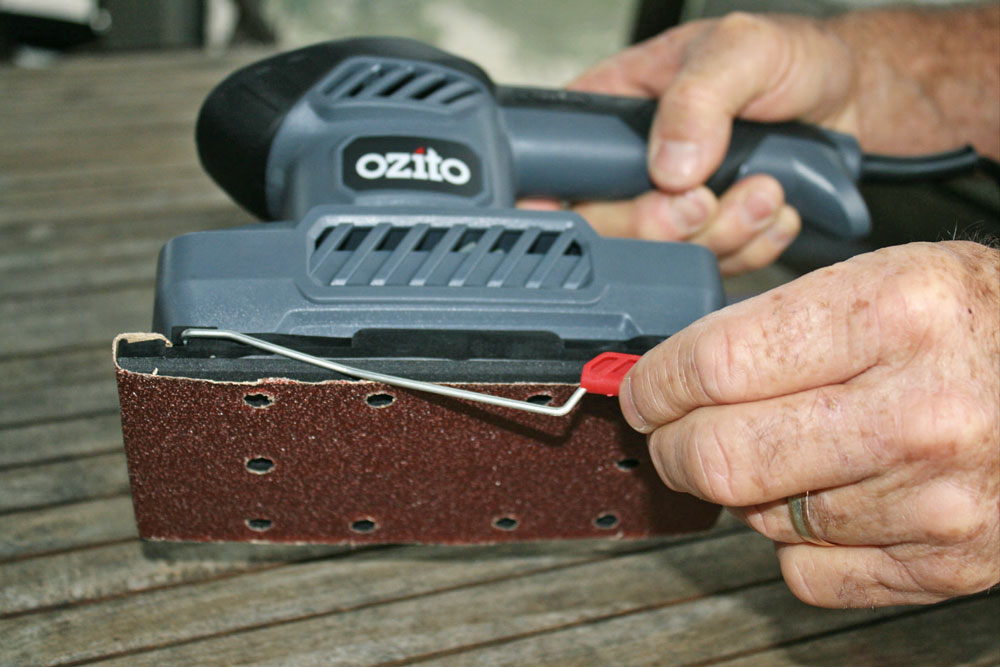
Some sanders also have a hook-and-loop base to make it easier to attach sanding sheets
Random orbital sanders
More powerful than orbital sanders, these tools are used for fine sanding and achieving a smooth finish or quick surface removal.
Random orbital sanders have a base disc that moves in a random pattern created by rotating in an oval loop while being simultaneously spun in small circles.
When used with a coarse, low-grit disc, a random orbital sander can quickly remove paint from timber or rust from metal, or smooth uneven surfaces.
THE SANDER SIZE is classed as 125 or 150mm, referring to the diameter of the sanding disc. They range from palm-sized to dual-handle units but for most DIY, a 125mm sander with a 230 to 270W motor is ideal.
Look for a model with an efficient dust-extraction system, variable speed control and low vibration.

More powerful than orbital sanders, these tools are used for fine sanding and achieving a smooth finish or quick surface removal
How to load abrasive paper on a random orbital sander
Abrasive paper discs have pressure-sensitive adhesive or hook-and-loop backing, and come in grits from 40 to 180. Choose a disc with a dust-hole pattern that matches your tool.
TIP Have a range of discs with different grits on hand before starting a sanding job.
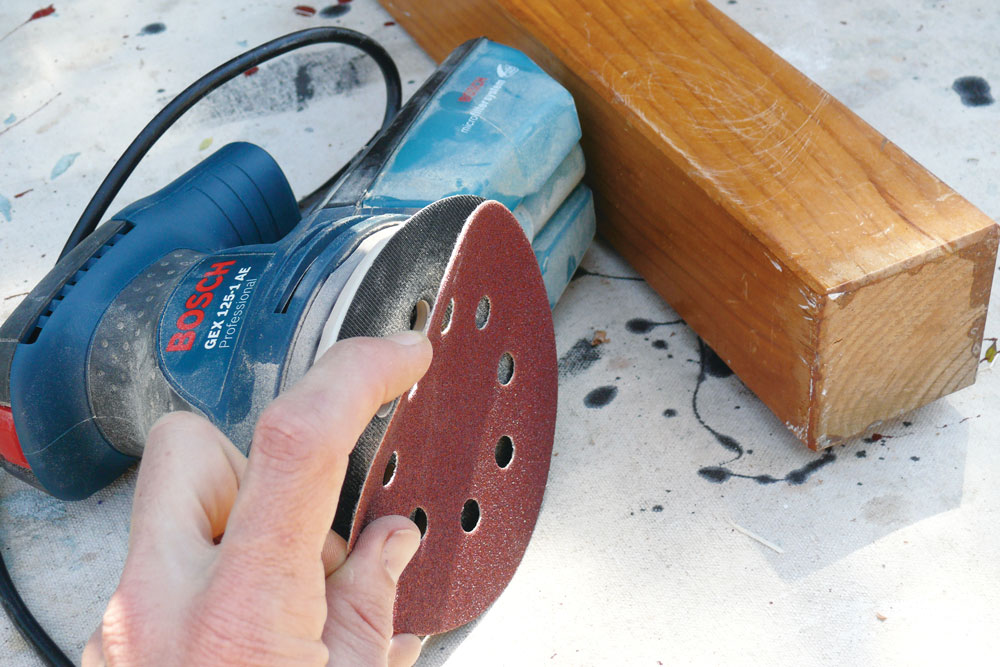
Have a range of discs with different grits on hand before starting a sanding job
Detail sanders
The best choice for working in tight, hard-to-reach areas, detail sanders are used for very fine sanding. They differ in pad design, sanding action, grip and variable speed.
PADS are generally attached to a sander base that’s shaped like a clothes iron or triangle using a hook-and-loop system.
Some have interchangeable attachments or finger pads to sand right into tight corners and crevices.
ACTION can be orbital or oscillating. For sanders with orbital action, the pads rotate in small circles, and are best on finish-sanding flat surfaces.
An oscillating action rocksm the pad forward and backward in a short arc, and is best on flat surfaces and mouldings.
VARIABLE SPEED is a useful feature that many models offer. Setting the sander on high speed can remove a lot of material quickly, while slow speed offers more control.
GRIP is usually one of two designs, either palm or barrel. Choose the one which is most comfortable by shape and weight. Sanders with palm grips have an orbital action.
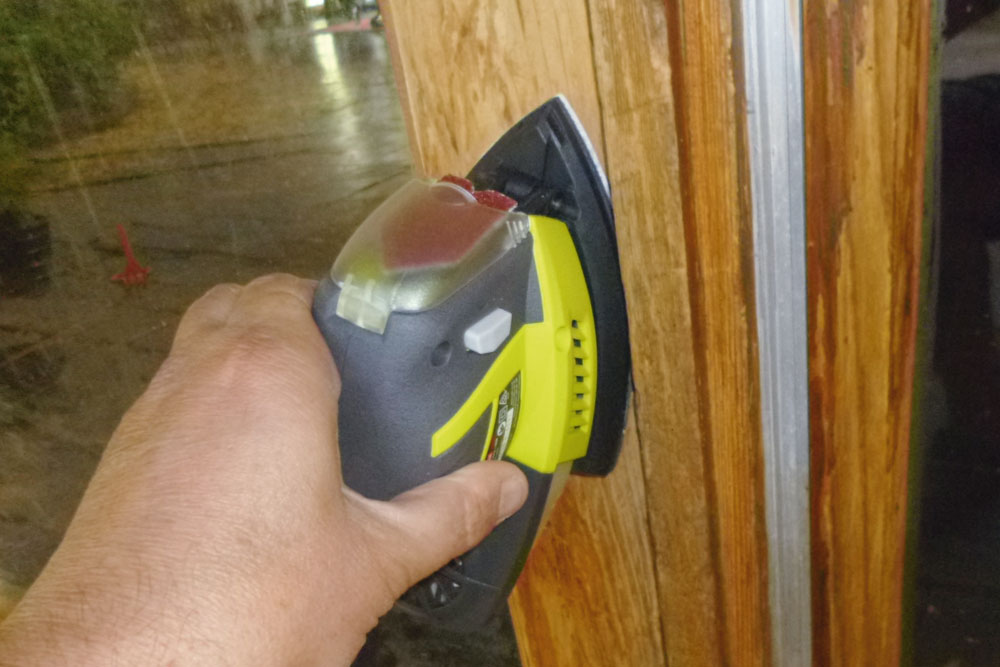
The best choice for working in tight, hard-to-reach areas, detail sanders are used for very fine sanding
How to load abrasive paper on a detail sander
On most detail sanders, the base features a hook-and-loop surface to attach the abrasive paper. To replace a sanding pad, simply
peel the worn abrasive paper off the hook-and-loop surface of the sander base then align the new pad and push to secure.
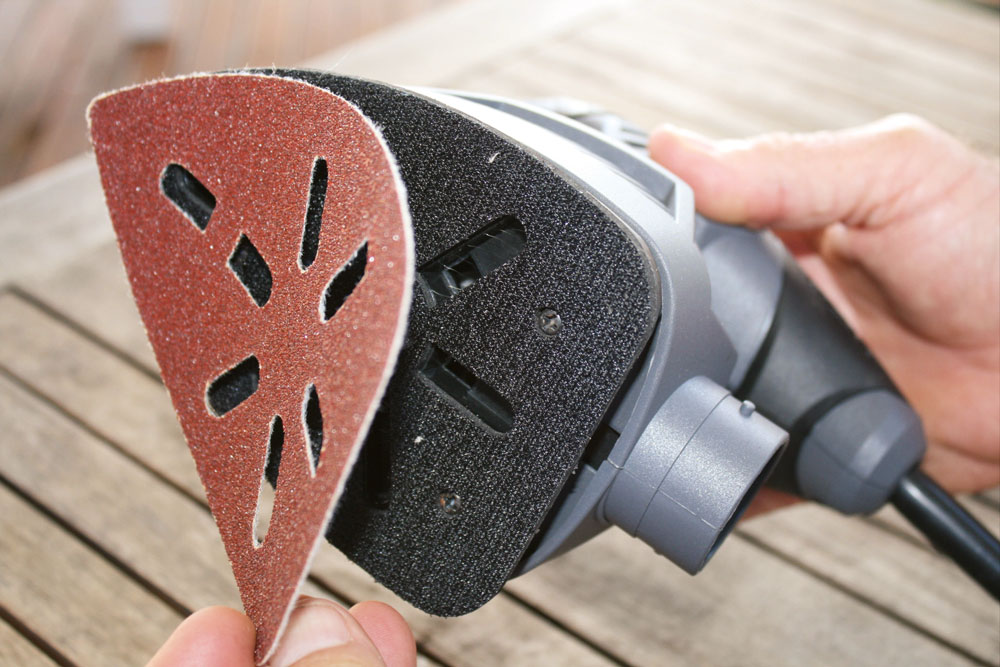
On most detail sanders, the base features a hook-and-loop surface to attach the abrasive paper
Cordless detail sanders
Used for paint and rust removal, cleaning, polishing, coarse, light and finish sanding, cordless detail sanders feature Li-Ion battery systems that supply power with no self-discharge and no memory effect.
Some models have battery charge level indicators and supply up to 18V of power. Cordless detail sanders are invaluable when mains power is not available or in spaces where a cord would be cumbersome.
Dust extraction
Some detail sanders have dust-sealed switches to maximise tool longevity while others have integrated dust removal systems. These suck sanding dust directly from the pad into a filter box or bag at the rear of the tool.
TIP Always wear breathing protection when sanding timber, plywood, MDF or a painted surface.

Some detail sanders have dust-sealed switches to maximise tool longevity while others have integrated dust removal systems
Belt sanders
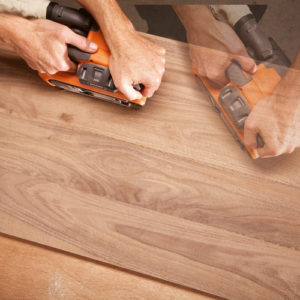
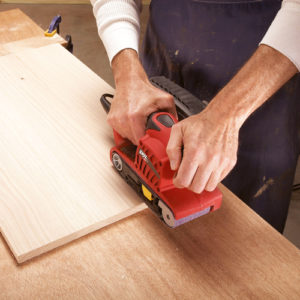
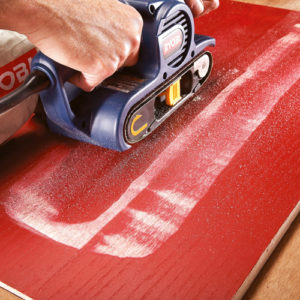
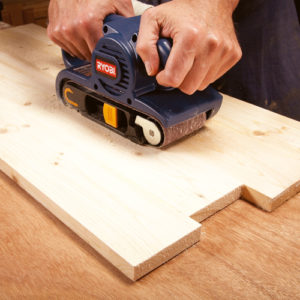
Used for heavy-duty sanding, belt sanders have more power than finishing sanders and tackle tough jobs like smoothing rough timber or levelling uneven joinery.
They can be used for edging glass, and masonry and metalwork.
Belt sanders are powered by 240V motors that drive the rollers on which the loop of abrasive cloth called the sanding belt is mounted.
They come in various sizes from handheld to large bench-mounted units. A handheld sander that takes 533 x 75mm belts provides plenty of power for the average DIYer.
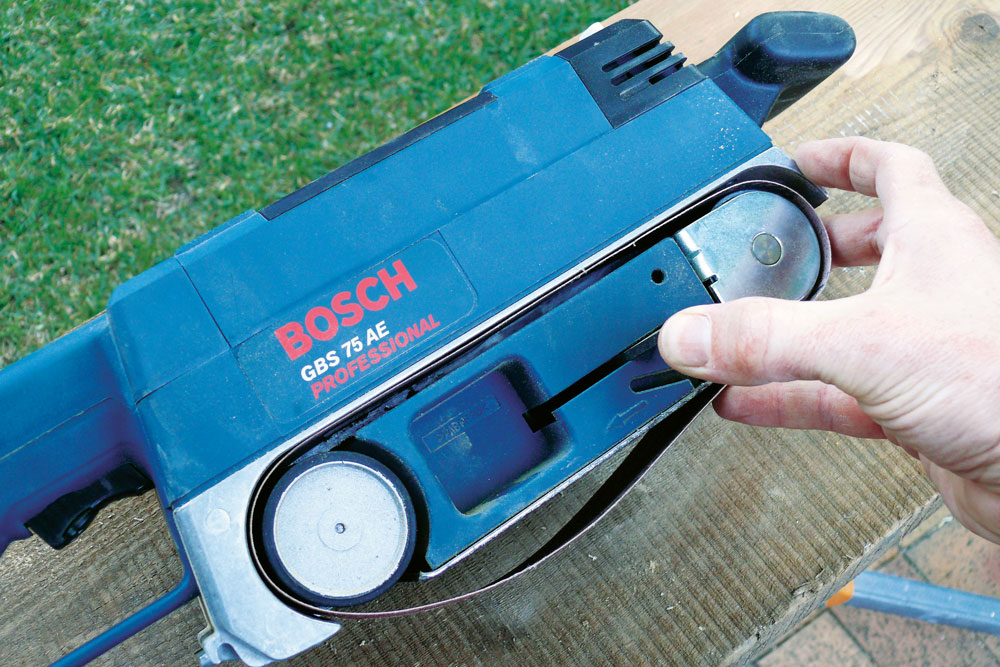
Belt sanders can be used for edging glass, and masonry and metalwork
All about sanding belts
Belts come in various sizes and grits, surfaced with a variety of abrasive compounds. The most commonly used are aluminium oxide belts in 40, 80 and 120 grit sizes.
Replace the belt by moving the side-mounted release lever to its open position. This eases the spreader clamp that tensions the belt, allowing it to removed by sliding it sideways off the tool.
Before sliding on the new belt, check the inside of the belt for directional arrows and match these with the arrow on the sander.
Many sanders have a tracking control which is a knob or dial near the front roller. If the new belt starts skidding to one side, adjust the tracking to change the front roller angle slightly and centre the belt.
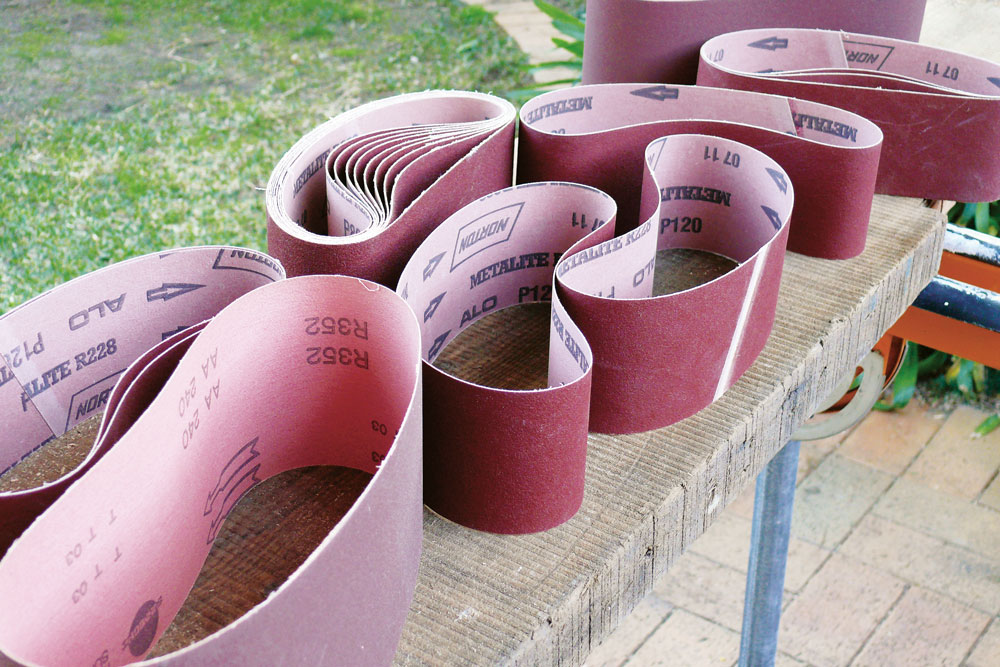
Belts come in various sizes and grits, surfaced with a variety of abrasive compounds
How to use a belt sander
A versatile tool the trademark of the belt sander is its aggressive rate of removing material. The common belt sander can be used for a range of jobs, but must be treated with care because of the potential risk of it damaging your workpiece.

