Which nailer does what?
Which nailer does what?
FAMILY HANDYMAN

The basics

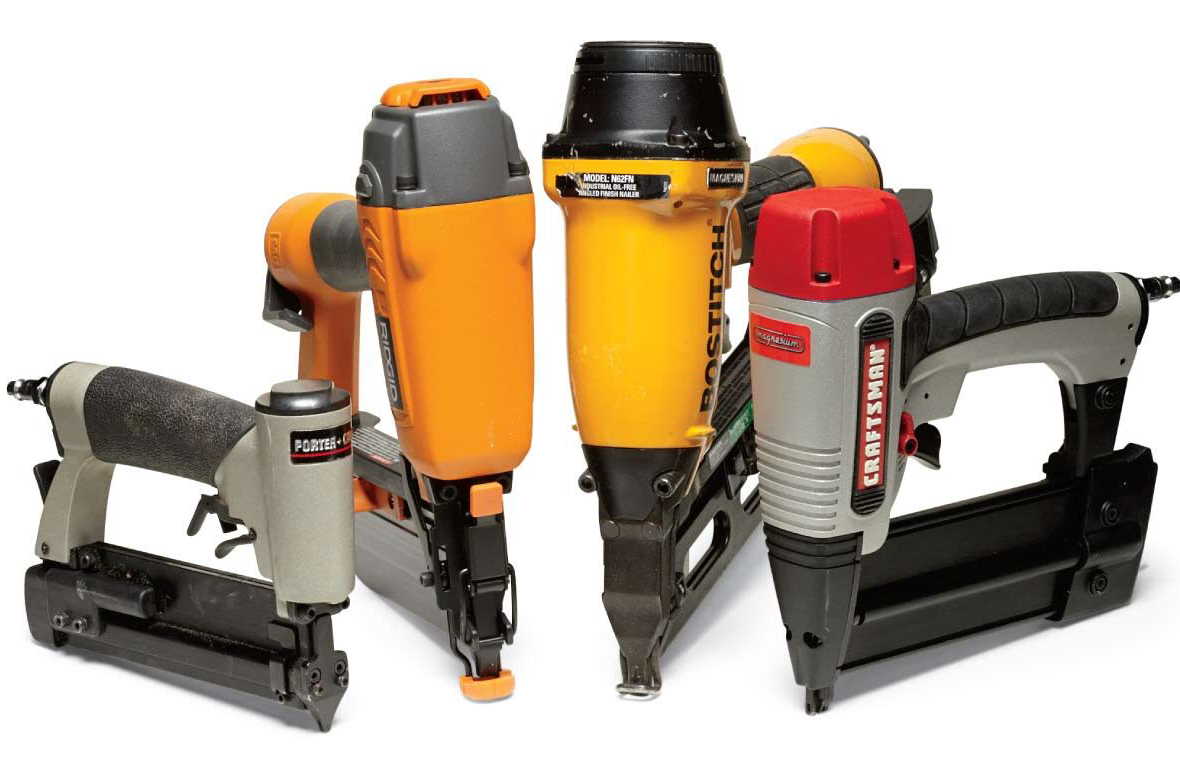
Trim nailers are categorised by the thickness or “gauge” of the nails they shoot: The bigger the gauge number, the smaller the nail (seems backward, doesn’t it?). Nailers that shoot the biggest trim nails – 15 and 16 gauge – are usually called “finish nailers.” Midsize 18-gauge nailers are called “brad nailers.” The smallest nailer, the 23-gauge, is usually called a “pinner” or “micro pinner.”

15-gauge finish nailer

This is the gun I usually grab for nailing large 20mm-thick baseboard and trim. It’s also a good choice for more demanding jobs like nailing doorjambs or stair treads. These nailers have a large piston, and because of the extra bulk, often have angled magazines so you can get into tight spots.

16-gauge finish nailer

Like 15-gauge nailers, most 16-gauge guns shoot nails up to 6cm long and are suitable for thick trim. The main advantage of a 16-gauge gun is that it’s smaller and lighter. If you’re shopping for a finish nailer, I’d recommend the larger 15-gauge gun, simply because the fatter nails provide more holding power. But some carpenters disagree with me. You’ll pay about the same for a name-brand 16-gauge nailer as you would for a 15-gauge gun.

18-gauge brad nailer

If you plan to buy only one trim nailer, this is the size to get. I use mine more than all my others combined. It’s perfect for standard trim, furniture making and odd jobs around the shop. Models that shoot brads up to 3cm are common, but I strongly recommend spending a few bucks more for a gun that can handle brads up to 5cm long.

23-gauge pinner

This is the nailer I use the least. Those tiny pins just don’t have enough holding strength for most jobs. But don’t get me wrong – there are times when pins are perfect, especially to nail small parts. My pinner shoots pins ranging from 1.2cm-2.5c, long. That’s long enough for most jobs, though I occasionally wish I had a model that could handle pins up to 5cm long, which are more expensive.

Fasteners

Smaller-gauge nails usually come in packs that load vertically. 16-gauge nails usually come in packs that load at an angle.

Advertisement

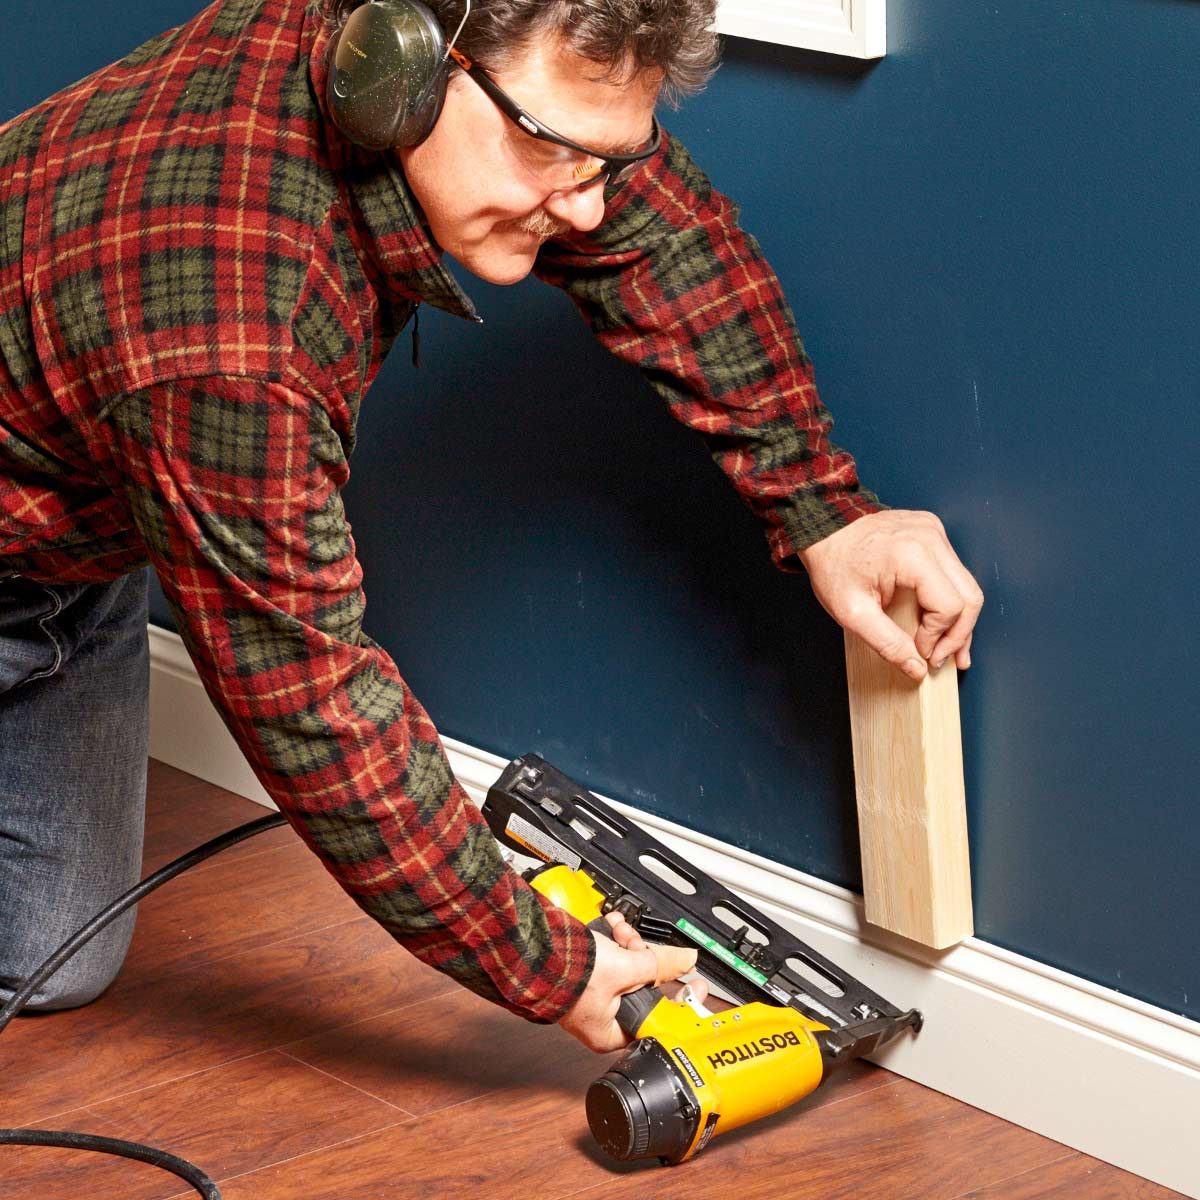
Use a block to push skirting board

Use a block to push skirting board
FAMILY HANDYMAN

When skirting board – or the floor – isn’t straight, I force the trim down with a 2×4 block. The block gives me a broad surface to push against and lets me apply a lot more pressure. This trick also works with uncooperative crown moulding.

Learn how to install skirting.

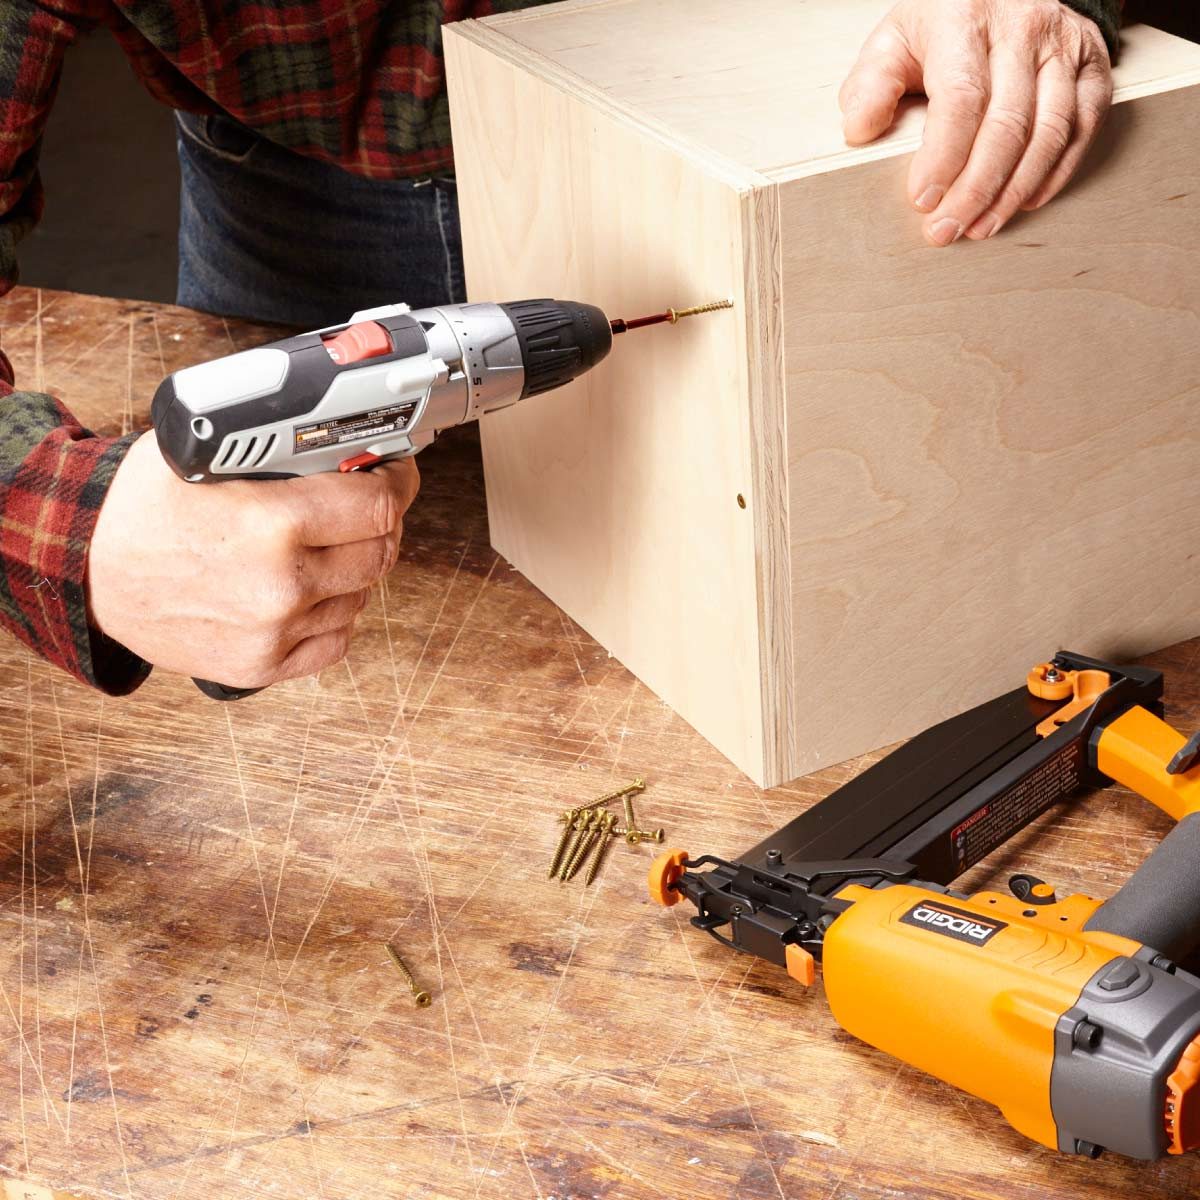
Use nails before screws

Use nails before screws
FAMILY HANDYMAN

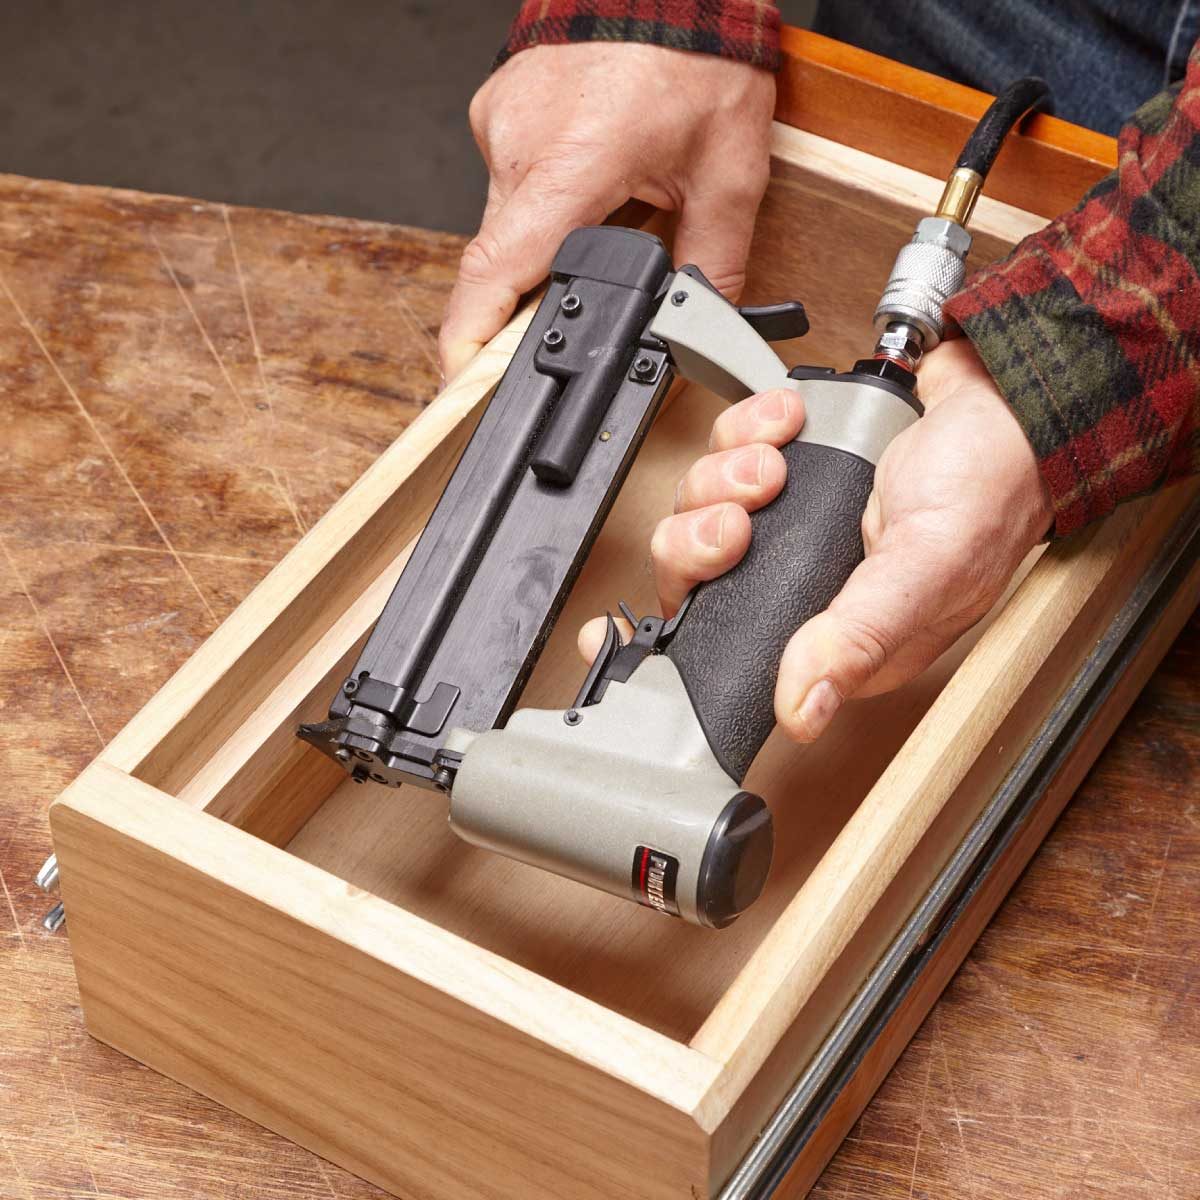
I always found it difficult to keep parts aligned when screwing cabinets together. Then I discovered that a couple of shots with my finish nailer or brad nailer will keep the parts aligned while I drill pilot holes and drive screws for strong joints.

Here’s how to build a garden tool cabinet.

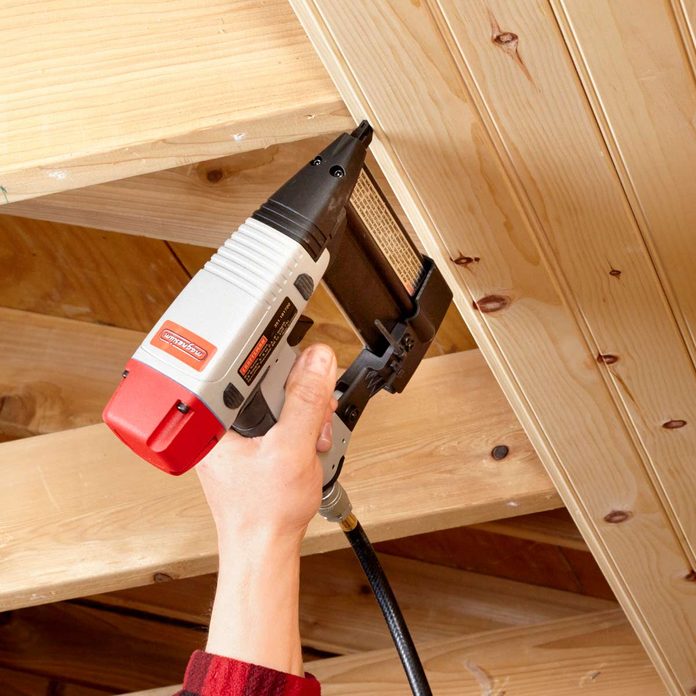
Tongue-and-groove the easy way

Tongue-and-groove the easy way
FAMILY HANDYMAN

With a trim nailer, you can install tongue-and-groove panelling in a fraction of the time. Some carpenters use a finish nailer for this, but I like to use my smaller, lighter 18-gauge brad nailer, especially on ceilings. Brads don’t have the holding power of 15- or 16-gauge nails, of course, but I make up for that by shooting two brads into every stud or joist.

Easy on old walls

I do a lot of work in old houses. And hammering nails through those old plaster walls is a recipe for cracks. A trim nailer, on the other hand, drives nails instantly, without the repeated blows that can cause cracks. I like my 15-gauge nailer best for these jobs; the nails are stout enough to push through the hard plaster and long enough to bite into the framing behind it.

These are the 10 most common flooring installation mistakes.

Pre-finish parts

Pre-finish parts
FAMILY HANDYMAN

One of the best things about trim nailers is that you don’t have to worry about beating up the wood, unlike with a hammer. That means you can finish parts before assembly. I especially like to finish trim before installation, which gives me better results in less time. Just be sure that the soft rubber tip that came with your nailer is actually on the gun before you shoot.

Learn the tricks of connecting to concrete.

Invisible nail holes with a pinner

Invisible nail holes with a pinner
FAMILY HANDYMAN

Pins are tiny and headless, so they’re hard to see even before you fill them. Afterward, nobody but you will know they’re there.

Tight spot? Use a pinner

Tight spot? Use a pinner
FAMILY HANDYMAN

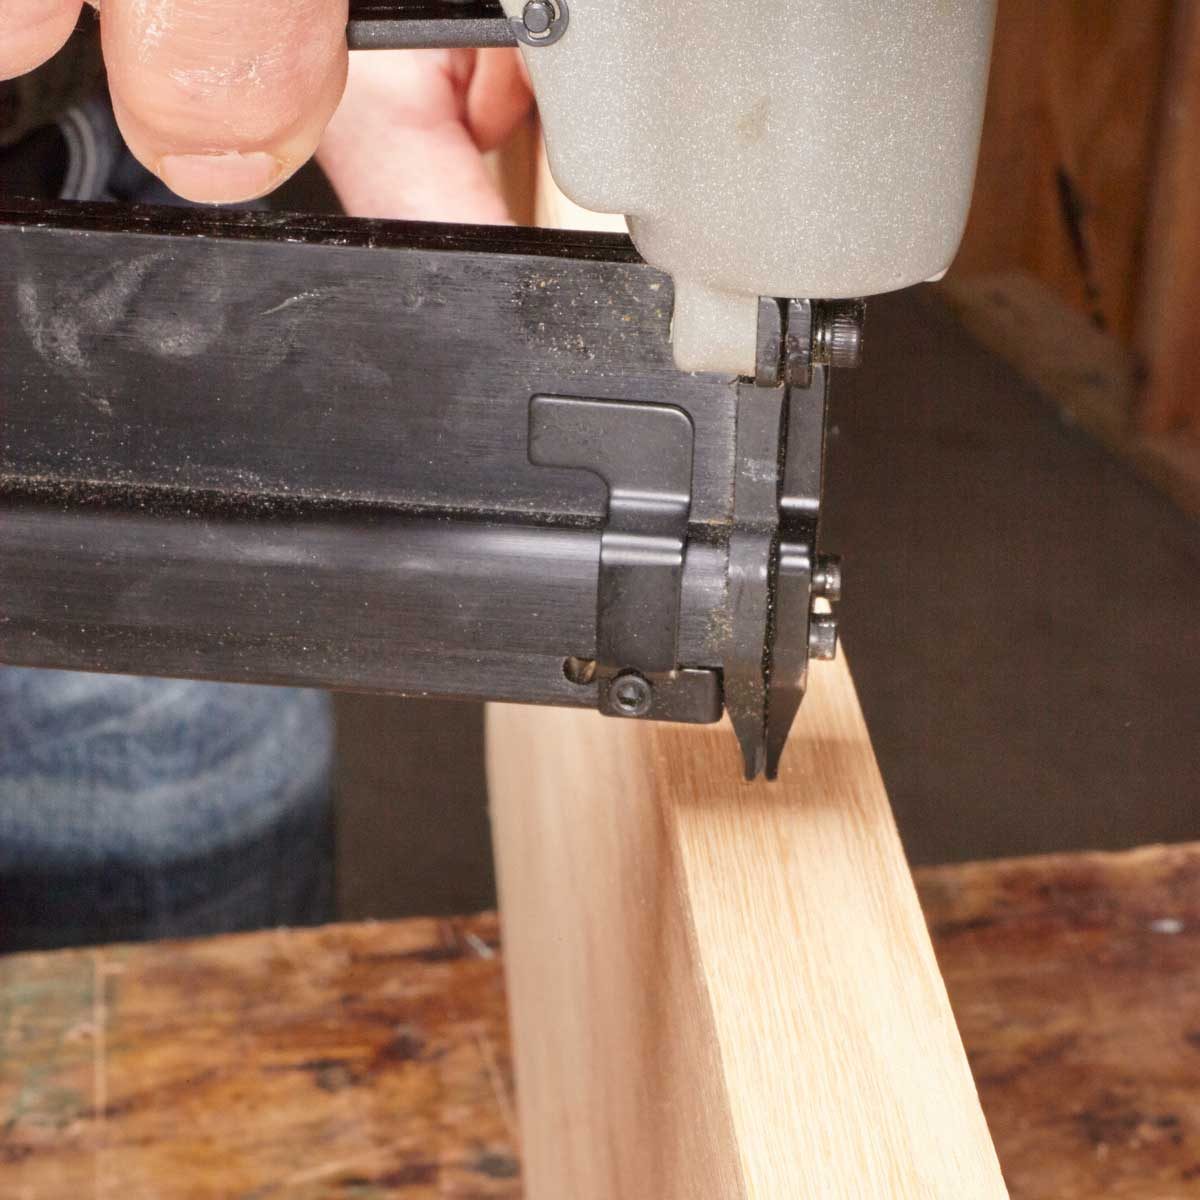
The working end of my pinner is just 16cm long and goes where none of my other nailers fit.

A pinner means no splitting

A pinner means no splitting
FAMILY HANDYMAN

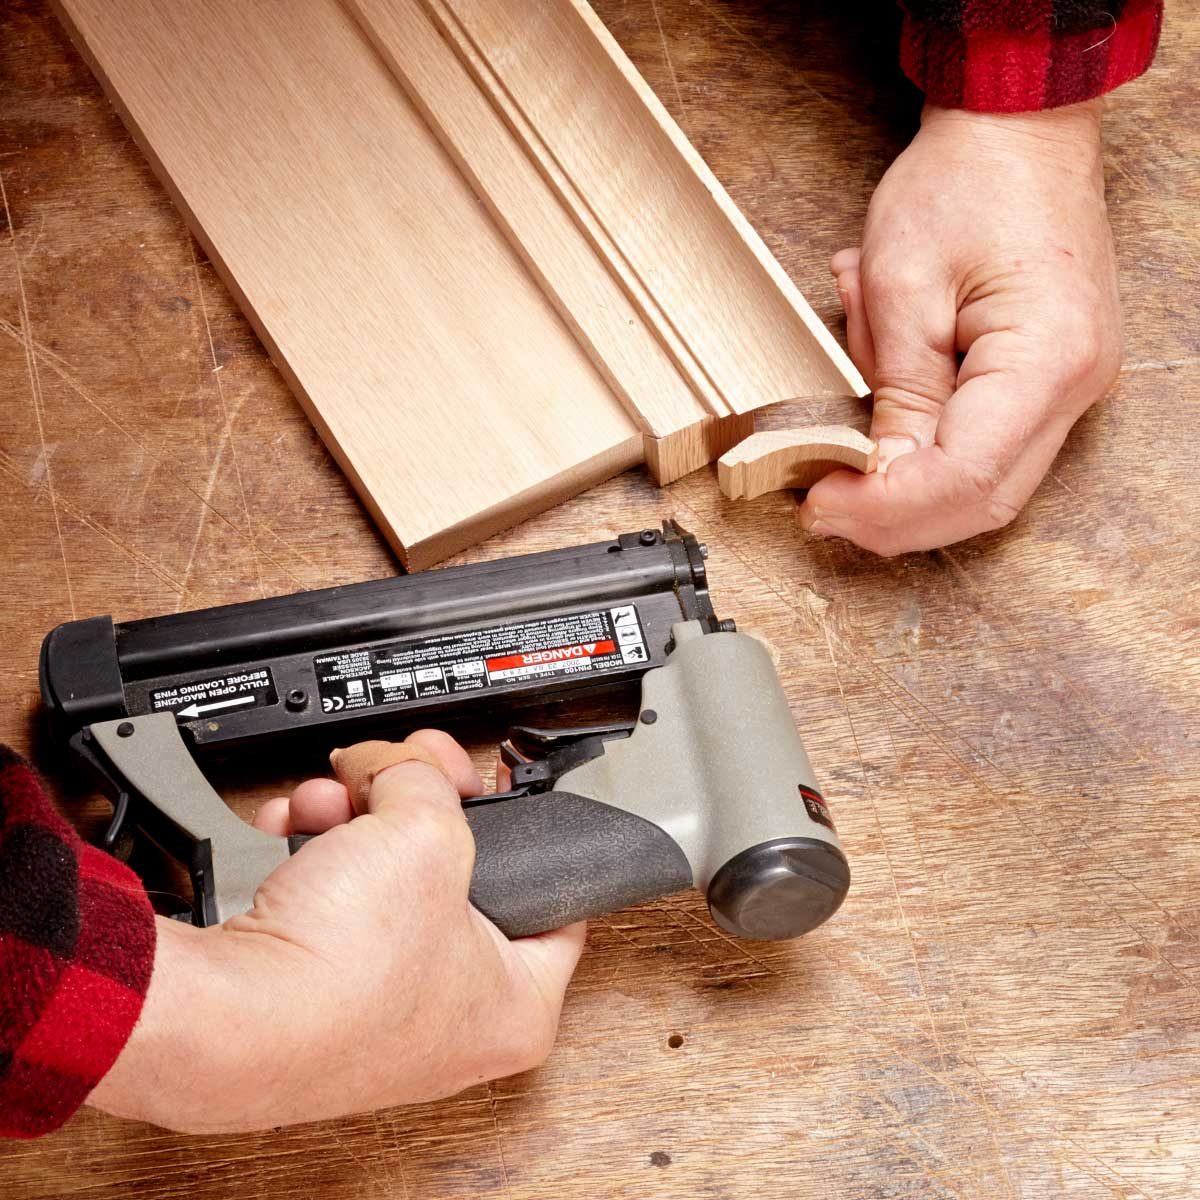
A 23-gauge pinner almost never splits wood, even on very small parts. In most situations, I like to dab on a little wood glue to give the joint more strength than pins alone can provide.

Learn about how to glue wood.

Pinners are perfect for crafts

Pinners are perfect for crafts
FAMILY HANDYMAN

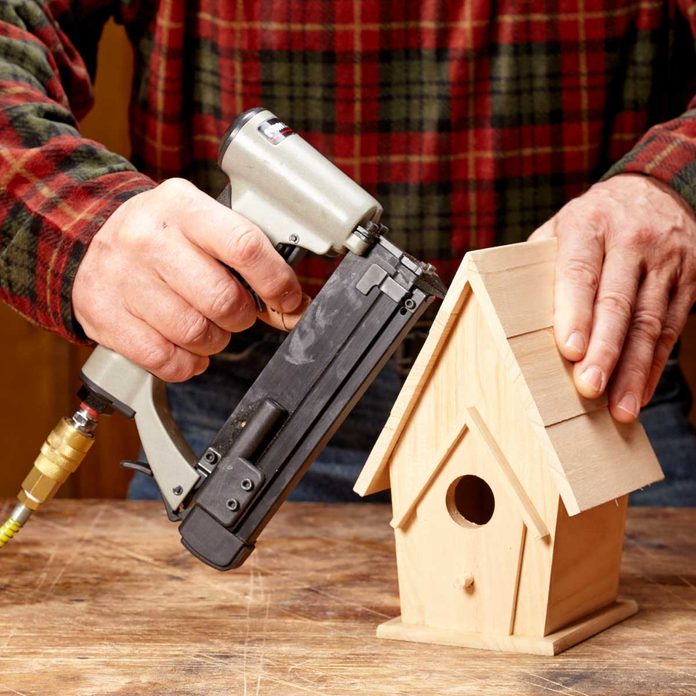
I make a lot of gifts for friends and family. My pinner is the go-to tool for delicate assemblies like these and saves me the torture of gift shopping.

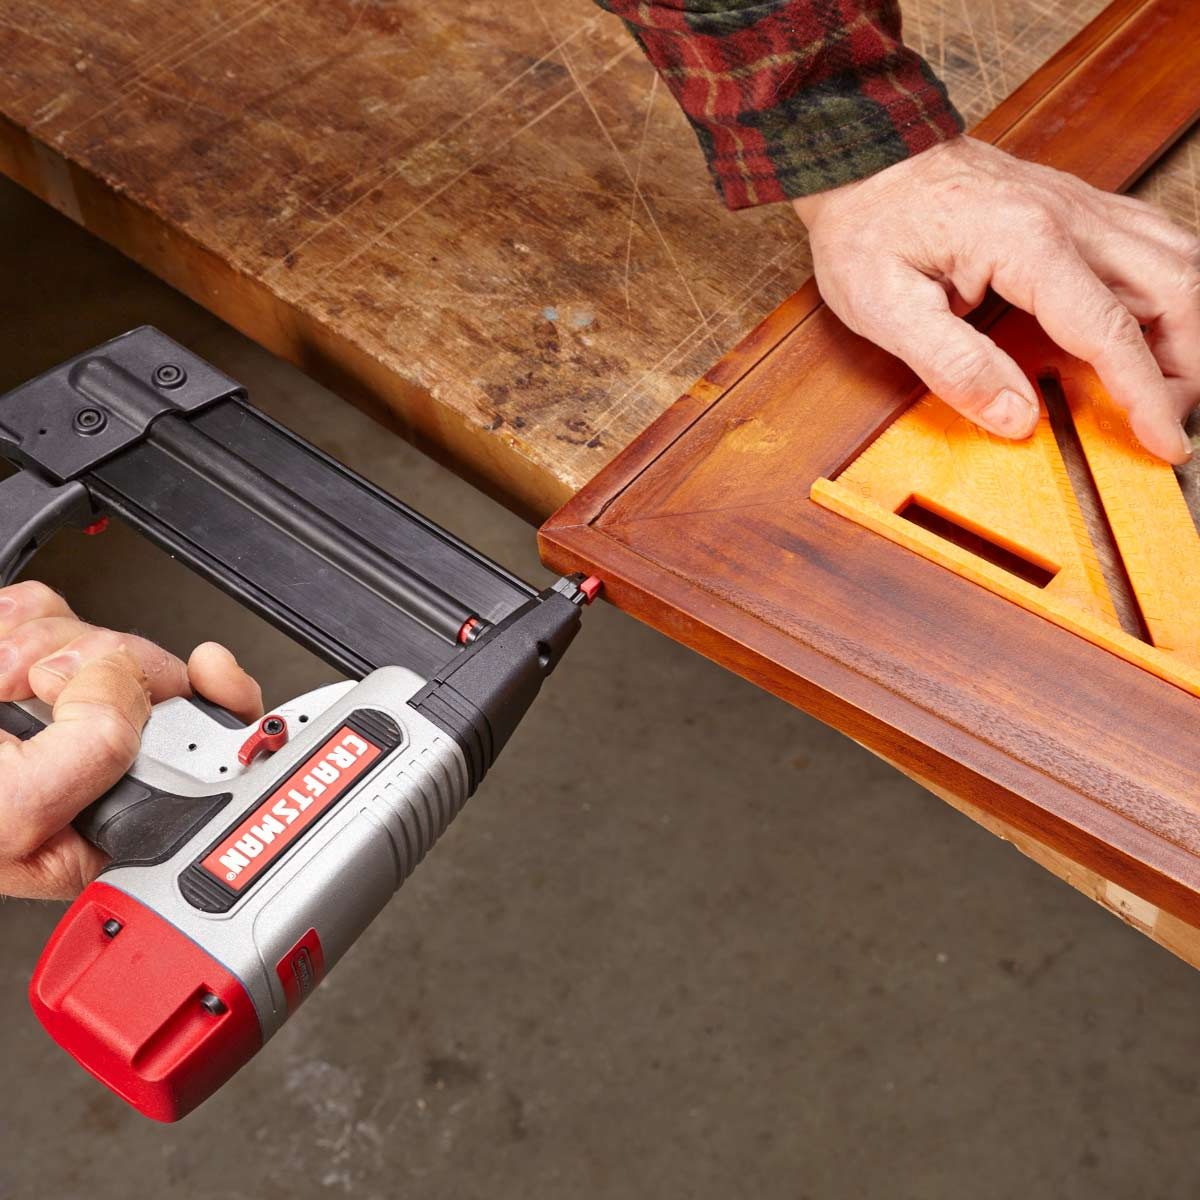
Nail before you clamp

Nail before you clamp
FAMILY HANDYMAN

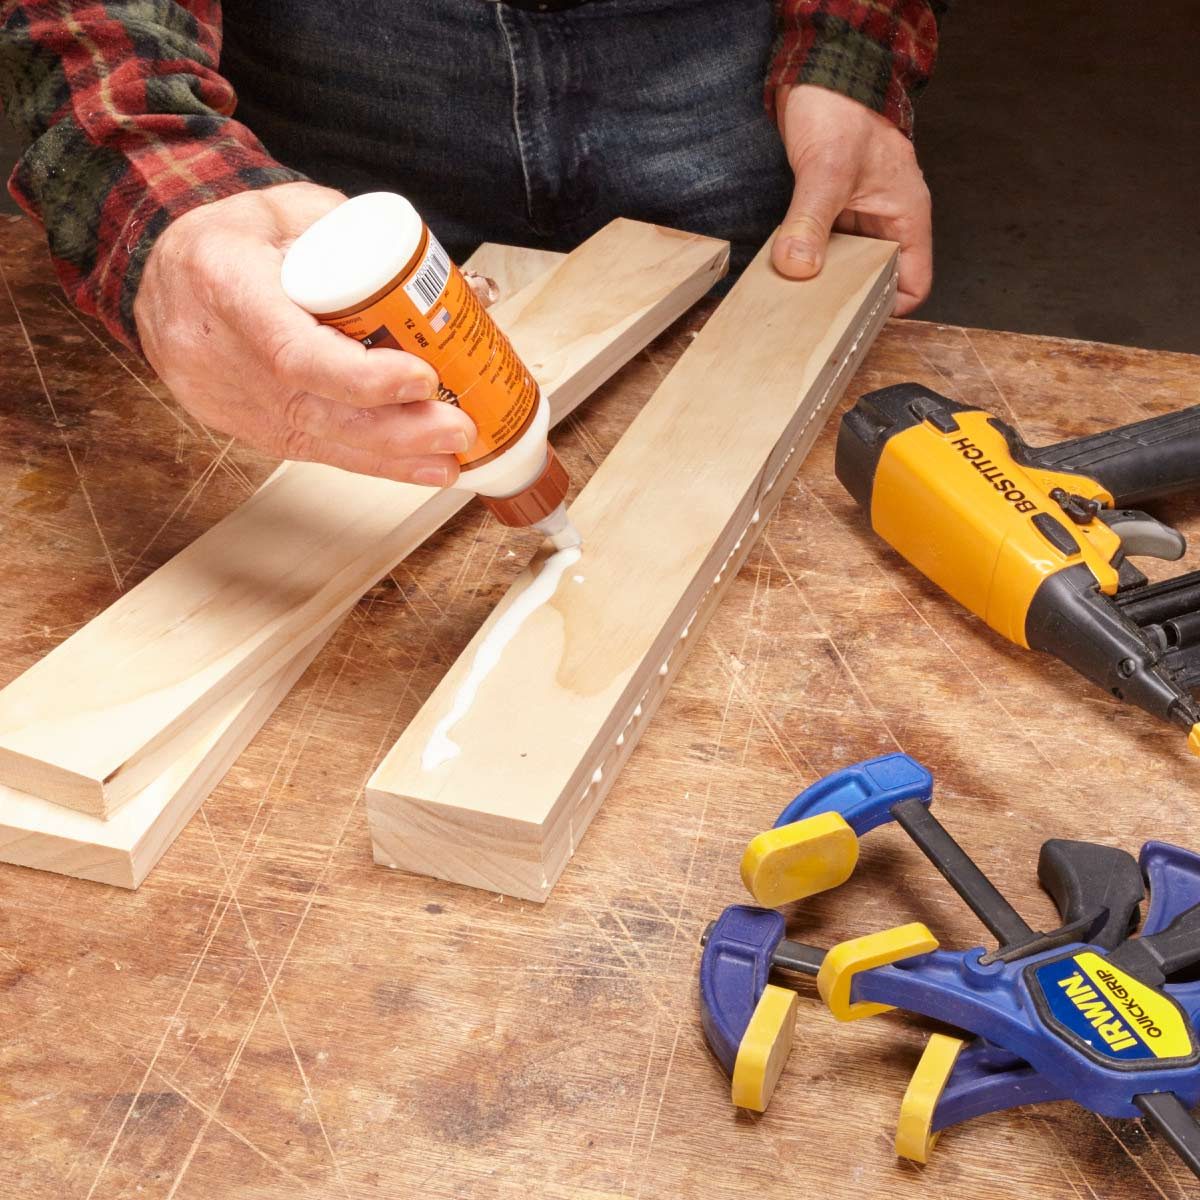
With a coat of slippery glue, parts will slide out of alignment while you’re desperately trying to clamp them. My solution is to tack the parts together with a couple of nails. That keeps the parts aligned while I apply serious pressure with clamps.

Check out our essential guide to clamps.