1970s Laundry Renovation

The laundry in this Queensland home was left to last on the renovation plan for DIY blogger Melissa and her handy husband.
‘We decided to wait until we had time to do it properly,’ says Melissa.
The room was a good size, but it needed a complete overhaul to bring it into line with the rest of the house.
‘I wanted to keep it in the French country style I have been decorating the entire house in,’ she says.
Melissa’s Plan
REMOVE everything from the room, pull up the floor tiles and tear out the splashback.
DEMOLISH part If a wall so that the washing machine taps can be moved.
LAY large-format floor tiles and repair the damaged wall.
REPLACE the sliding door before painting the room and adding decorative features.
Safety Check
ARRANGE for an asbestos check, which is essential for homes built before 1987 with walls clad with fibro sheeting.
FIND a professional through the National Association of Testing Authorities, Australia, who will inspect the walls.
Prepare and paint
With original 1970s floor tiles and splashback, the laundry was accessed by an inconvenient sliding door.
‘First, we replaced the sliding door with a French door, which is more aesthetically pleasing. We paid nothing for this door as it had been left underneath the house, and I knew I had to incorporate it into the design of the laundry,’ says Melissa.
The room was then ready to be prepped for painting. The whole room, including the trim, was undercoated.
‘It was time to say goodbye to the drab wall colour and say hello to Dulux Hog Bristle. We’ve used this colour at half strength in the entire house. For the trim in the laundry, we used Dulux Fair Bianca.’
Melissa’s husband then installed timber panelling to create a wainscot on the opposite wall to where the appliances and cabinetry were to go.
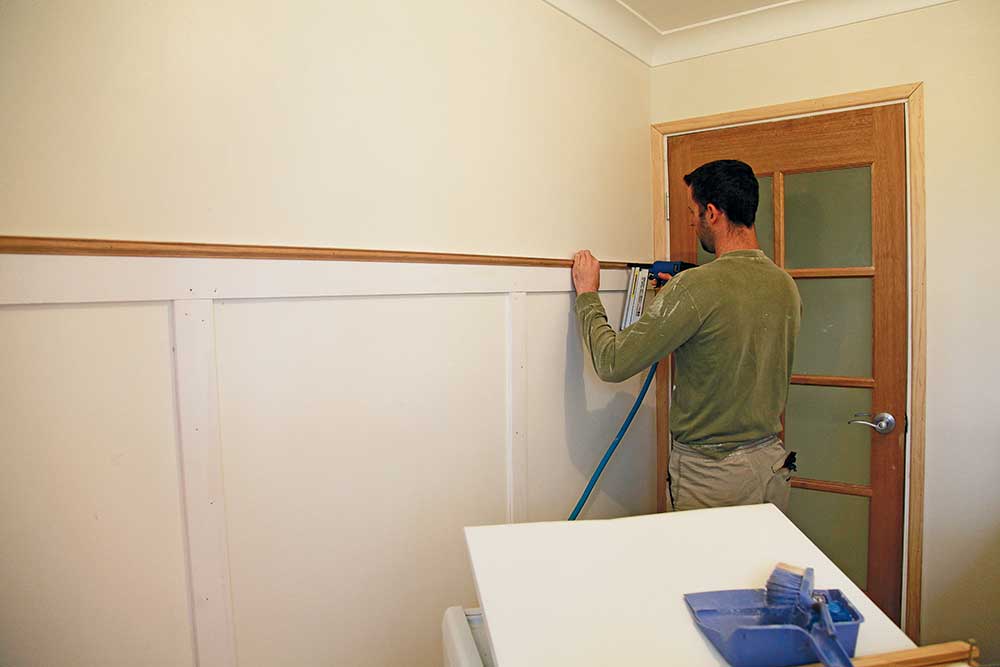
Timber panels were installed to create a wainscot
Cutting costs
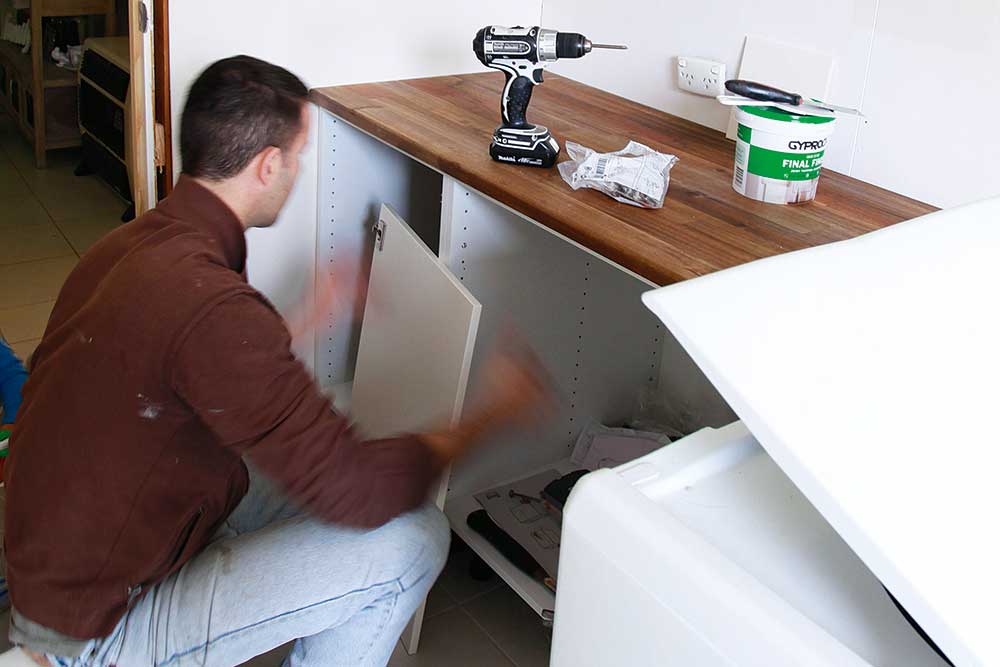
For the cabinetry, Melissa got a quote from the joiner who did the kitchen for it to be custom made for the laundry.
The quote was $1500-$1800, which was more than the budget allowed, so Melissa had to figure out a few clever cost-cutting solutions.
FLATPACK cabinets and doorknobs were sourced online for half the price.
A single base cabinet, double base cabinet and double wall cabinet were bought and fitted DIY.
A BENCHTOP ina rich dark timber, $99, from Bunnings, was installed next to the washing machine.
Design tip
Attach timber panels to the base half of a wall and add decorative trim for a DIY wainscot.
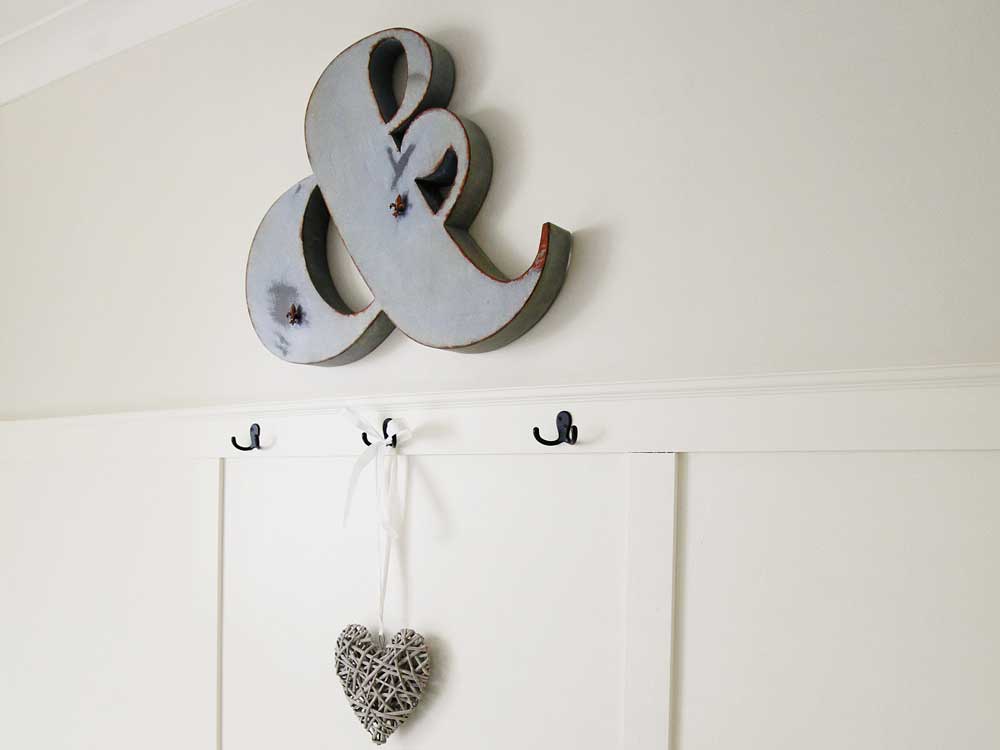
Decorating and organised
The last fixture that needed to be installed was a new light fitting.
‘I agonised over this for ages. I wanted something special but not over the top. Each time we went to Bunnings, I’d make a beeline for the light section and walk up and down the aisles trying to figure out what I wanted.
‘I ended up seeing this light in a cafe. It’s probably too showy for a laundry, but I don’t care. It’s visible through the front door, so it’s a feature that will be seen often,’ says Melissa.
After decorating, Melissa turned her attention to organising the room.
She left the shelves out of the single base cabinet so she could add a laundry basket to keep dirty clothes out of sight, while the wall cabinet was used to store cleaning products.
TIDY TIP Use baskets to keep cleaning supplies for different rooms in order and easily accessible.
DIY Tiles
SPLASHBACK After installing the cabinetry, cream tiles were chosen for a splashback to keep it simple.
‘It looks a million times better than the retro laminate board that was on the wall,’ says Melissa.
FLOOR Large-format tiles in a neutral colour were laid before the wall was repaired and the room painted.
The cut tiles were positioned along the wall where the cabinetry and fittings would conceal them.
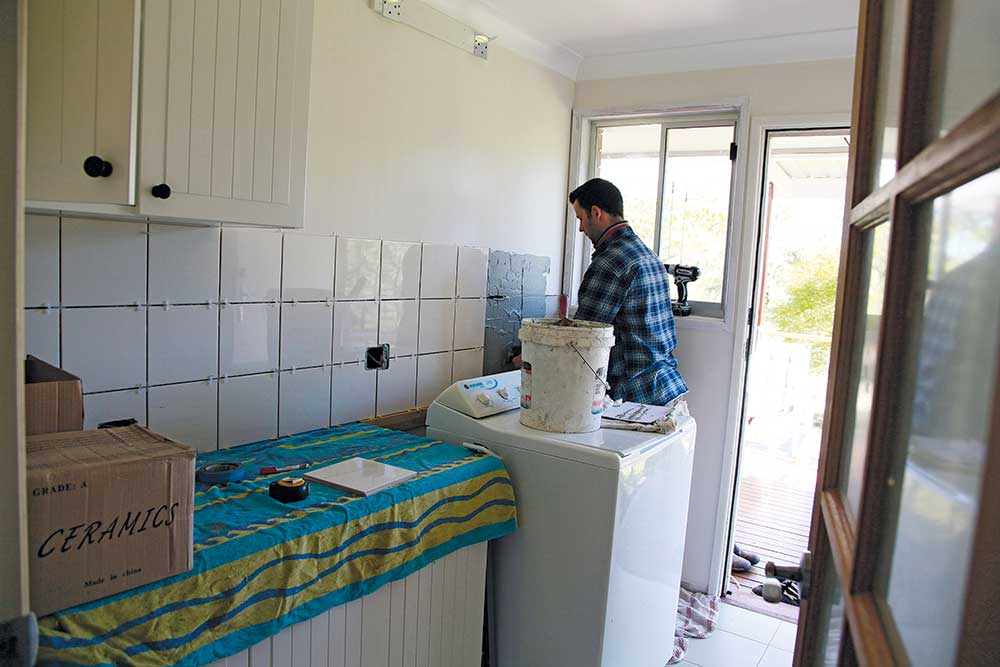
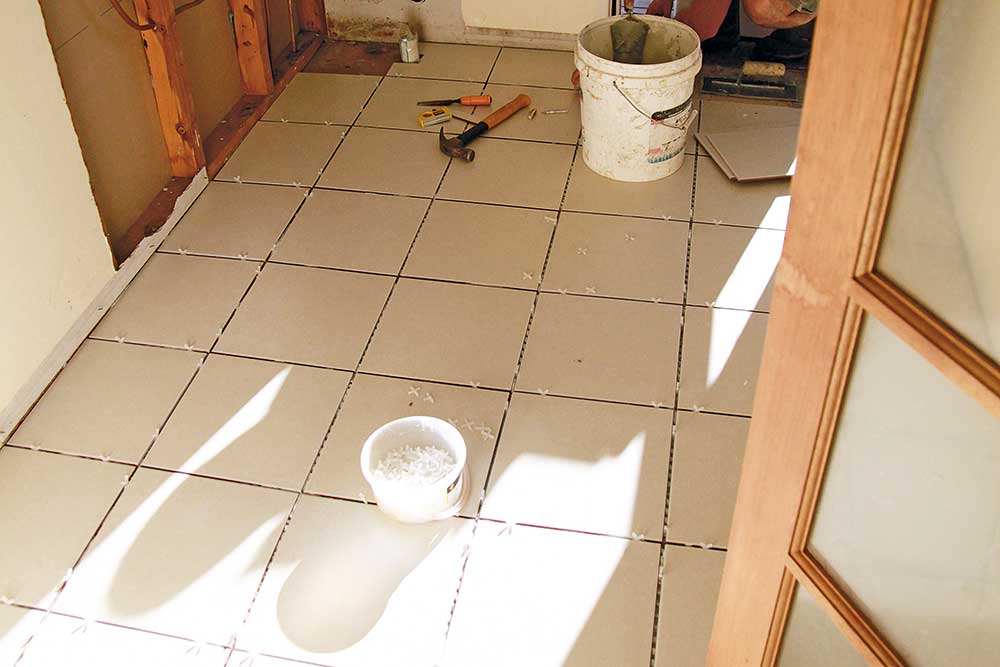
To make the room appear more spacious large-format tiles were used


