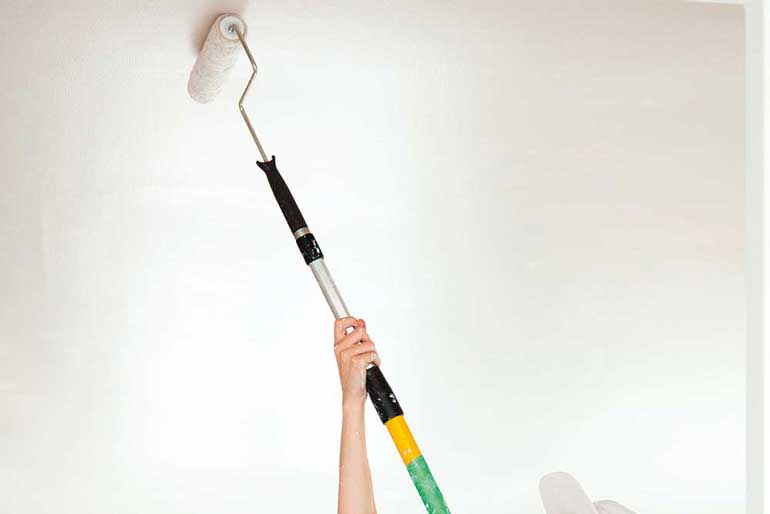
Painting ceilings

Painting ceilings
Handyman

They’re usually much larger than a single wall and are often illuminated with raking light that accentuates even the smallest flaws, which means ceilings present some unique painting challenges.

Add to that the difficult task of working overhead and things can get messy in a hurry, so we’ve grilled a pro to help you get the best result.

Bill Nunn is the owner of William Nunn Painting, which specialises in painting older houses.

We’ve called on his 35 years of experience in the business to find out the best ways to paint a ceiling, so you get a top-quality finish every time.

Advertisement

1. Sand before painting

1. Sand before painting
Handyman Magazine

Over time, and as the layers of paint build up, lumps and bugs can get stuck to the ceiling.

On ceilings that aren’t textured, start with a quick once-over, sanding with 100 grit abrasive paper.

This helps ensure a perfectly smooth paint job and also increases paint bonding.

Use a sanding pole to make working easier, then wipe the ceiling afterwards with a damp sponge to remove the dust.

2. Use a good primer
2. Use a good primer
Handyman Magazine

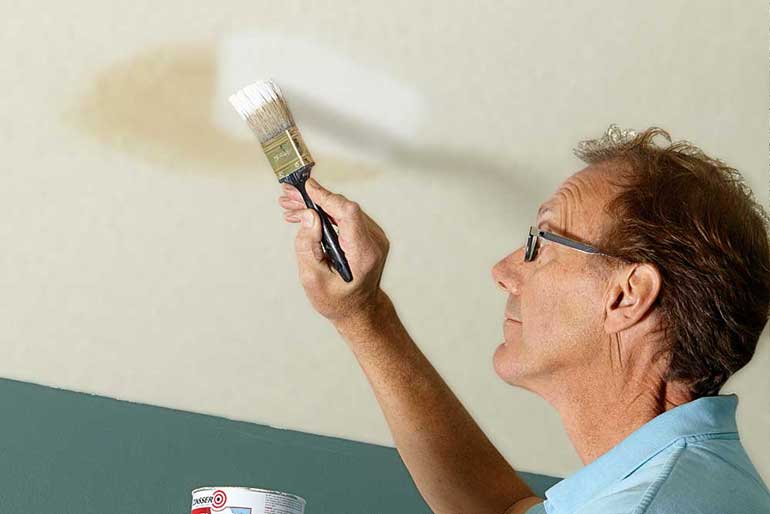
Roof leaks, overflowing sinks and tobacco smoke can all leave ugly stains that are hard to conceal with regular ceiling paint.

Apply stain-blocking primer to cover any stubborn ceiling marks.

Try Zinnser Smart Prime, which is formulated for this purpose and water-based for easy application.

This is how to paint a room.

3. Cut in and then roll

3. Cut in and then roll
Handyman Magazine

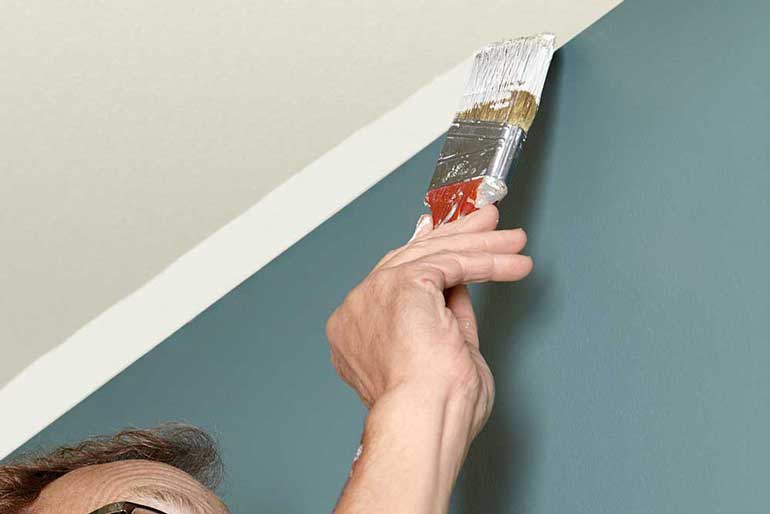
Use a paintbrush to cut in at the edges of square-set ceilings.

Doing this before you roll means the majority of the brush marks will be covered with the roller.

Carefully brush paint along the edge of the ceiling in 3m sections, then roll that section.

This keeps the cut-in section wet until you roll, which allows the paint to blend in better.

Bill says it’s also less boring to alternate between cutting in and rolling, making the task of painting a whole ceiling less tedious.

4. Roll in all directions

4. Roll in all directions
Handyman Magazine

There are a few tricks to getting a smooth and consistent coat when applying paint to the ceiling.

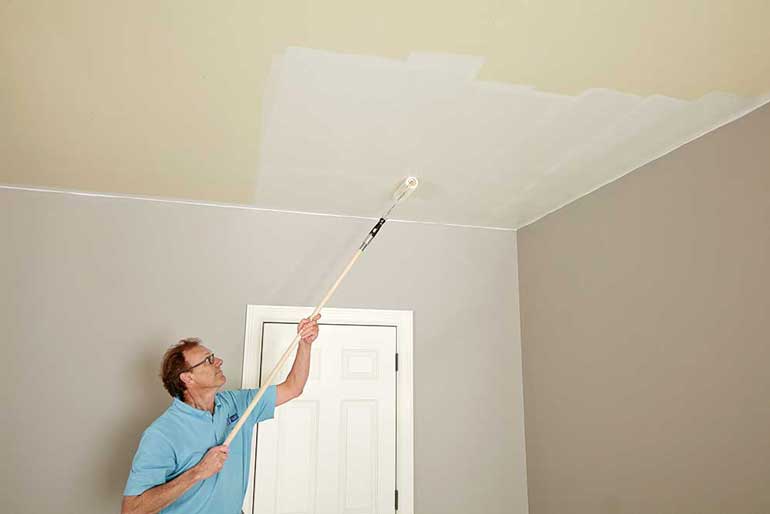
Work in square sections about 2 x 2m, moving quickly from one section to the next to make sure the paint along the edge doesn’t dry before you roll the next section.

Keeping a wet edge is the key to minimising overlap marks.

Bill also says you’ll get the best coverage by immediately re-rolling each section at a right angle to your first roller direction as you go.

Here are 11 little-known painting hacks from the experts.

5. Purchase ceiling paint

5. Purchase ceiling paint
Getty Images

As a general rule, you will achieve the best result by using paint that’s specially formulated for ceiling application.

You need paint that doesn’t spatter, dries slowly and is flat rather than glossy.

Premium ceiling paints have added pigments to make the ceiling look brighter.

They can also be tinted if you don’t want to stick to a white ceiling.

6. Overlap the edges onto walls

6. Overlap the edges onto walls
Handyman Magazine

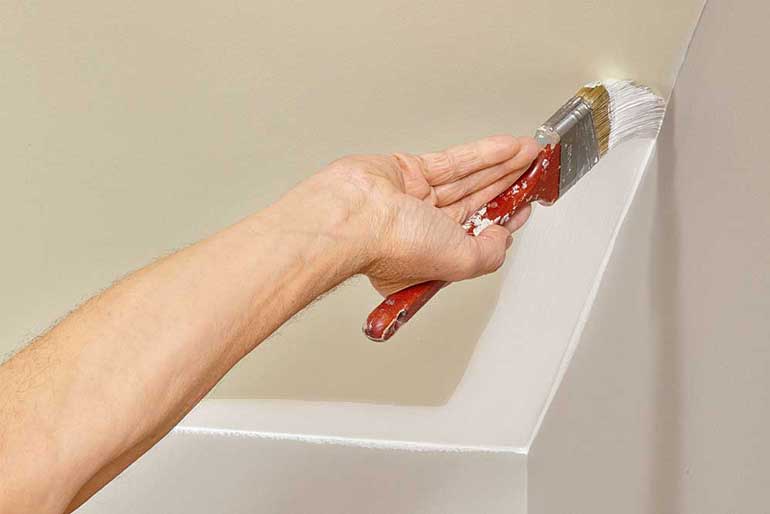
If you also plan on painting the walls, overlap the paint onto them a little bit when cutting in.

Then when you paint the walls, you will cover the overlap as you cut in to the ceiling at the top of the walls.

Some painters like to skip the overlapping and cutting-in steps and save time by mashing the roller into the corners instead.

Bill doesn’t recommend this method as it’s sloppy, builds up excess paint in the corners and can leave runs or a thick paint line on the wall.

These are the painting tips professional painters don’t want you to know.

7. Experiment with colour

7. Experiment with colour
Handyman Magazine

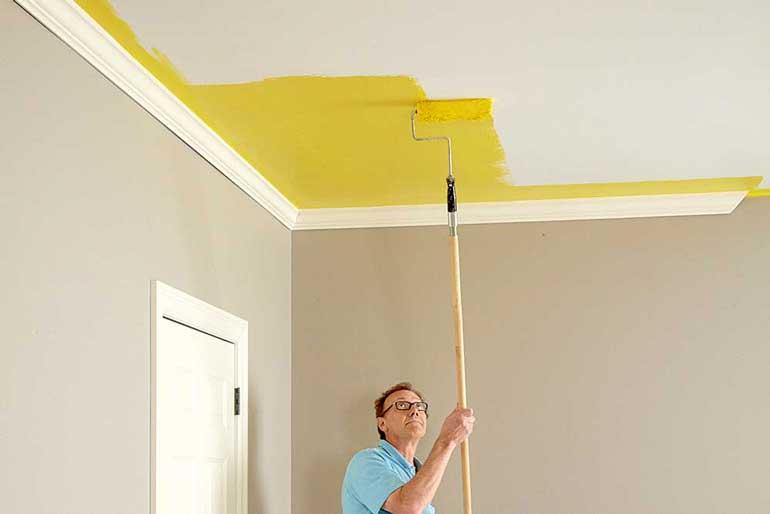
While you may not want to paint your ceiling yellow, don’t be afraid to deviate from a plain white surface.

Bill points out that painting the ceiling in a colour can make a small room seem bigger, or a room with a high ceiling appear cosier.

TIP: For help with ceiling and wall colour choice, search online for examples of rooms you like.

8. Opt for simple accessories

8. Opt for simple accessories
FAMILY HANDYMAN

When it comes to painting equipment, Bill prefers low-tech solutions.

You can buy extendable paint poles, but he suggests using simple timber broom handles with a thread because they are light, inexpensive and will get the job done.

9. Use a thick roller cover

9. Use a thick roller cover
FAMILY HANDYMAN

Lambswool covers are the key to a good finish, and while more expensive, they’re easy to clean and can be re-used.

They are ideal for getting as much paint on the ceiling as possible in a short amount of time while minimising spatters.